
Introduction
Discover the art of tooled leather painting in this step-by-step tutorial featuring talented creator, Lindsay Ferguson aka Braided Roots Craft Co. In this detailed guide, you'll learn how to prep, paint, and finish a custom tooled leather project using Angelus Leather Paints.
Creator Spotlight
Creator Spotlight
Creator Spotlight
Creator Spotlight
Creator Spotlight
Creator Spotlight
Creator Spotlight
Creator Spotlight
Creator Spotlight
Creator Spotlight
Creator Spotlight
Creator Spotlight
Creator Spotlight
Creator Spotlight
Creator Spotlight
Creator Spotlight
Creator Spotlight
Creator Spotlight
Creator Spotlight
Creator Spotlight
Braided Roots Craft Co
Hi, I’m Lindsay Ferguson, owner and maker at Braided Roots Craft Co. I’m located in Benton, Arkansas. From the time I was a kid, I’ve always loved to draw, I took every art class my school offered and that just grew into a love for making things. My grandpa introduced me to leatherwork and I instantly fell in love. Crafting had been on the back burner for quite some time while my kids were little. Once they started getting closer to school age, I started making a few things in my free time and selling them to friends and family. That gave me the push and confidence I needed to start an online Etsy shop for my leatherwork.
Creator Spotlight
Creator Spotlight
Creator Spotlight
Creator Spotlight
Creator Spotlight
Creator Spotlight
Creator Spotlight
Creator Spotlight
Creator Spotlight
Creator Spotlight
Creator Spotlight
Creator Spotlight
Creator Spotlight
Creator Spotlight
Creator Spotlight
Creator Spotlight
Creator Spotlight
Creator Spotlight
Creator Spotlight
Creator Spotlight
How to Customize and Paint on Tooled Leather
Step 1: Prep Your Tooled Leather for Painting
Before applying any paint, proper surface prep is key. Clean the leather with Angelus Leather Preparer and Deglazer to remove oils, finishes, or wax that could prevent adhesion. Use a lint-free cloth and work in a well-ventilated area.

Before applying any paint, proper surface prep is key. Clean the leather with Angelus Leather Preparer and Deglazer to remove oils, finishes, or wax that could prevent adhesion. Use a lint-free cloth and work in a well-ventilated area.
Step 2: Plan Your Custom Design
Sketch your artwork directly onto the leather with a pencil or use a transfer method like tracing paper or stencils. Lindsay started with simple floral patterns or western-style motifs that complimented the carved textures of tooled leather.

Step 3: Paint with Angelus Leather Paints
Use fine detail brushes to apply thin, even layers of Angelus Leather Paint. Let each coat dry fully before adding the next to avoid lifting. Lindsay recommends starting with lighter shades and building up to darker tones for added depth and vibrancy.

Step 4: Seal and Protect Your Artwork
***This step is optional***
Once the paint is completely dry, finish your piece with a protective top coat like Angelus Acrylic Finisher or any 4-Coat Urethane Clear Coats. This seals the paint, enhances durability, and adds a polished look to your custom leather piece.

Creator Questions
I'm based in Benton, Arkansas.
When I first started leatherwork I was researching the best paints and y’all were the top of the list!
All of the leather acrylic paints! I love all the variety of colors! They are perfect for my leather crafting projects and have great coverage!
Don’t get caught up so much on “perfecting” your craft! Learn from your experiences, and your next piece will be even better.
🛒 Lindsay's Top 5 Angelus Products
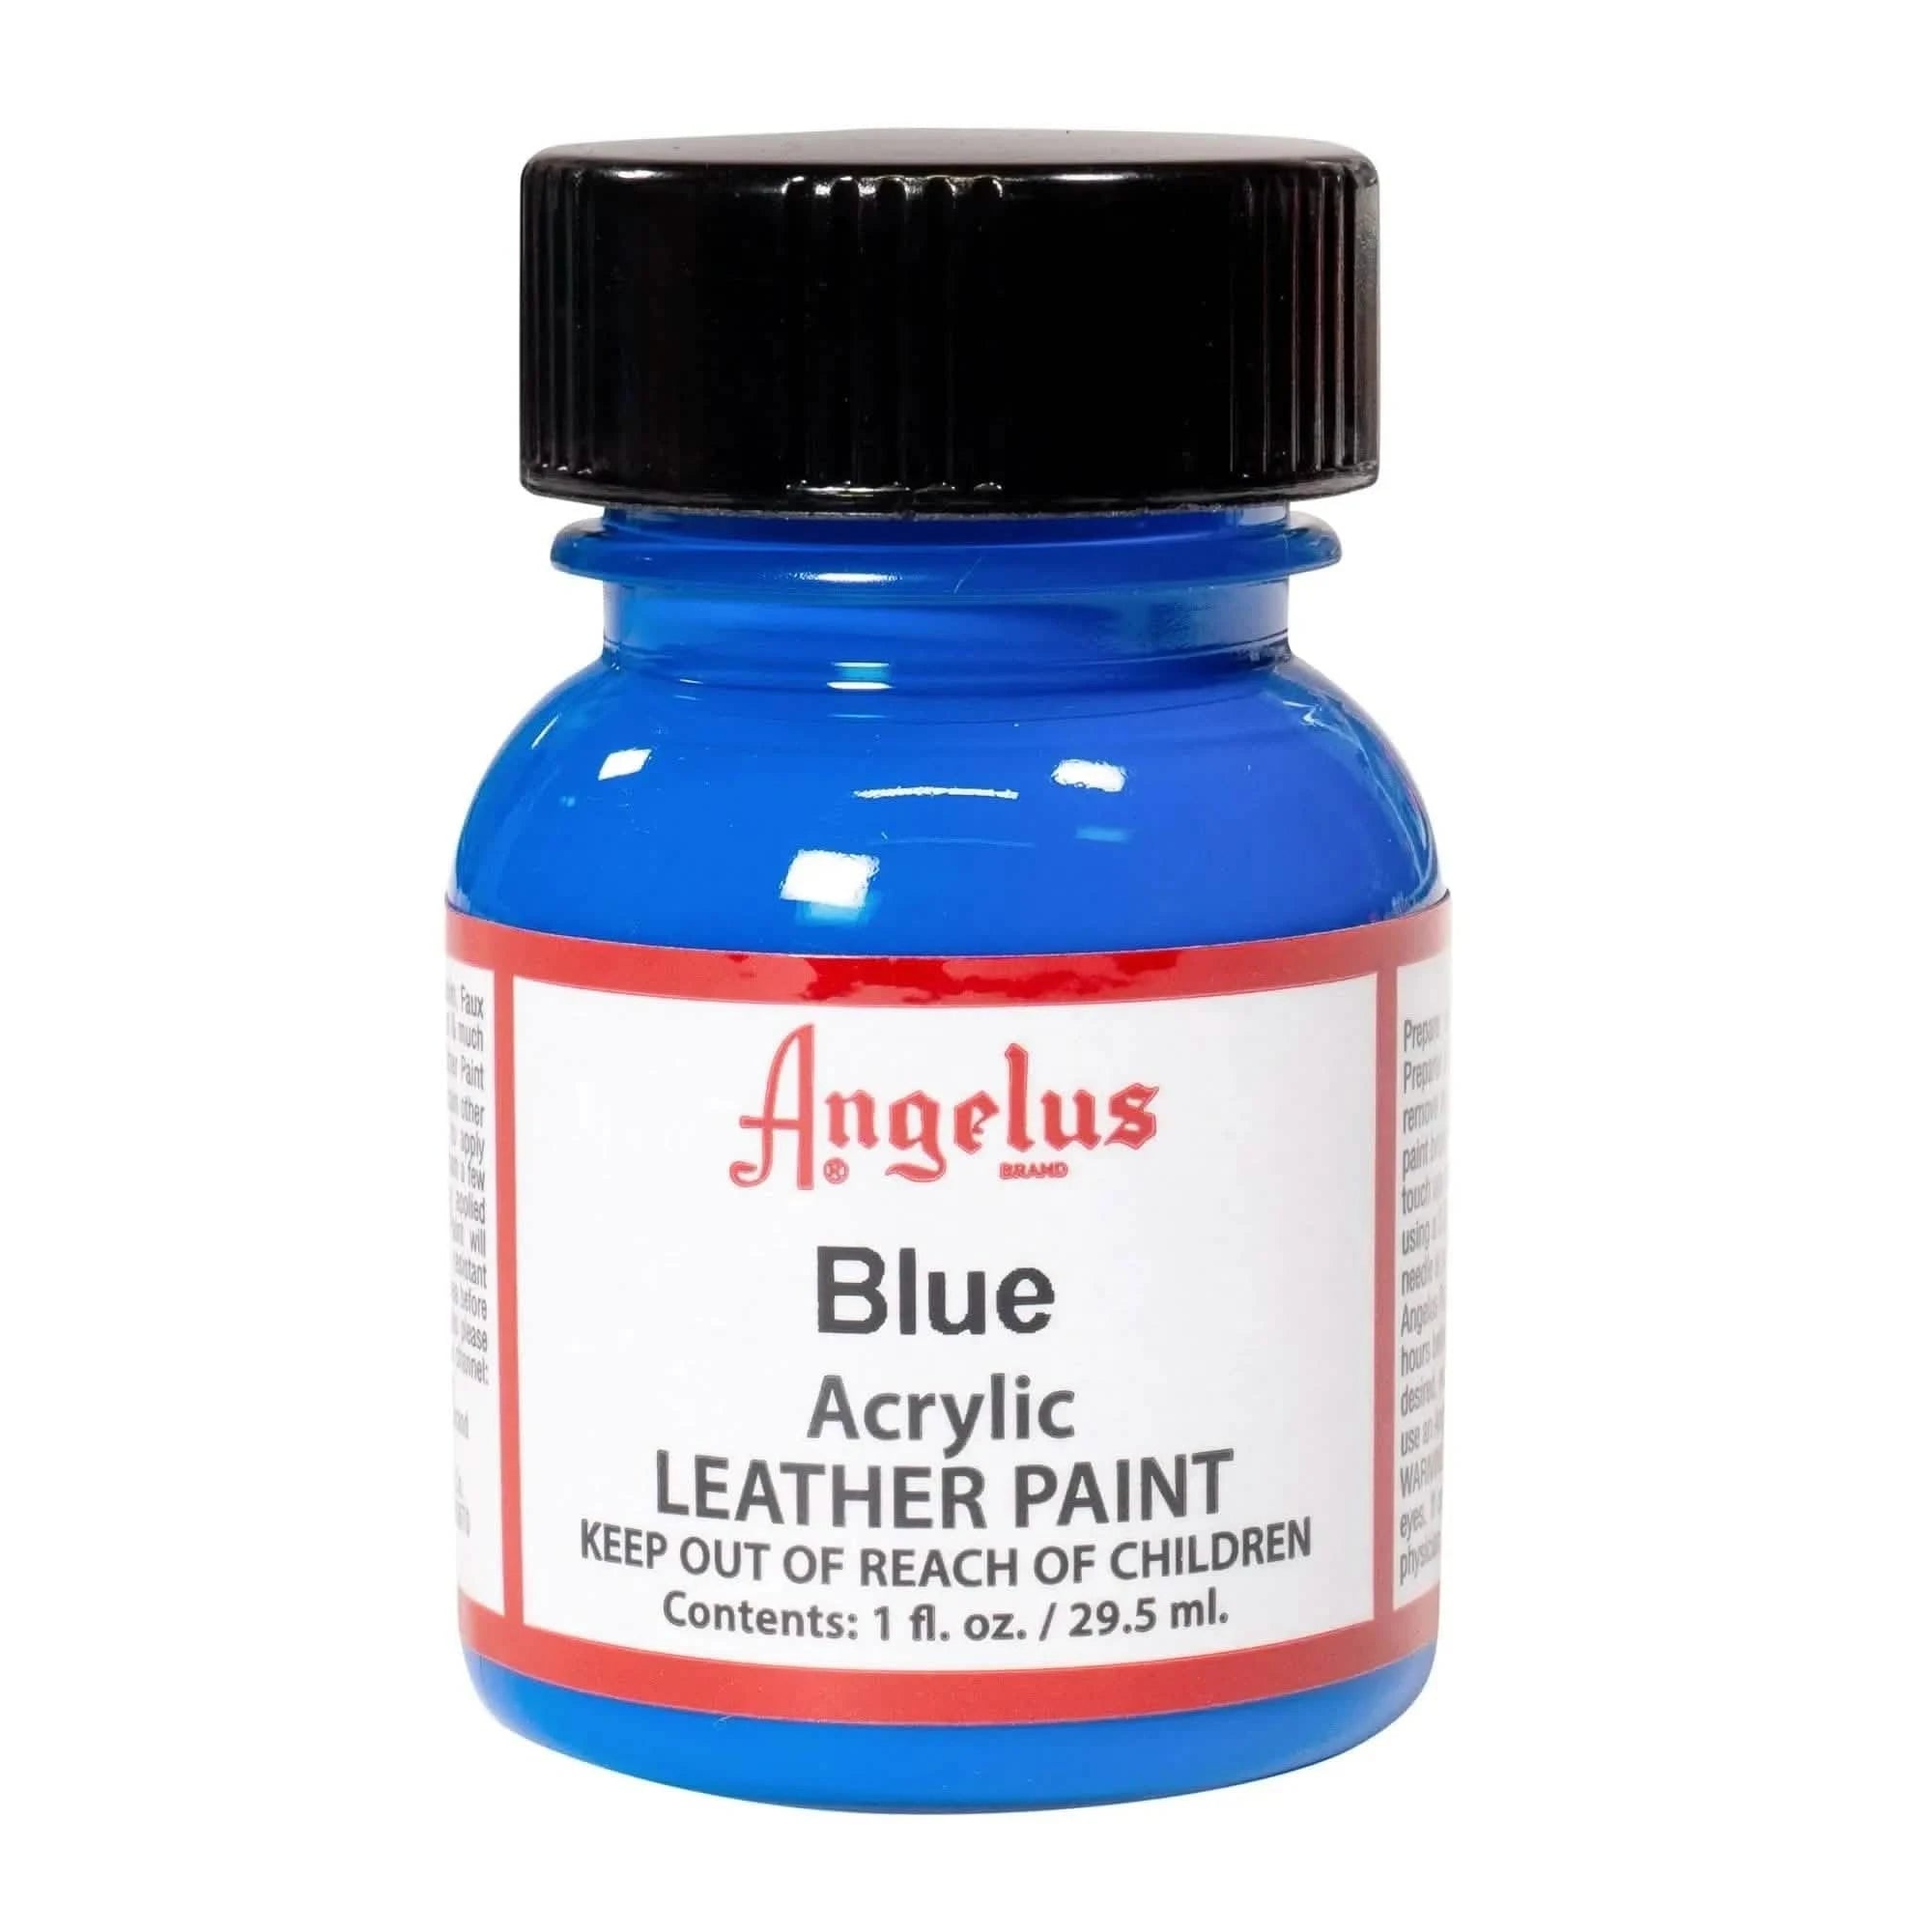
Angelus Blue Paint
$3.95

Angelus Yellow Paint
$3.95
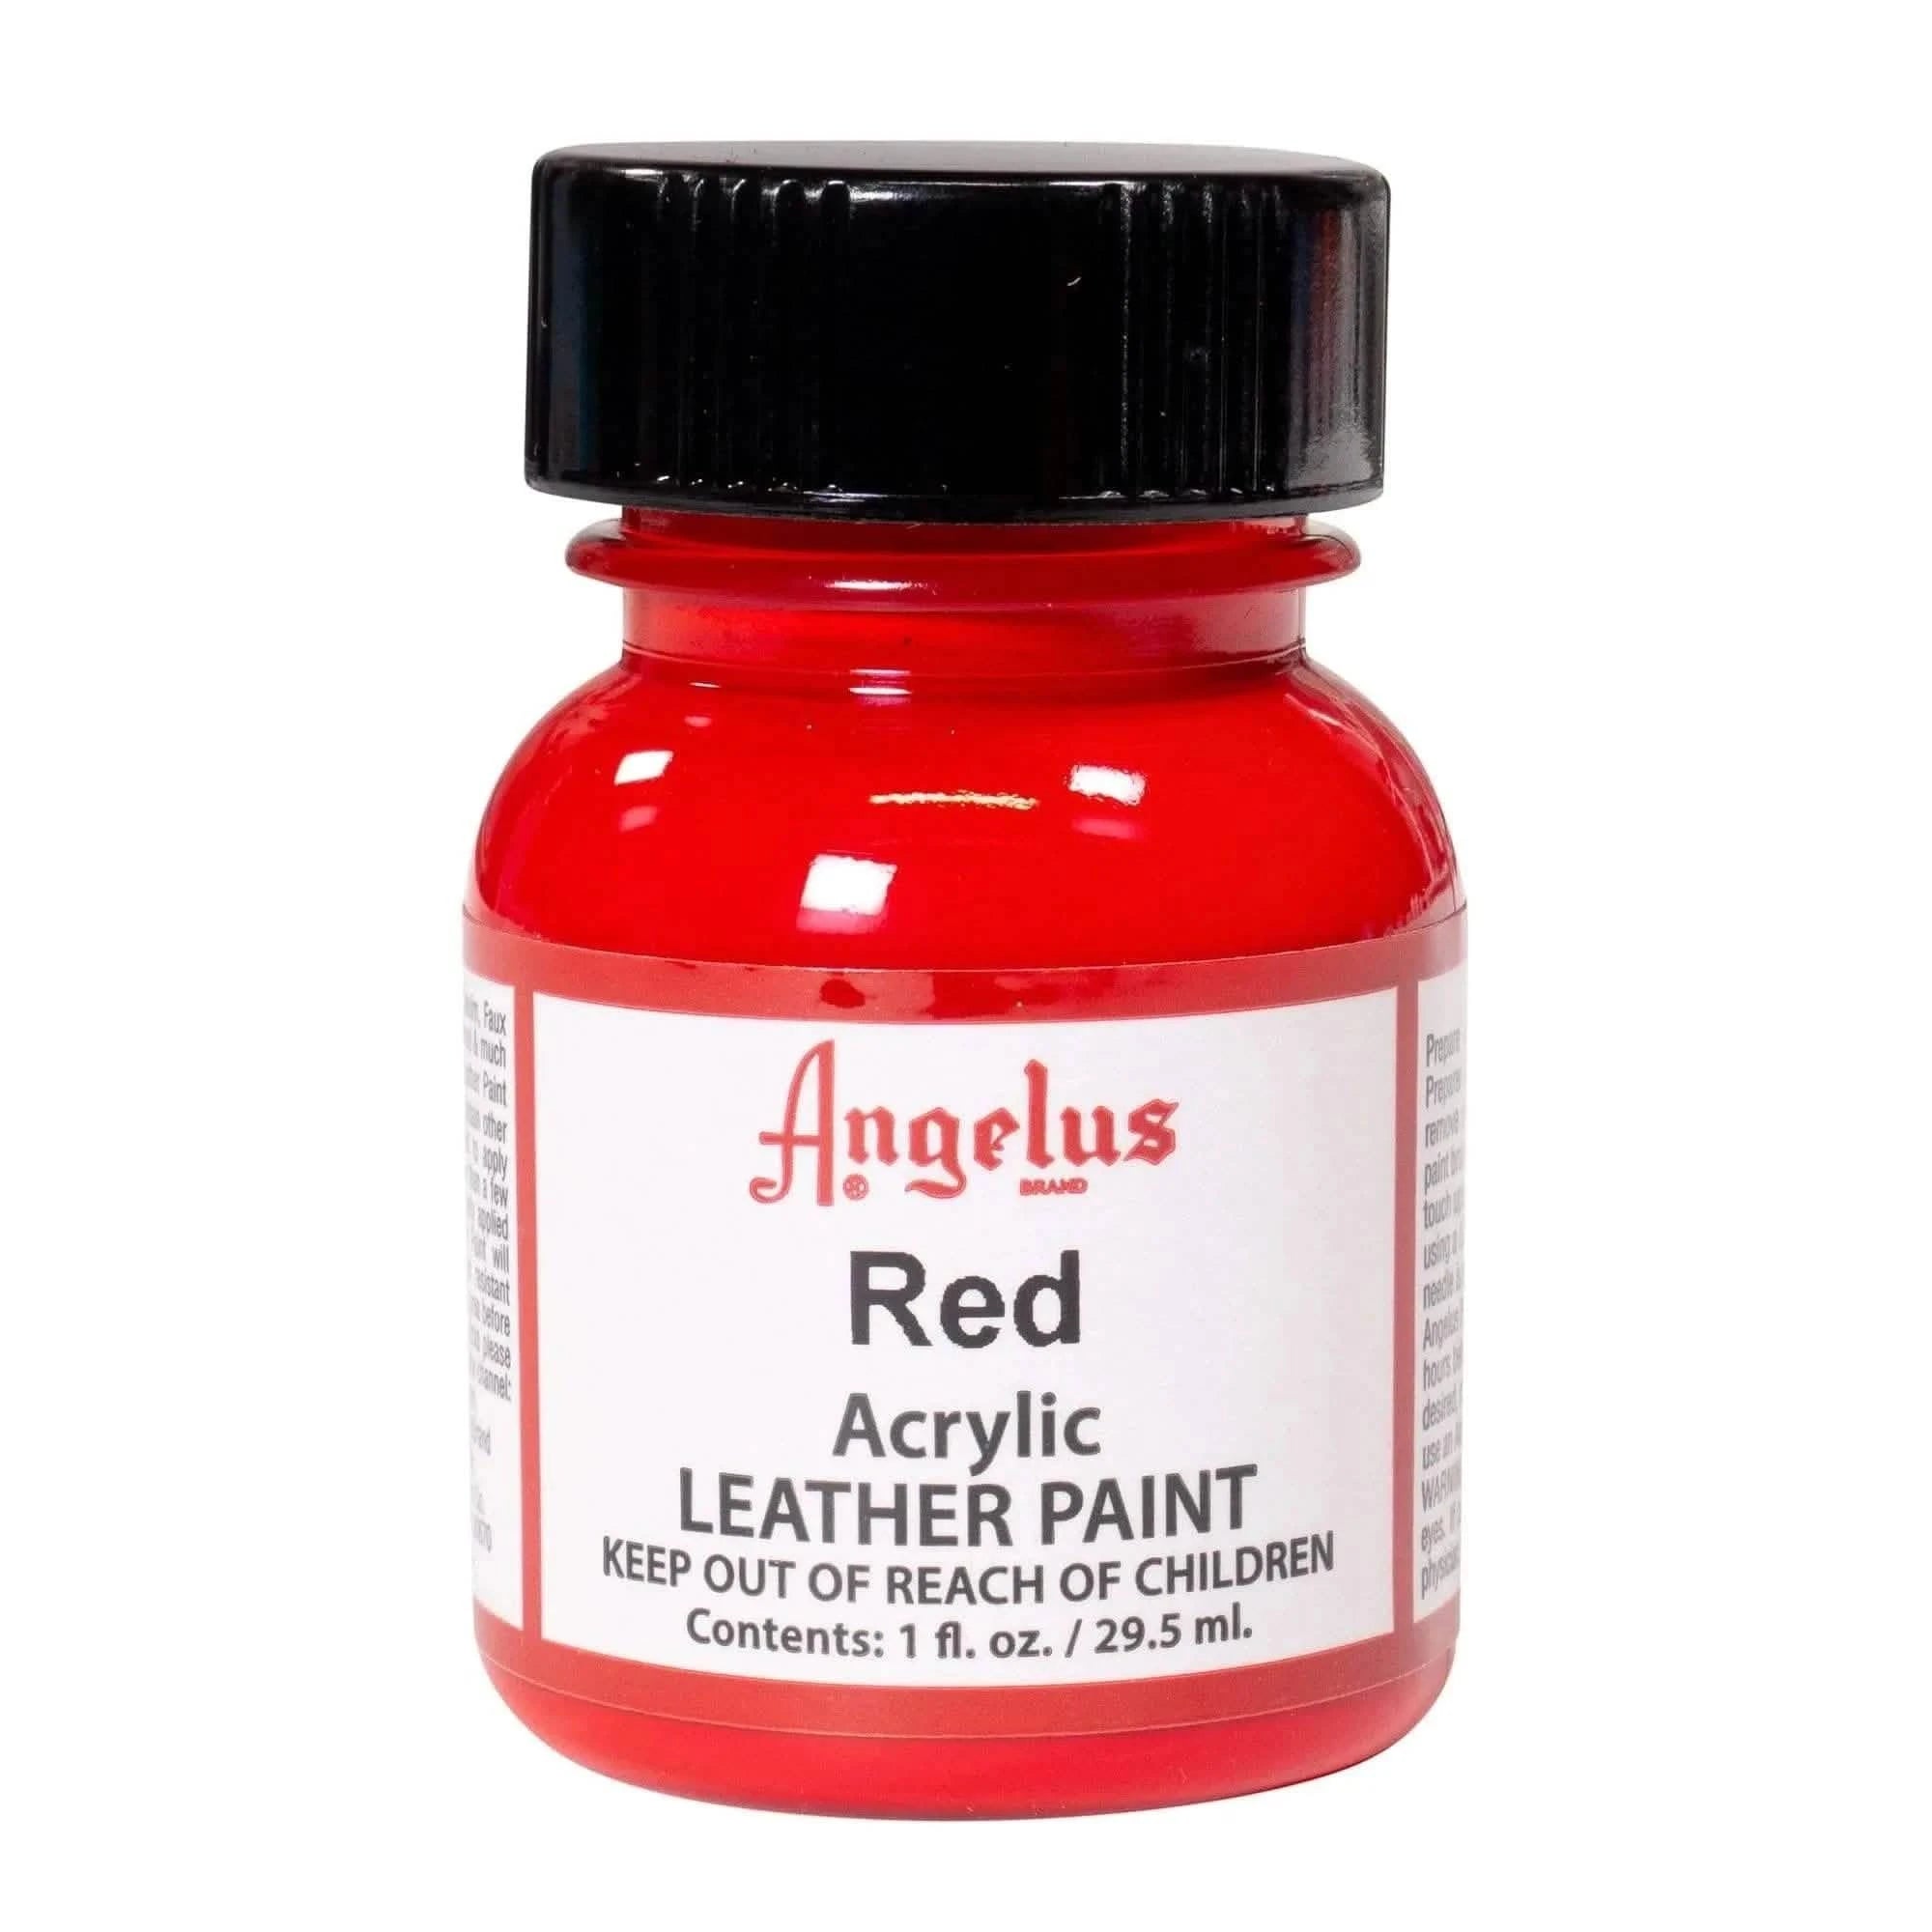
Angelus Red Paint
$3.95
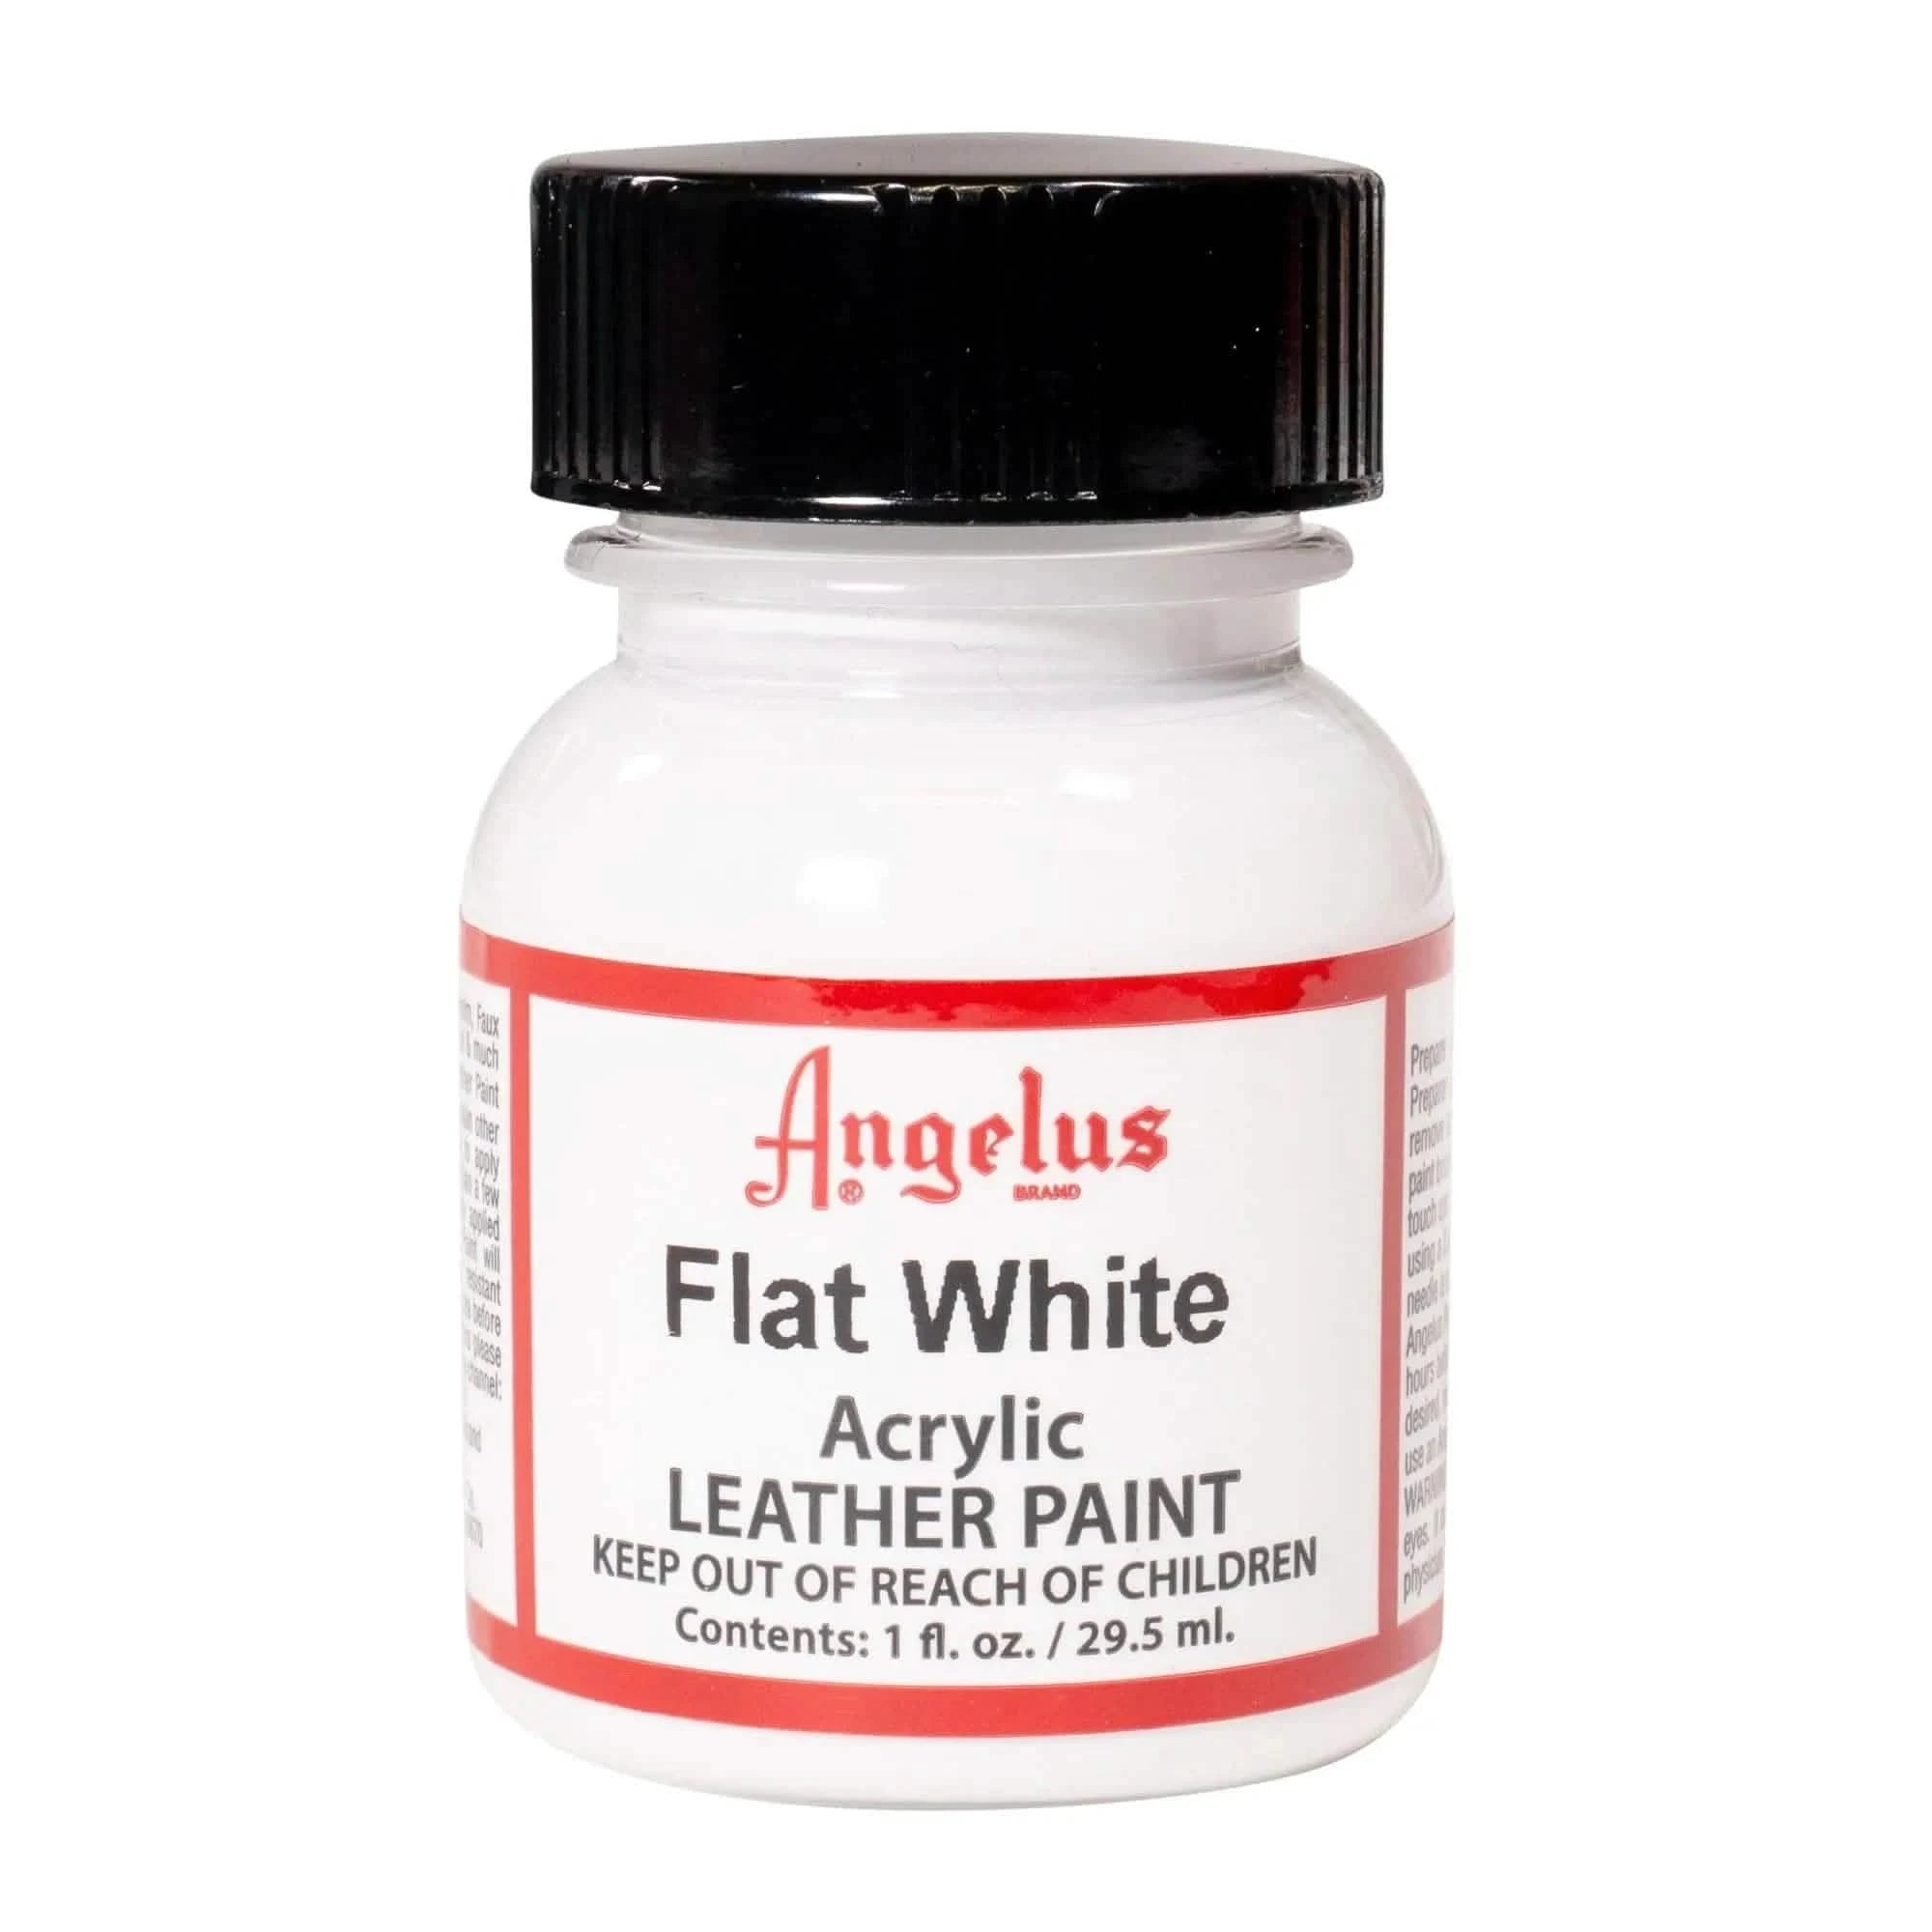
Angelus Flat White Paint
$3.95
-$0.00

Angelus Black Paint
$3.95
Angelus Blue Paint
$3.95
Angelus Yellow Paint
$3.95
Angelus Red Paint
$3.95
Angelus Flat White Paint
$3.95
-$0.00
Angelus Black Paint
$3.95
Angelus Blue Paint
$3.95
Angelus Yellow Paint
$3.95
Angelus Red Paint
$3.95
Angelus Flat White Paint
$3.95
-$0.00
Angelus Black Paint
$3.95
Angelus Blue Paint
$3.95
Angelus Yellow Paint
$3.95
Angelus Red Paint
$3.95
Angelus Flat White Paint
$3.95
-$0.00
Angelus Black Paint
$3.95
Angelus Blue Paint
$3.95
Angelus Yellow Paint
$3.95
Angelus Red Paint
$3.95
Angelus Flat White Paint
$3.95
-$0.00
Angelus Black Paint
$3.95
Angelus Blue Paint
$3.95
Angelus Yellow Paint
$3.95
Angelus Red Paint
$3.95
Angelus Flat White Paint
$3.95
-$0.00
Angelus Black Paint
$3.95
Unlock More Inspiration
Dive deeper into our Creator Spotlight series and discover new tutorials from top artists in the community. Whether you're looking to master advanced techniques or spark fresh ideas, these step-by-step guides will take your custom game to the next level.