
Introduction
Customizing fabric shoes is one of the most creative and rewarding ways to transform your kicks into wearable art. Whether you're personalizing a pair of canvas sneakers or bringing new life to old favorites, learning how to paint on fabric shoes opens up endless design possibilities. In this tutorial, artist Becca Dwyer walks you through everything you need to know.
Creator Spotlight
Creator Spotlight
Creator Spotlight
Creator Spotlight
Creator Spotlight
Creator Spotlight
Creator Spotlight
Creator Spotlight
Creator Spotlight
Creator Spotlight
Creator Spotlight
Creator Spotlight
Creator Spotlight
Creator Spotlight
Creator Spotlight
Creator Spotlight
Creator Spotlight
Creator Spotlight
Creator Spotlight
Creator Spotlight
Becca Dwyer
I am an artist from San Diego who enjoys painting on everything from walls and utility boxes to vinyl records and shoes. I love making meaningful connections through art and creating pieces that bring people joy. Whether it's a large-scale mural, a local project, or an interactive community campaign, I’m passionate about bringing creative ideas to life and inspiring others to create as well!
Creator Spotlight
Creator Spotlight
Creator Spotlight
Creator Spotlight
Creator Spotlight
Creator Spotlight
Creator Spotlight
Creator Spotlight
Creator Spotlight
Creator Spotlight
Creator Spotlight
Creator Spotlight
Creator Spotlight
Creator Spotlight
Creator Spotlight
Creator Spotlight
Creator Spotlight
Creator Spotlight
Creator Spotlight
Creator Spotlight
How to Paint and Customize Fabric Shoes: Step-by-Step Guide
Step 1: Prep Your Fabric Shoes for Paint
Before you touch any paint, proper prep is key to ensuring your custom design sticks and stays.
What you need:
- Angelus Foam-Tex Cleaner Kit – gently removes dirt, grime, and oils from fabric.
Instructions: Use Foam-Tex Cleaner and a brush to thoroughly clean the fabric. Wipe off excess moisture with a towel and let the shoes dry completely. Clean surfaces = better paint adhesion.
Step 2: Apply a Fabric Medium to Your Paint for Flexibility
Goal: Keep the fabric soft and flexible after painting.
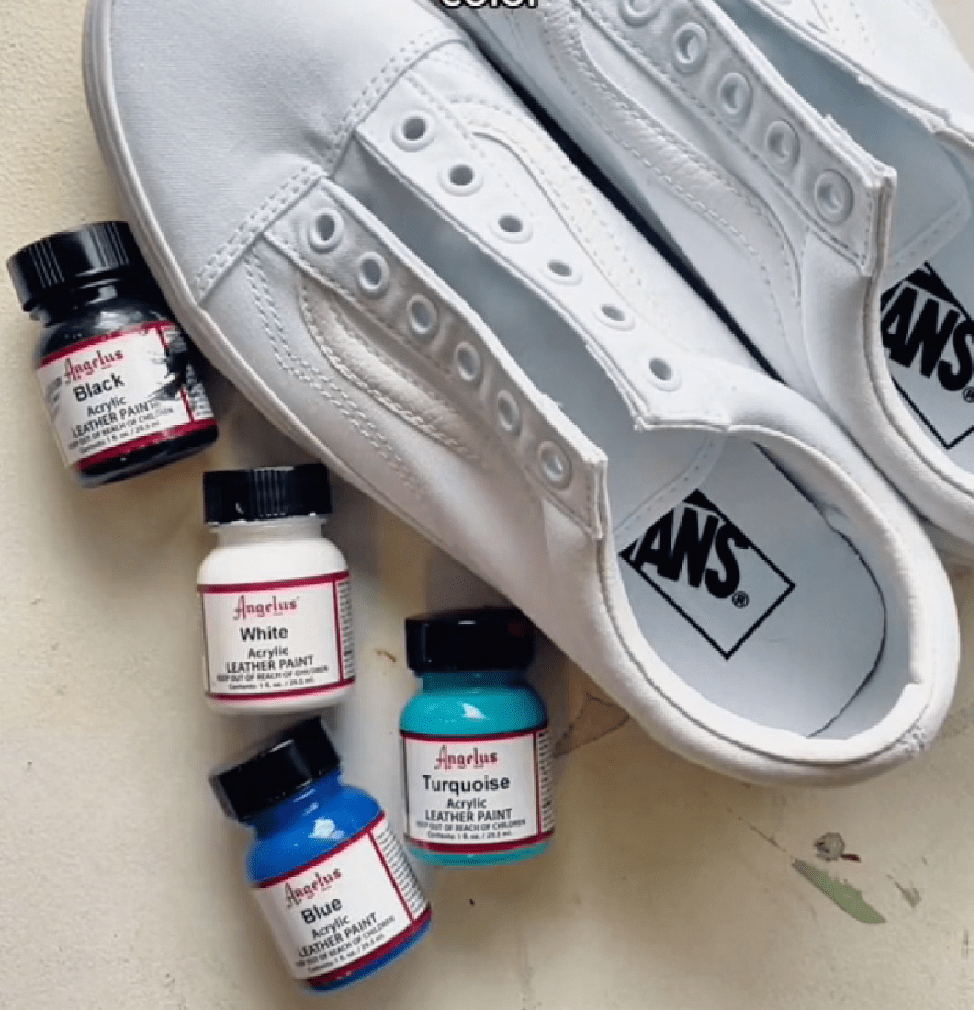
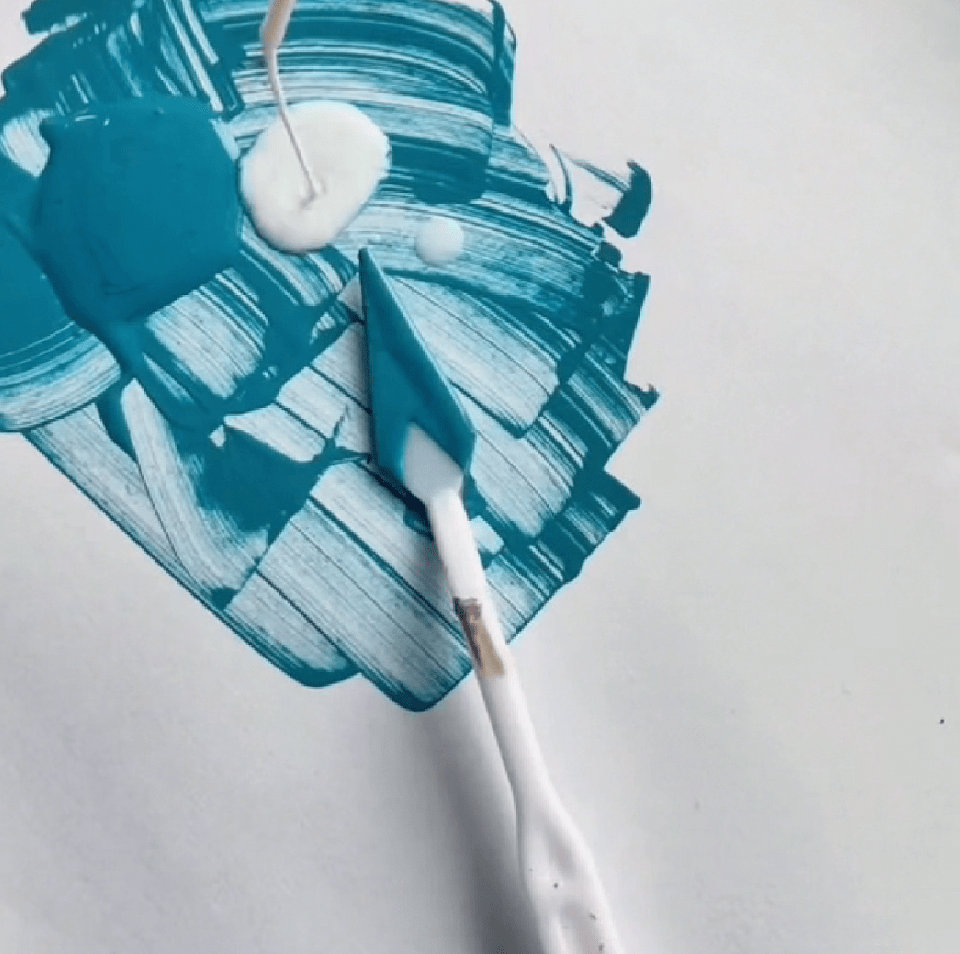
- Mix Angelus 2-Soft Fabric Medium with Angelus Acrylic Leather Paint in a 1:1 ratio.
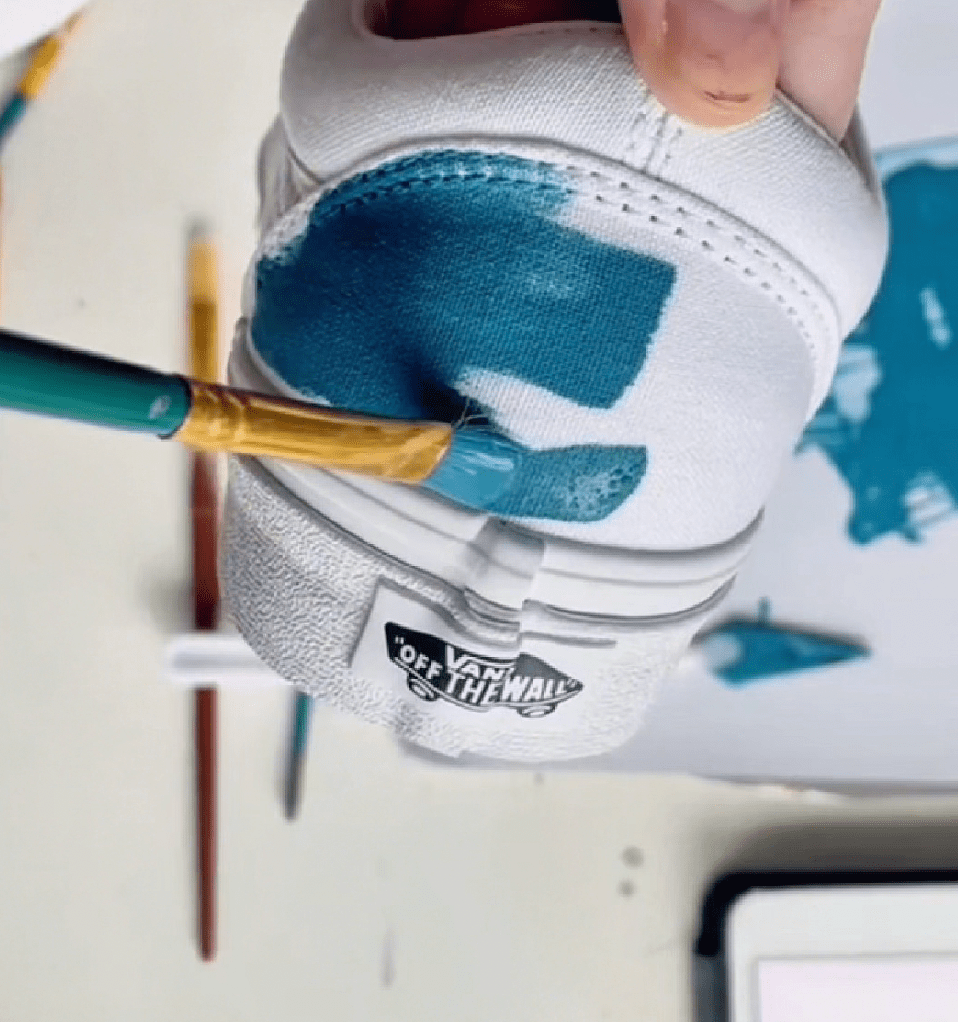
- Apply thin, even coats using a brush or airbrush.
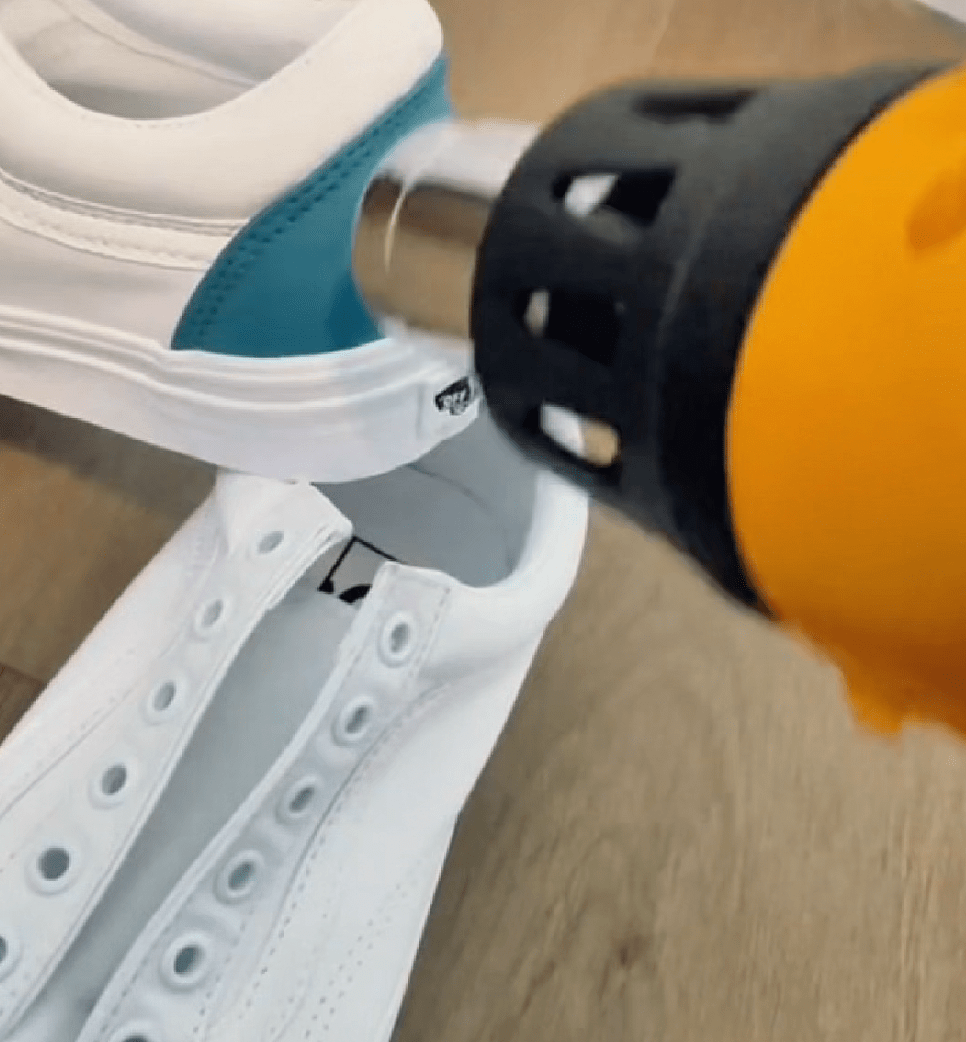
- Heat set with a heat gun or hair dryer once dry to the touch.
Pro Tip: You must heat-set each layer that contains 2-Soft before applying more coats of paint. Use either a heat gun or hair dryer to set up.
Step 3: Let Paint Dry
Patience is key! Allow each layer to dry fully before adding the next. This will help prevent any streaking or smudging and give you that buttery smooth finish.
Step 4: Heat Set Your Design for Durability
To lock in the flexibility and prevent cracking or peeling, you’ll need to heat set the paint.
What you need:
- Heat gun or household dryer (on high heat)
Instructions: After your final layer dries, use a heat gun or dryer to heat set the painted area for about 2–3 minutes. Keep the heat moving and avoid holding it too close.
Creator Questions
I'm based in San Diego, California.
A few years ago I painted shoes for a charity auction and had no clue what I was doing material-wise! I shared my process on social media, received a ton of custom orders, and realized I needed to level up my game. That’s when I did a quick online search and found Angelus’s tutorials, learned how to properly paint on shoes, and never looked back! I recommend Angelus to anyone and everyone who will listen.
I love using Angelus products to customize shoes for clients as well as friends and family. Combined with 2-soft, the paint is great for adding details to canvas tote bags. Most recently, I used some of the paints on a skateboard; it was so smooth!
2-Soft has been a game-changer for canvas shoes or soft materials. The Angelus Paint Brush Sets are both high quality and I love using the detail brushes for line work. I have to mention the Leather Preparer and Deglazer because without proper preparation your artwork might not adhere properly so it’s very important. Lastly, I love mixing Pearlescent paints into my custom designs for a fun pop of shine!
Embrace every project as a learning experience! I have yet to work on a project where I didn’t mess up at some point. We don’t typically see that part of the process on social media, but I promise everyone around you is making mistakes behind the scenes. Keep saying yes to things, learn as you go, and reach out to your creative community for help or advice when you need it! Many artists share their process and learning experiences for free, so that is a great place to look for inspiration and guidance.
🛒 Becca's Top 5 Angelus Products
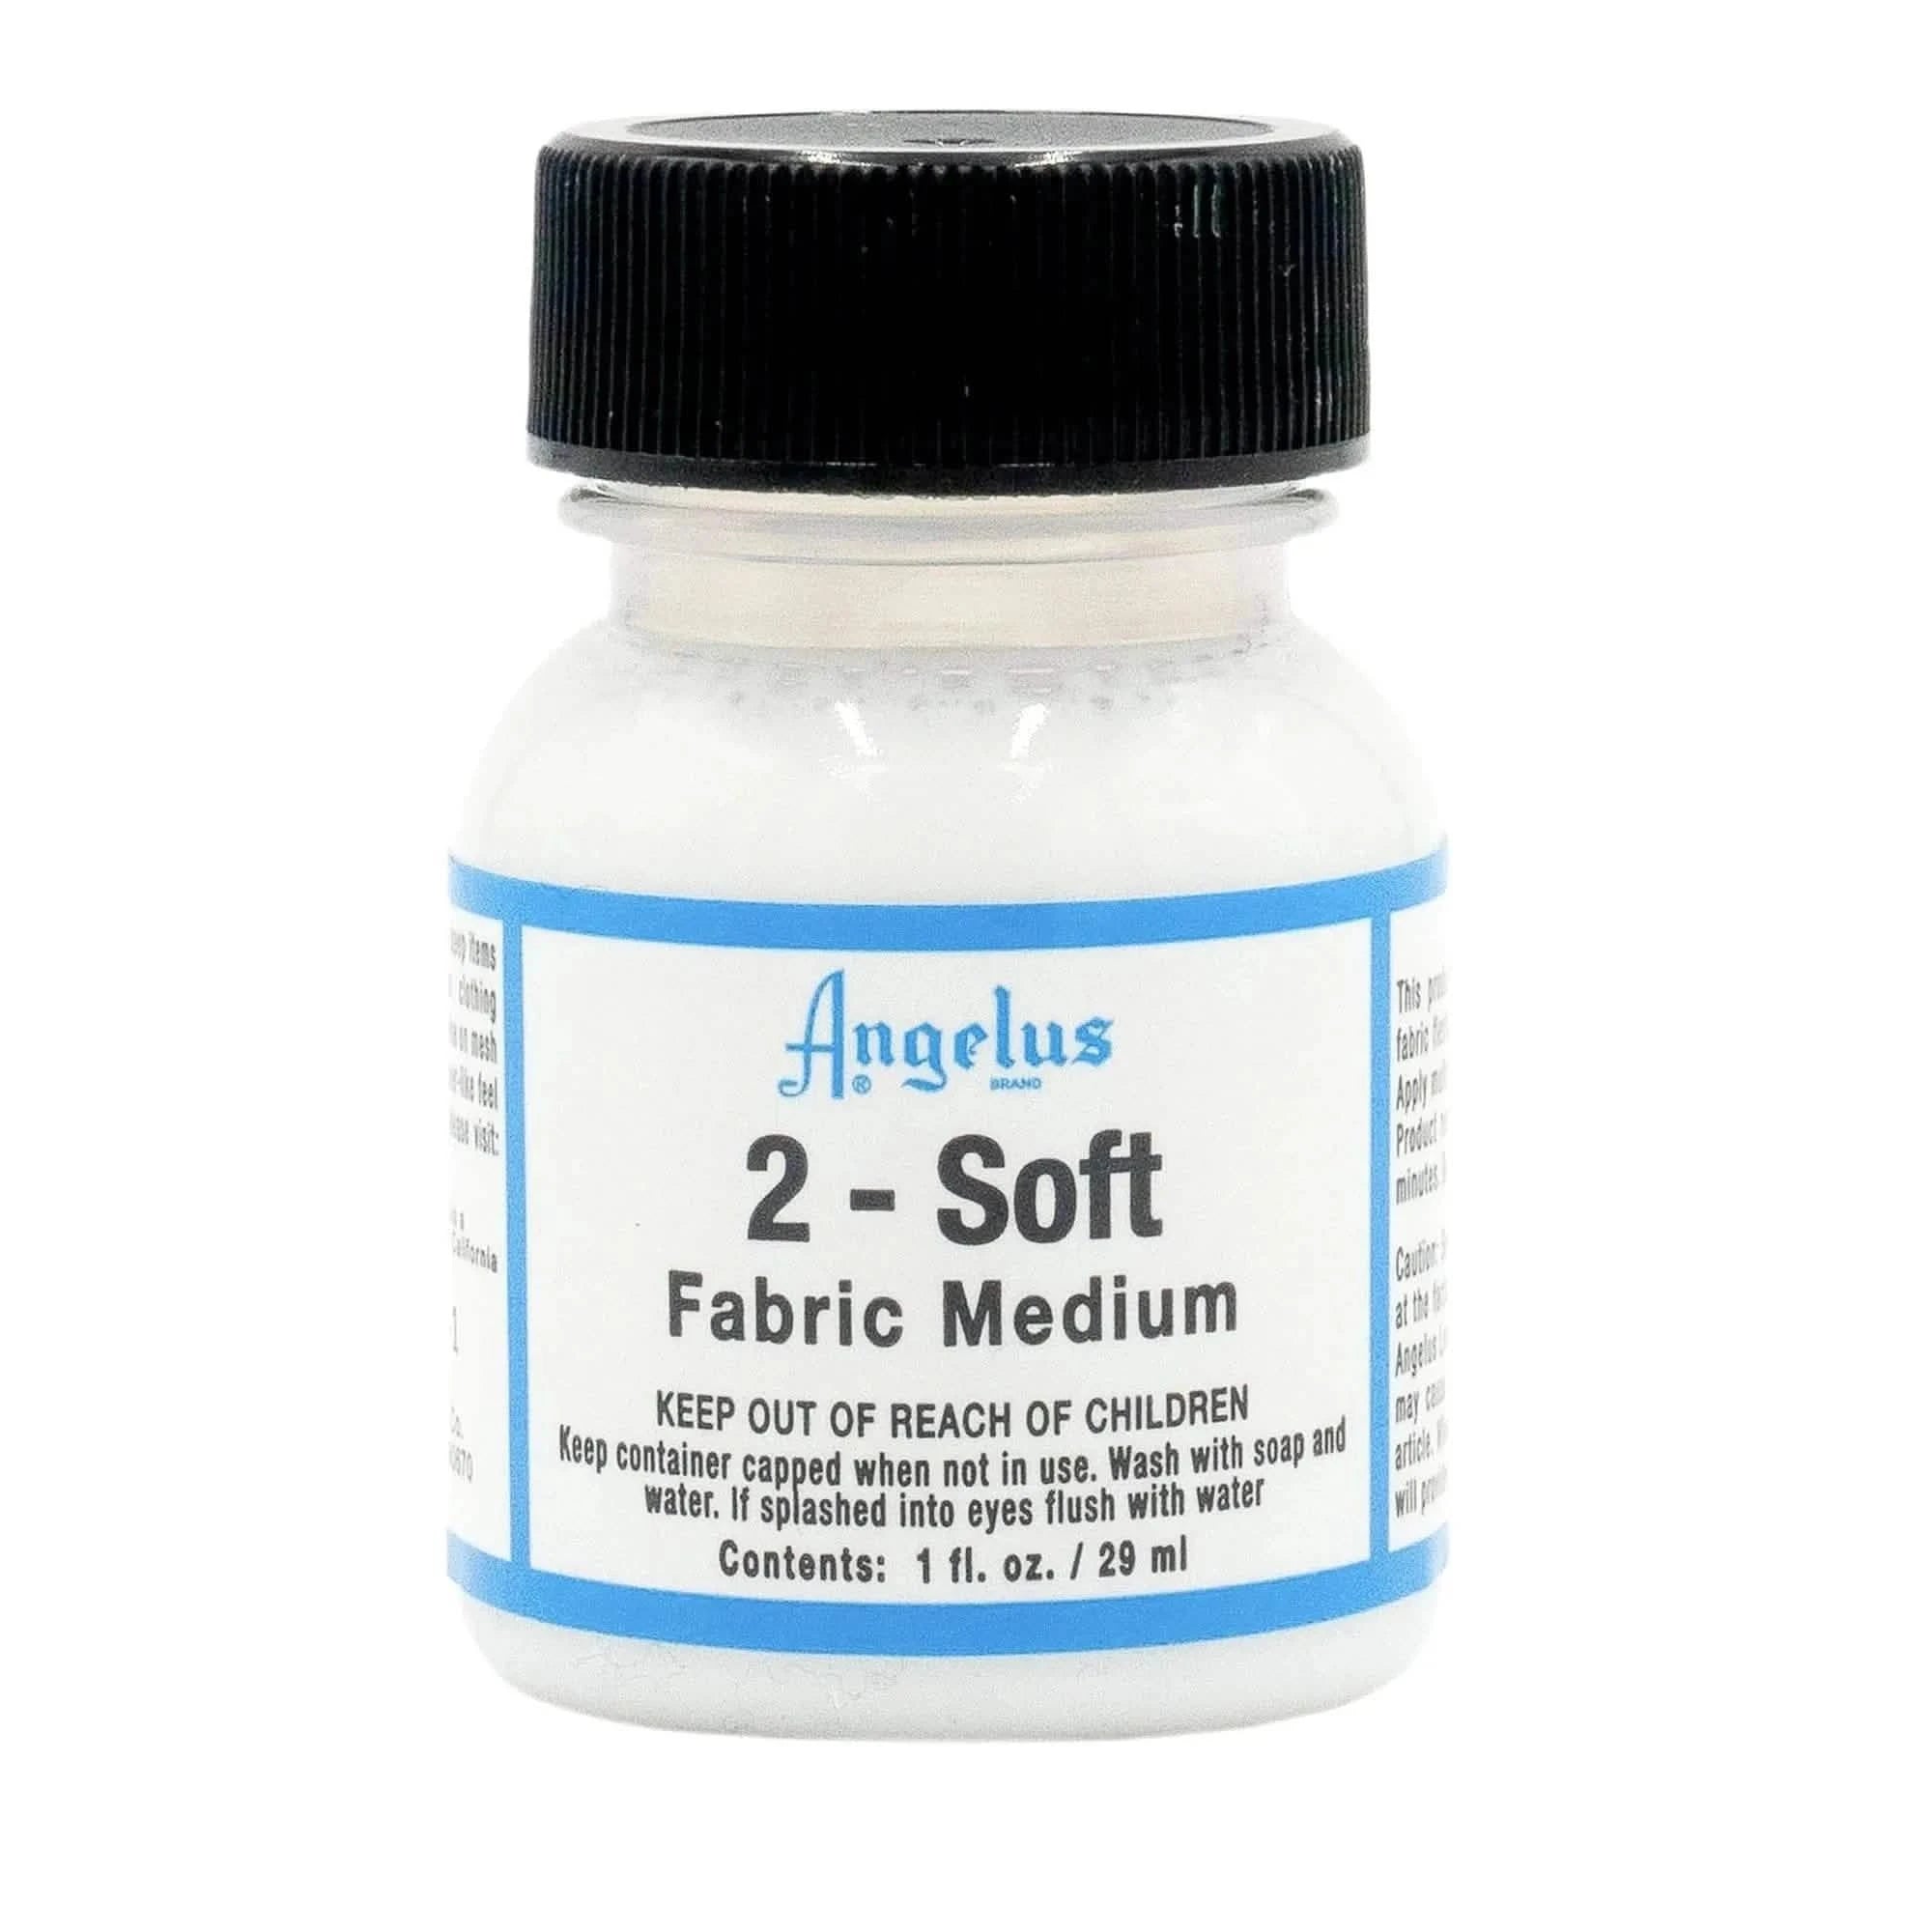
2-Soft Fabric Medium
$3.95
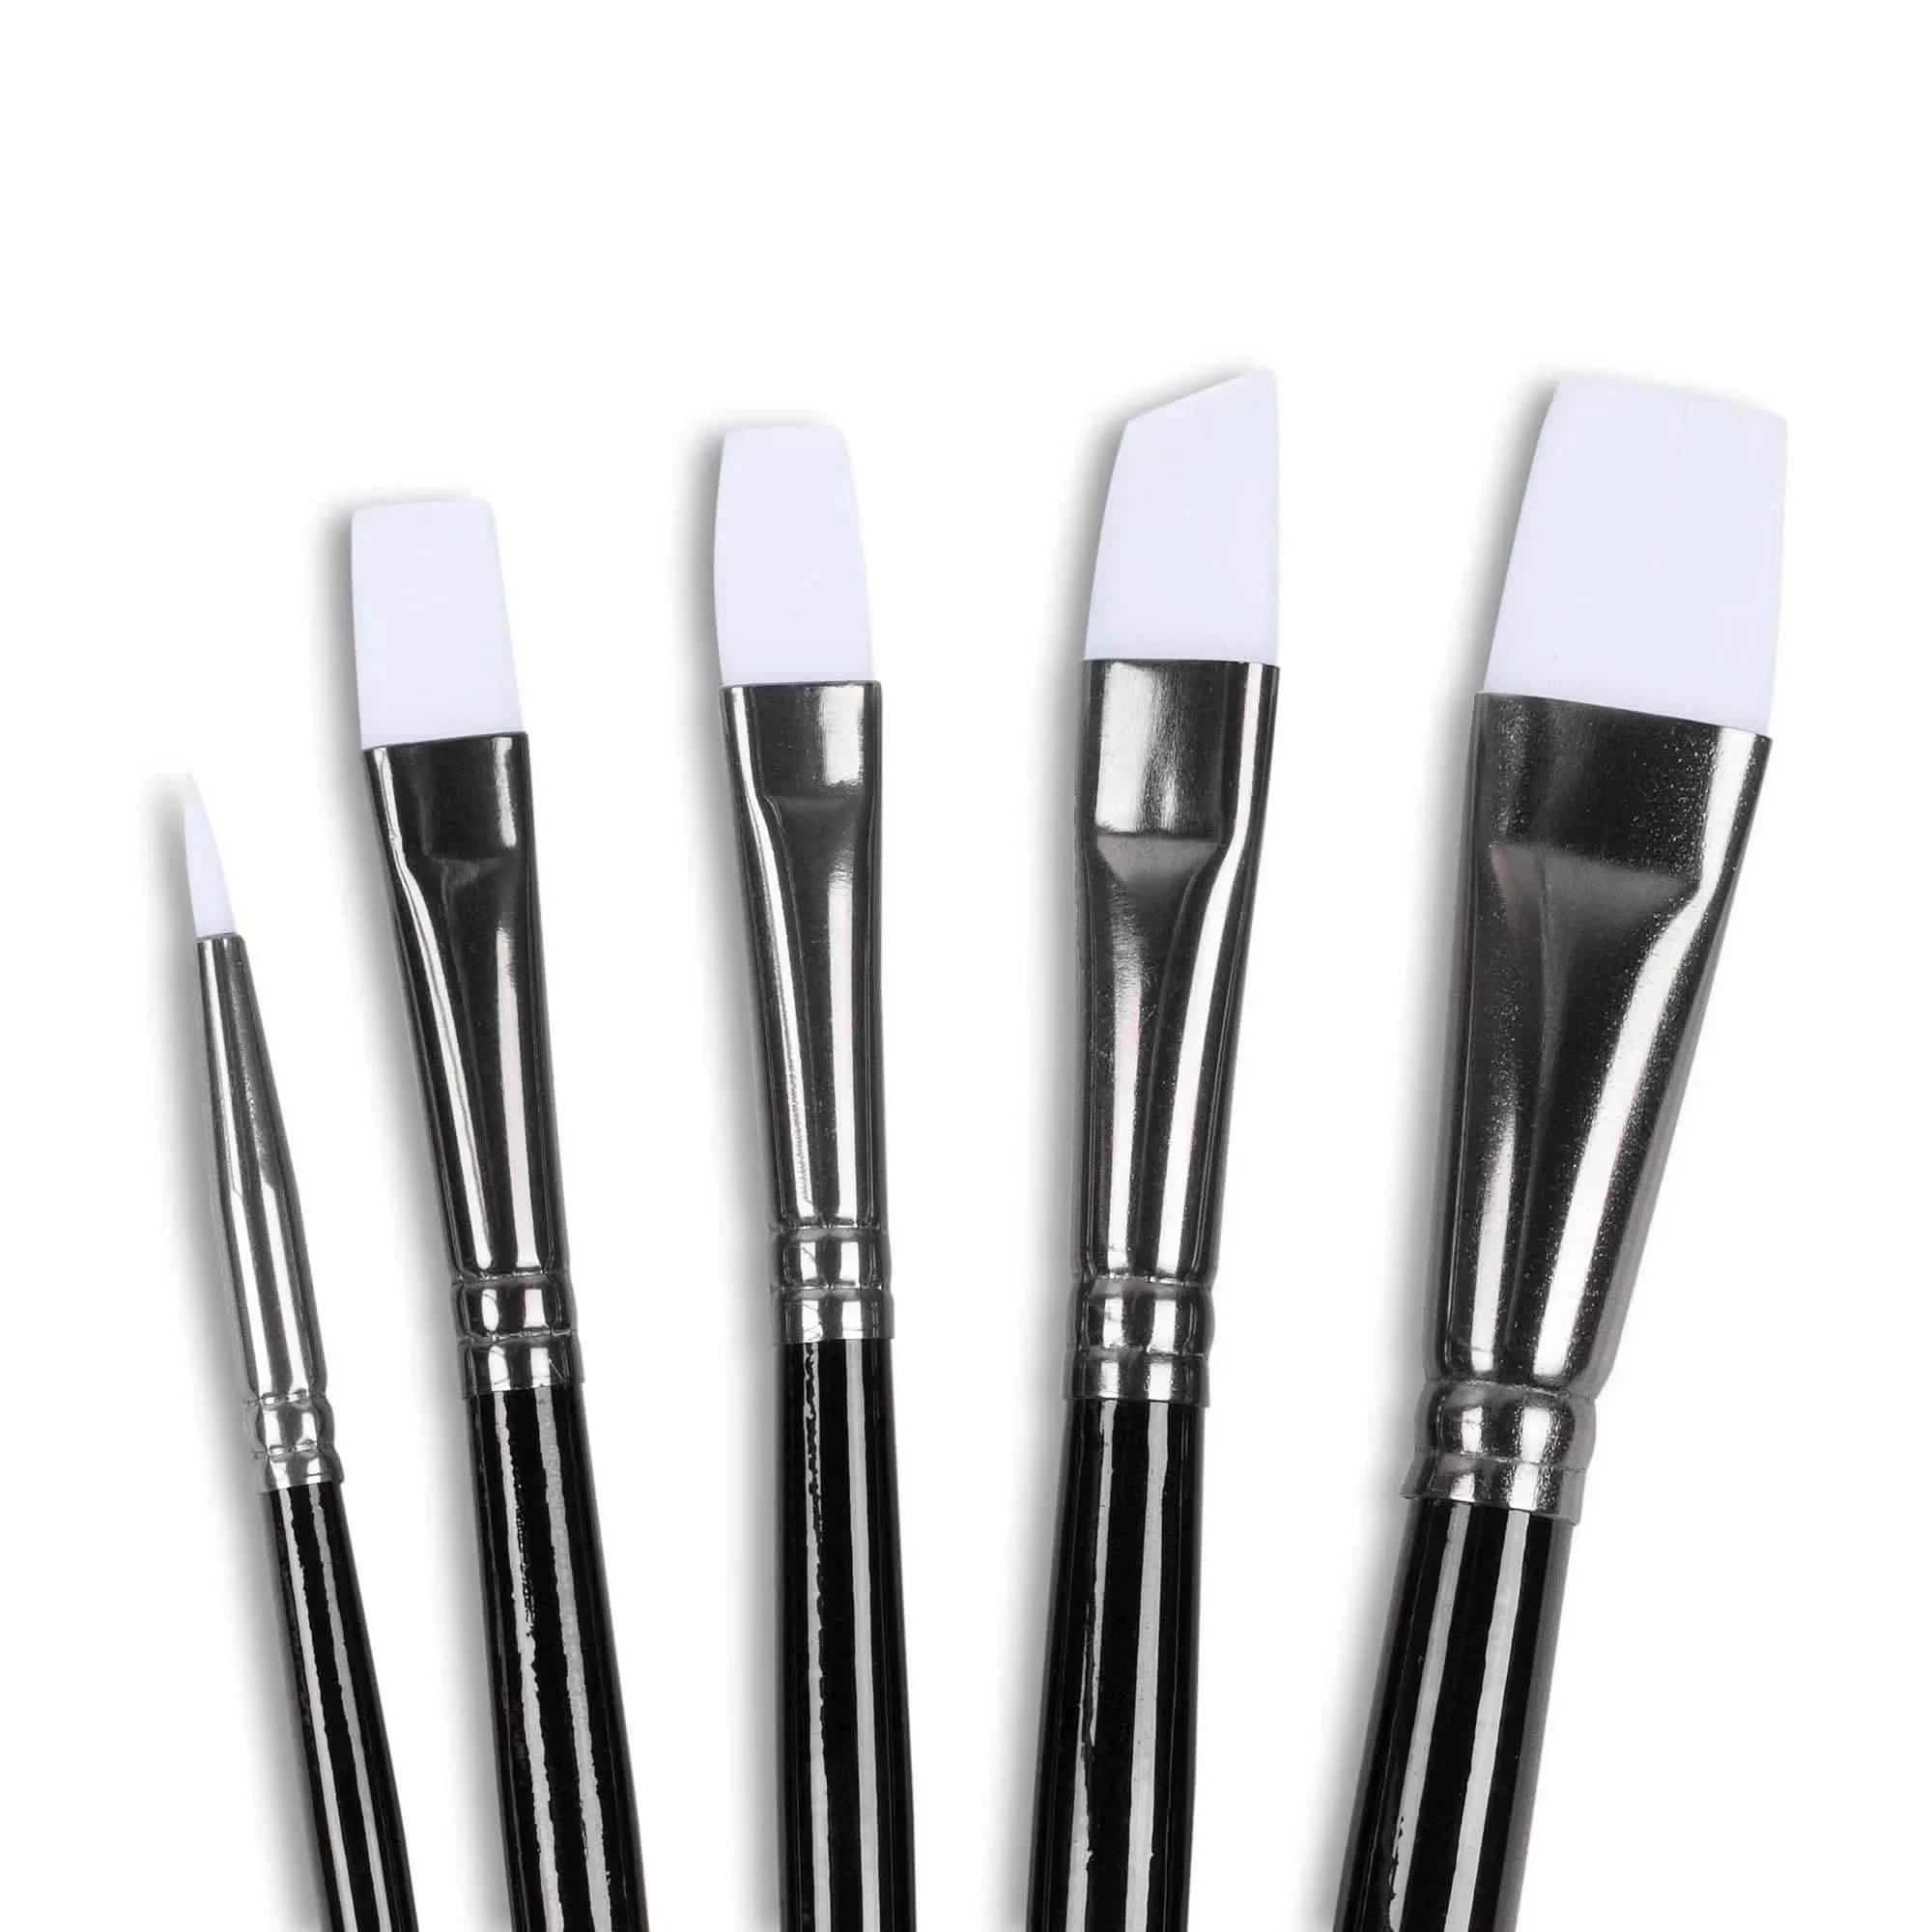
Angelus Paint Brush Set
$9.95
-$14.95
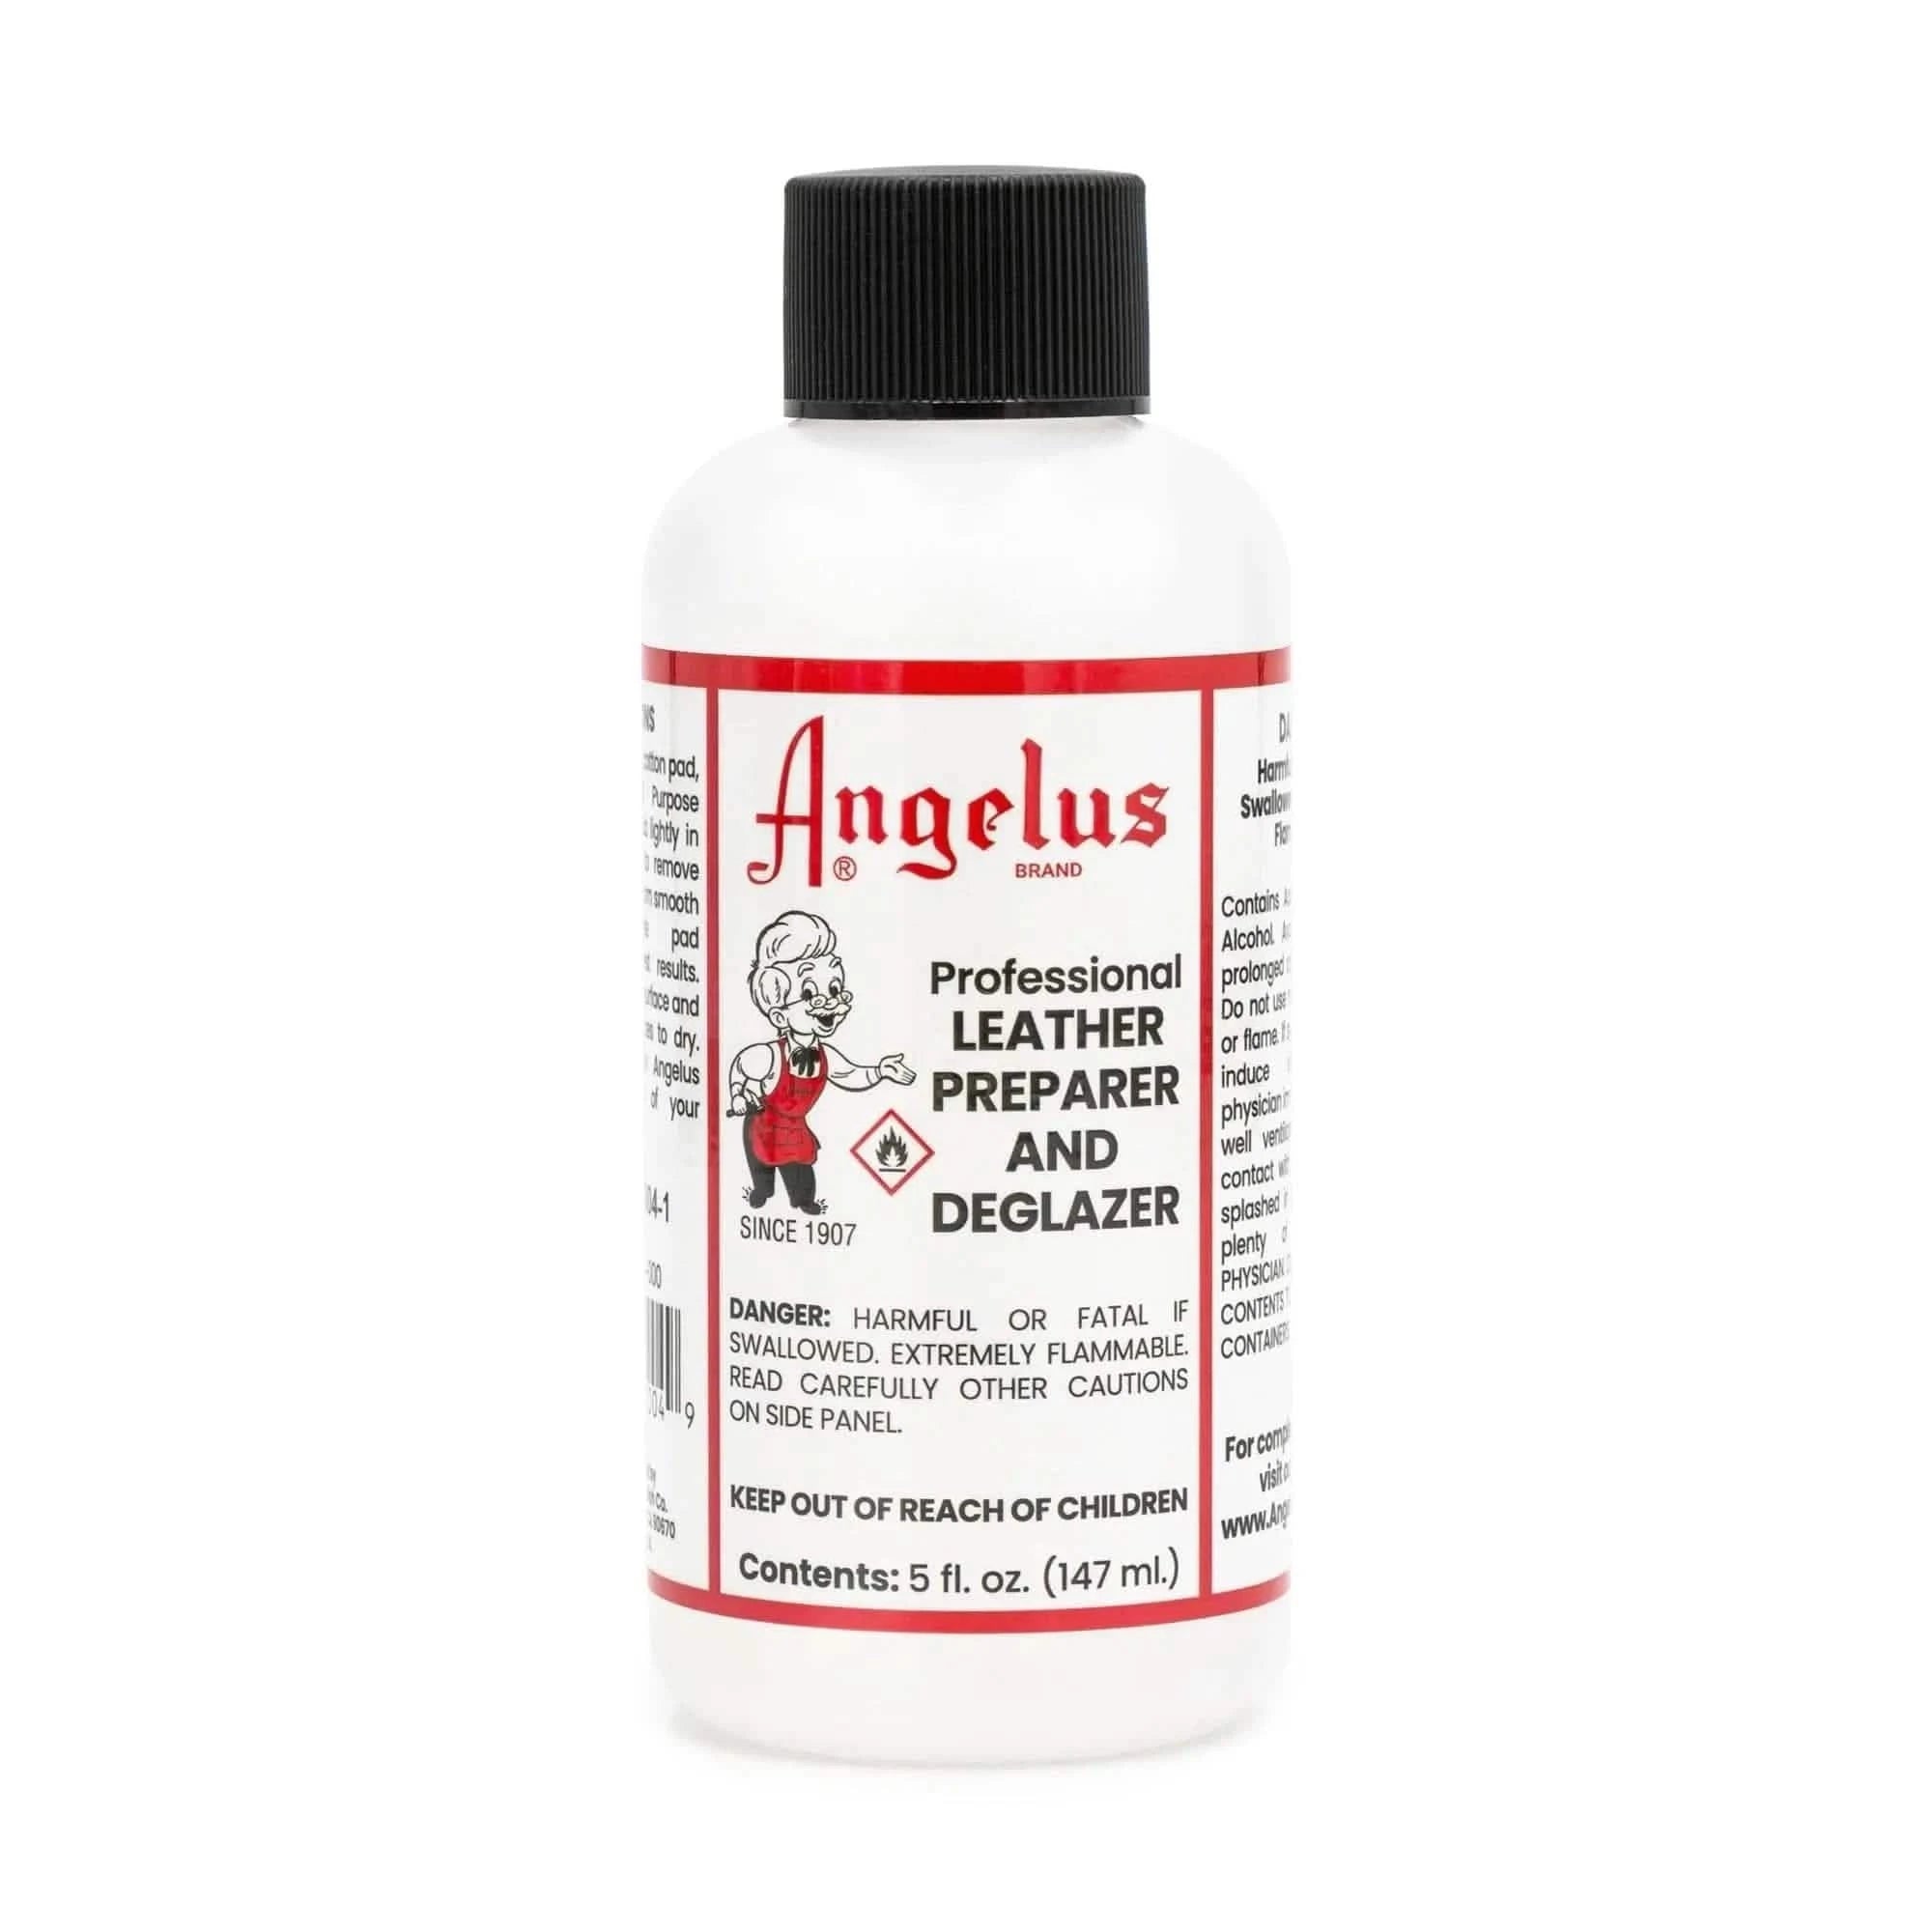
Leather Preparer and Deglazer
$5.95
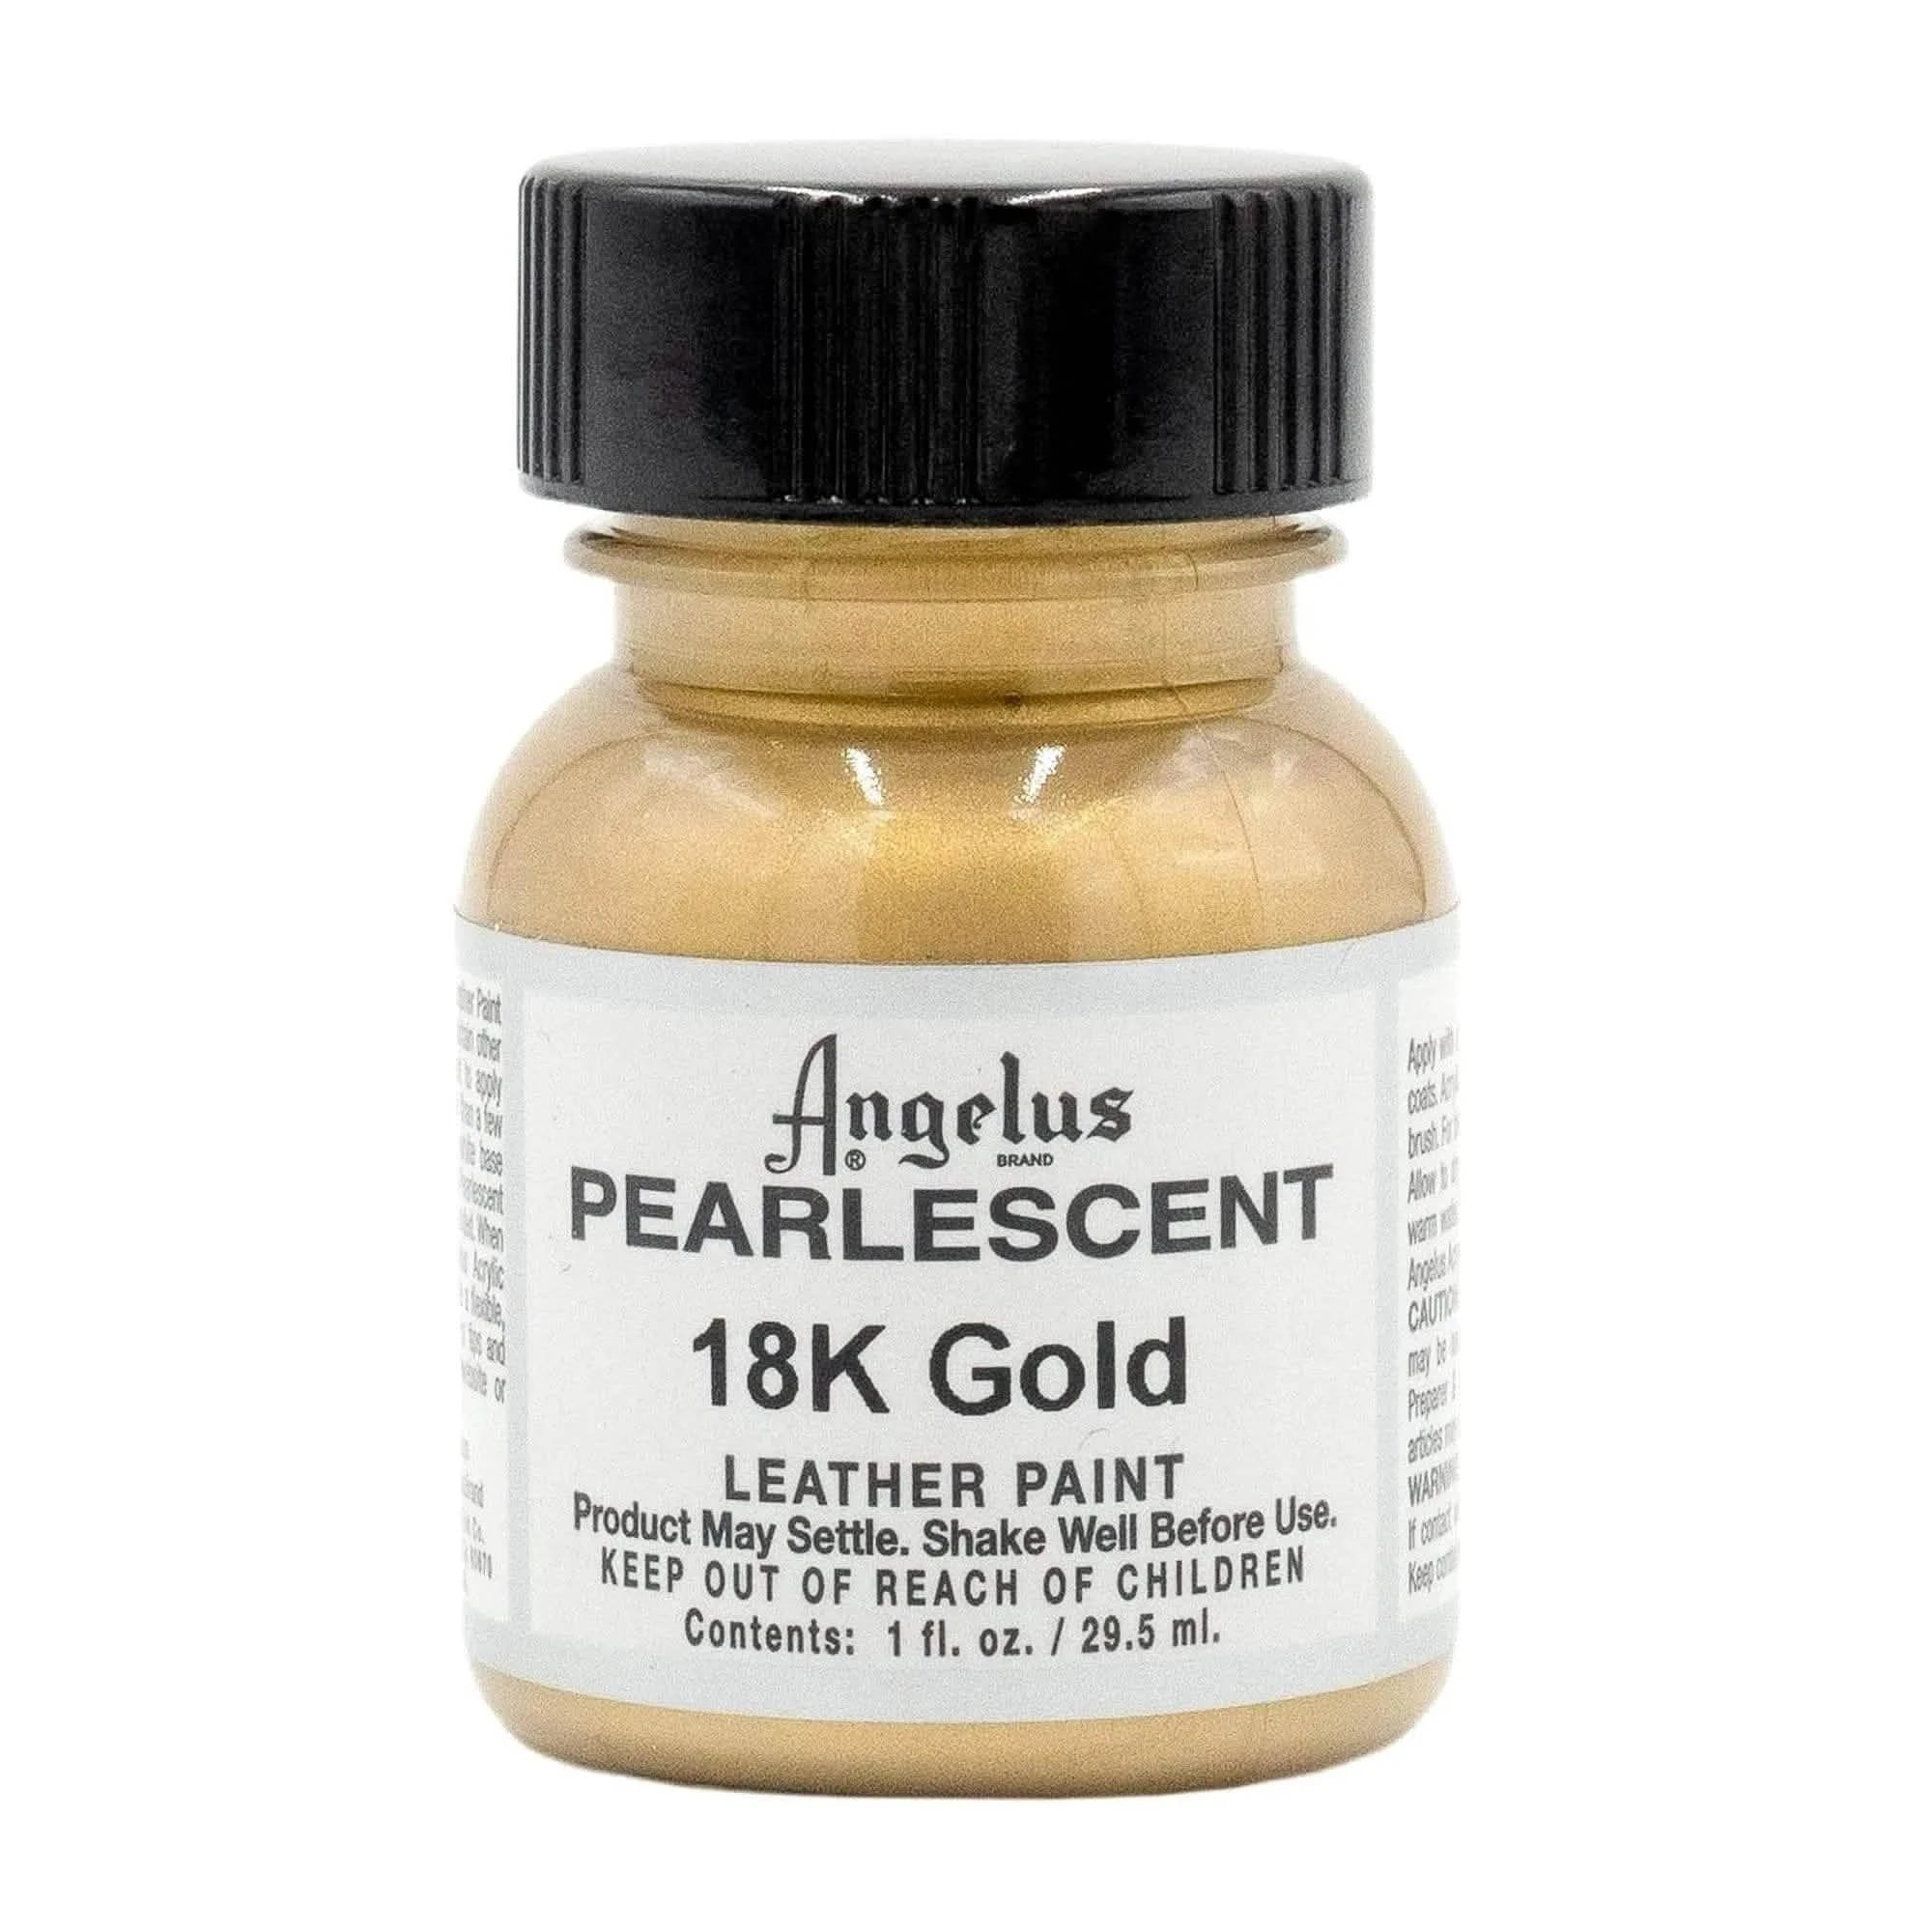
Pearlescent 18K Gold Paint
$4.95
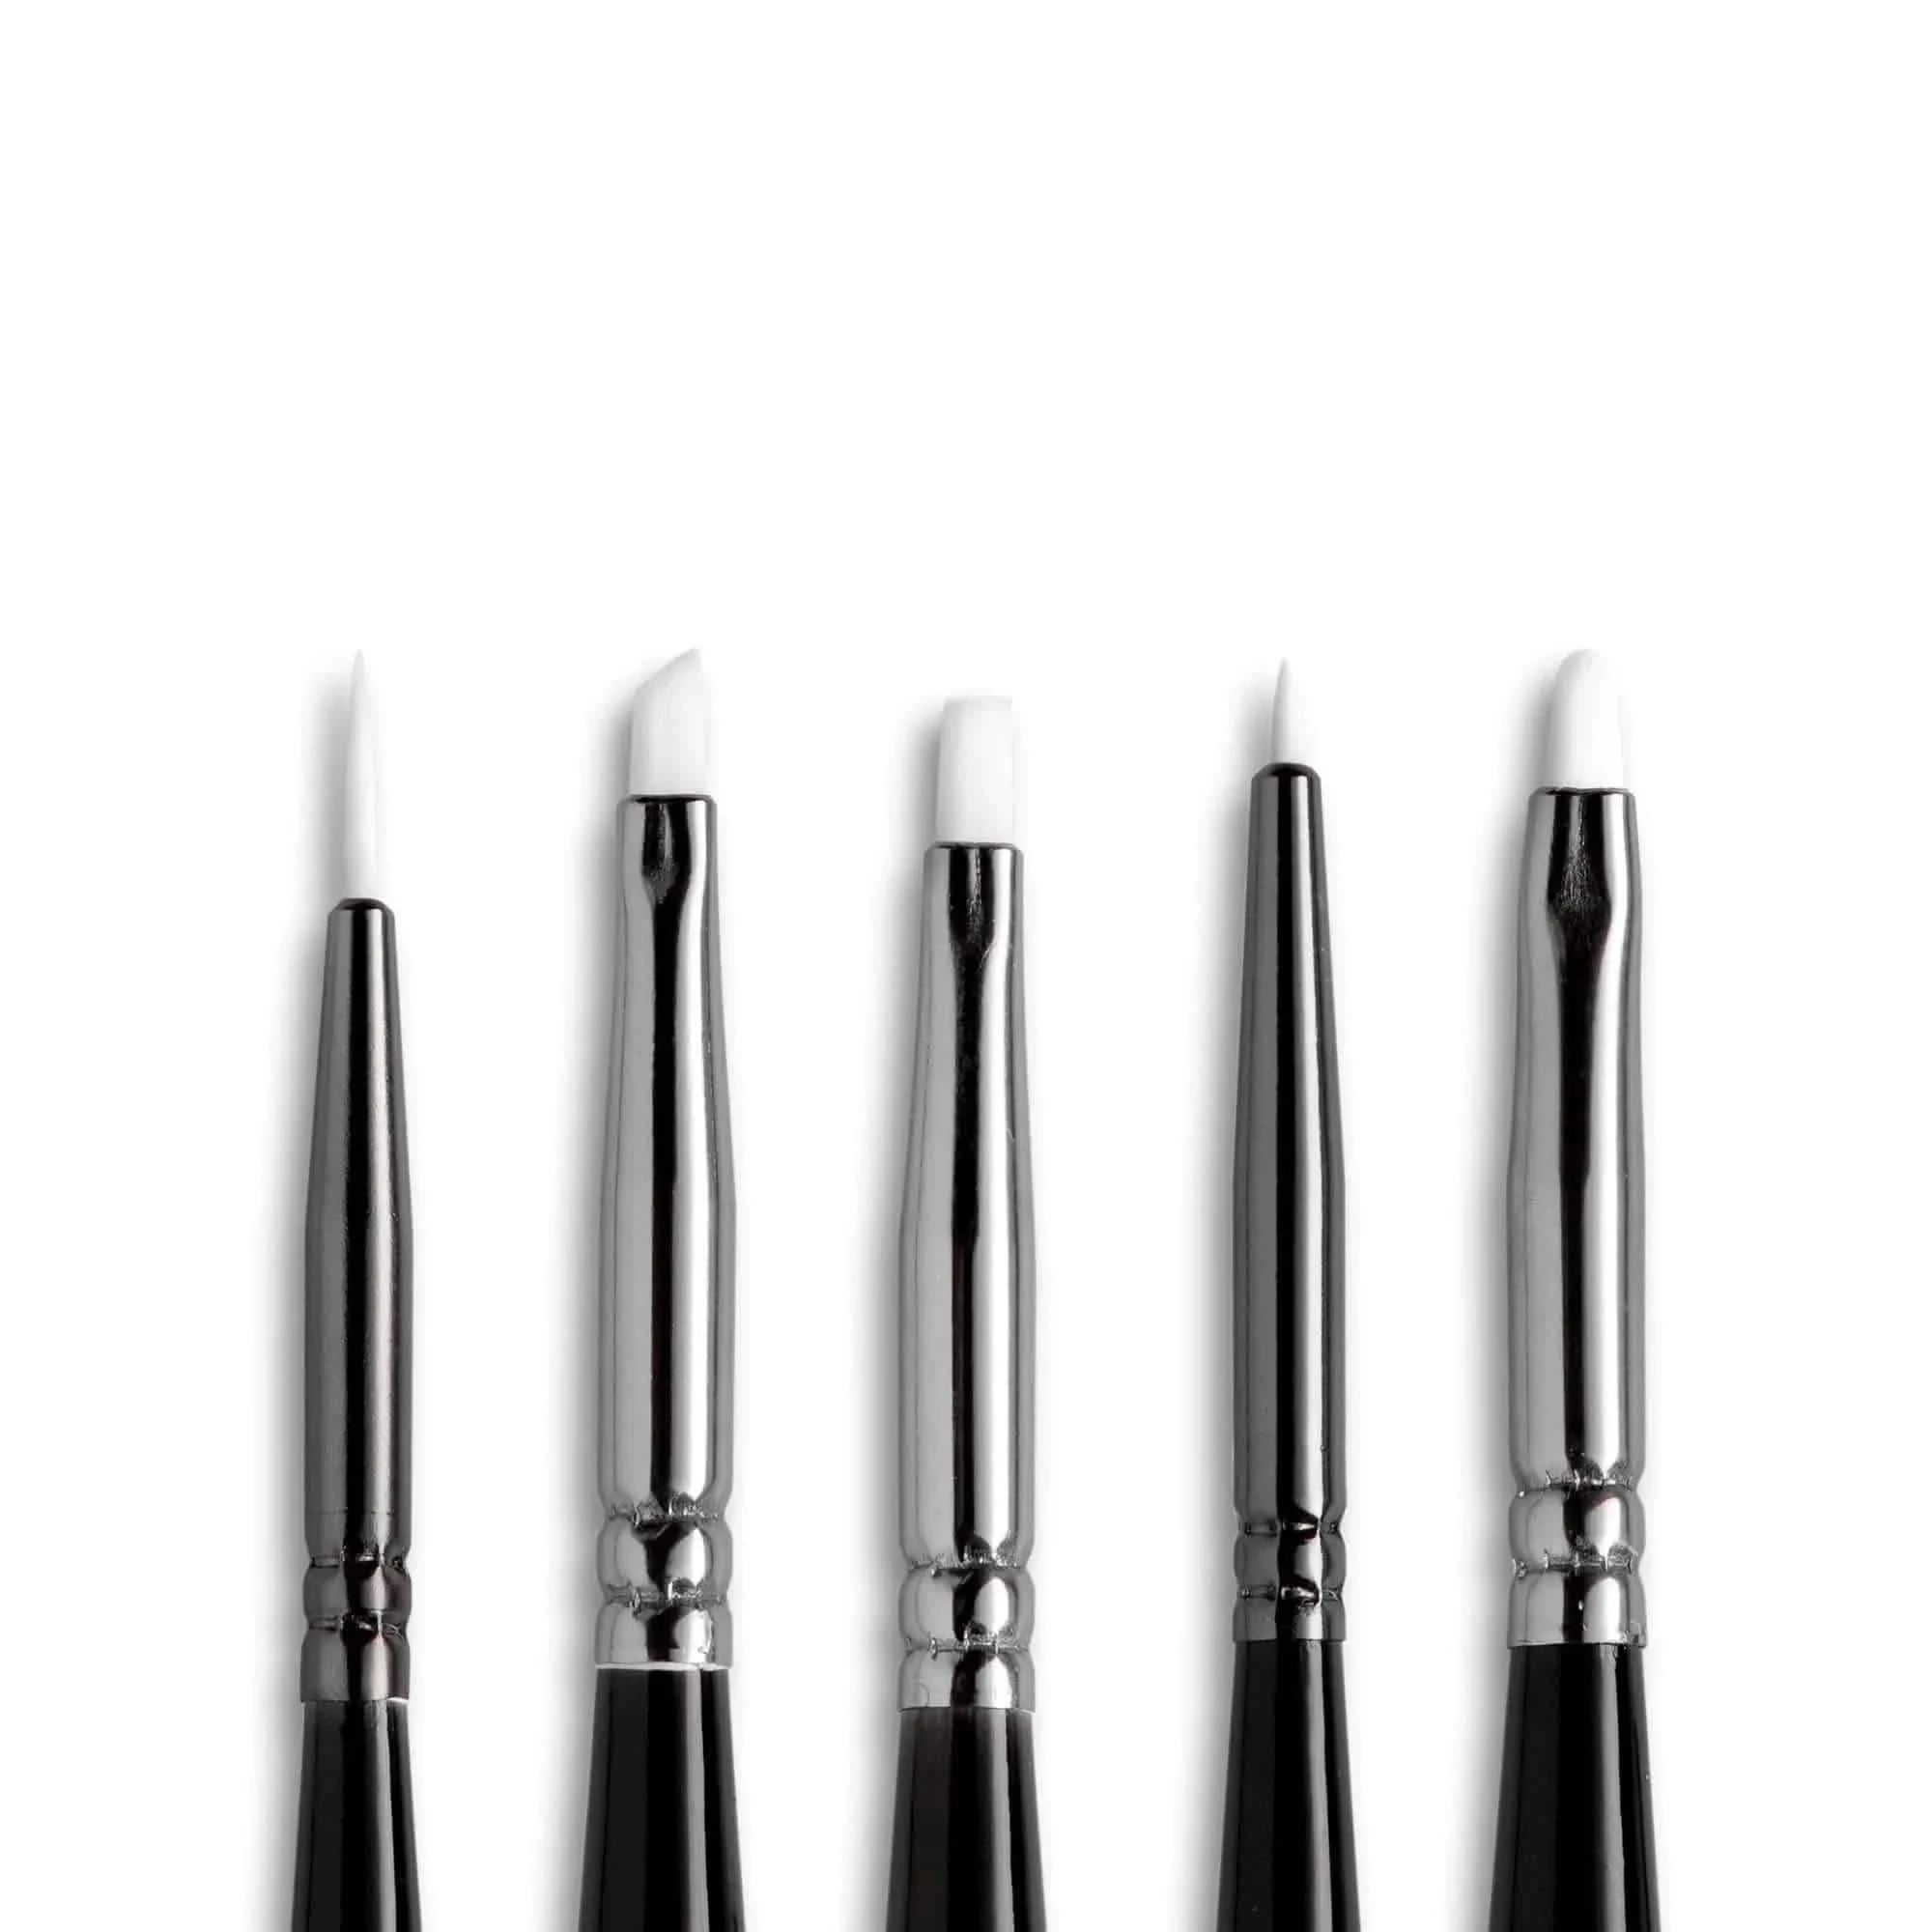
Angelus Micro Detail Paint Brush Set
$16.95
-$24.75
2-Soft Fabric Medium
$3.95
Angelus Paint Brush Set
$9.95
-$14.95
Leather Preparer and Deglazer
$5.95
Pearlescent 18K Gold Paint
$4.95
Angelus Micro Detail Paint Brush Set
$16.95
-$24.75
2-Soft Fabric Medium
$3.95
Angelus Paint Brush Set
$9.95
-$14.95
Leather Preparer and Deglazer
$5.95
Pearlescent 18K Gold Paint
$4.95
Angelus Micro Detail Paint Brush Set
$16.95
-$24.75
2-Soft Fabric Medium
$3.95
Angelus Paint Brush Set
$9.95
-$14.95
Leather Preparer and Deglazer
$5.95
Pearlescent 18K Gold Paint
$4.95
Angelus Micro Detail Paint Brush Set
$16.95
-$24.75
2-Soft Fabric Medium
$3.95
Angelus Paint Brush Set
$9.95
-$14.95
Leather Preparer and Deglazer
$5.95
Pearlescent 18K Gold Paint
$4.95
Angelus Micro Detail Paint Brush Set
$16.95
-$24.75
2-Soft Fabric Medium
$3.95
Angelus Paint Brush Set
$9.95
-$14.95
Leather Preparer and Deglazer
$5.95
Pearlescent 18K Gold Paint
$4.95
Angelus Micro Detail Paint Brush Set
$16.95
-$24.75
Unlock More Inspiration
Dive deeper into our Creator Spotlight series and discover new tutorials from top artists in the community. Whether you're looking to master advanced techniques or spark fresh ideas, these step-by-step guides will take your custom game to the next level.