
Introduction
Unlock the secrets to creating one-of-a-kind hand-painted hats with this in-depth guide featuring renowned custom artist Custom by PB. Whether you're a beginner or a seasoned creator, this tutorial covers everything you need to know.
Creator Spotlight
Creator Spotlight
Creator Spotlight
Creator Spotlight
Creator Spotlight
Creator Spotlight
Creator Spotlight
Creator Spotlight
Creator Spotlight
Creator Spotlight
Creator Spotlight
Creator Spotlight
Creator Spotlight
Creator Spotlight
Creator Spotlight
Creator Spotlight
Creator Spotlight
Creator Spotlight
Creator Spotlight
Creator Spotlight
Custom By PB
I’m Paige, an artist from the Toronto area. My art journey started with me exploring abstract and fluid art in 2020. A couple years later, I decided to learn how to draw and paint portraits. My first sports painting was on a football as a gift for my brother and I have been creating personalized sports memorabilia for athletes and fans since! As a former athlete and current sports fan, I love being able to connect my new artistic ability with something that has always been a part of my life.
Creator Spotlight
Creator Spotlight
Creator Spotlight
Creator Spotlight
Creator Spotlight
Creator Spotlight
Creator Spotlight
Creator Spotlight
Creator Spotlight
Creator Spotlight
Creator Spotlight
Creator Spotlight
Creator Spotlight
Creator Spotlight
Creator Spotlight
Creator Spotlight
Creator Spotlight
Creator Spotlight
Creator Spotlight
Creator Spotlight
How to Paint on Hats in 4 Easy Steps (With Angelus Products)
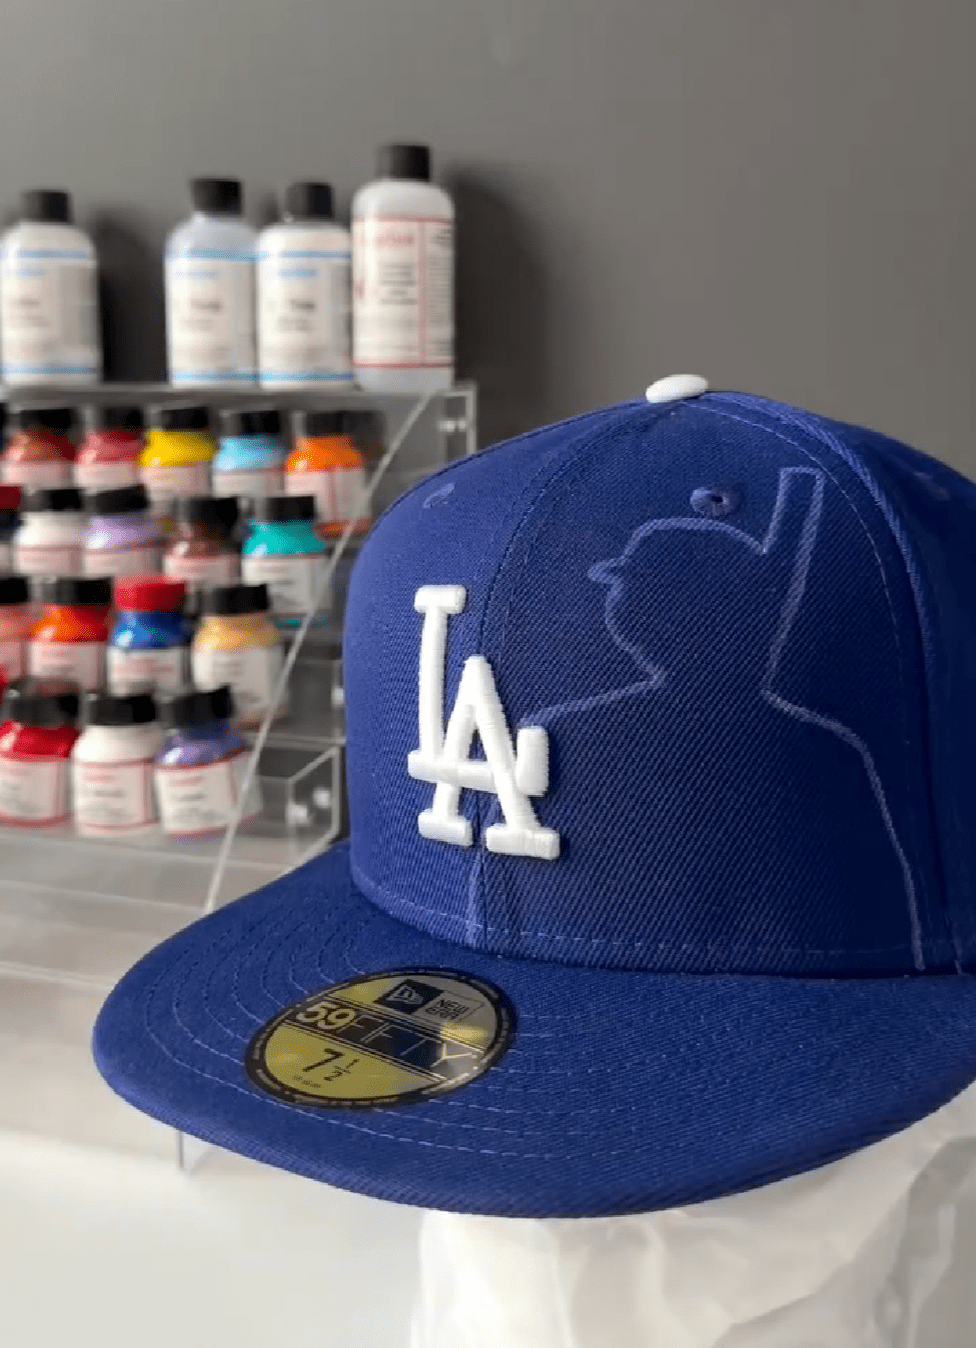
Step 1: Clean & Prep Your Hat Properly
Before you paint anything, it’s essential to start with a clean surface.
- For fabric hats, use Angelus Easy Cleaner to remove dirt, oils, and any factory coating.
- If your hat includes leather panels, prep those areas with Angelus Leather Preparer & Deglazer to strip the finish and help paint adhere.
A clean surface = a smooth, lasting design.
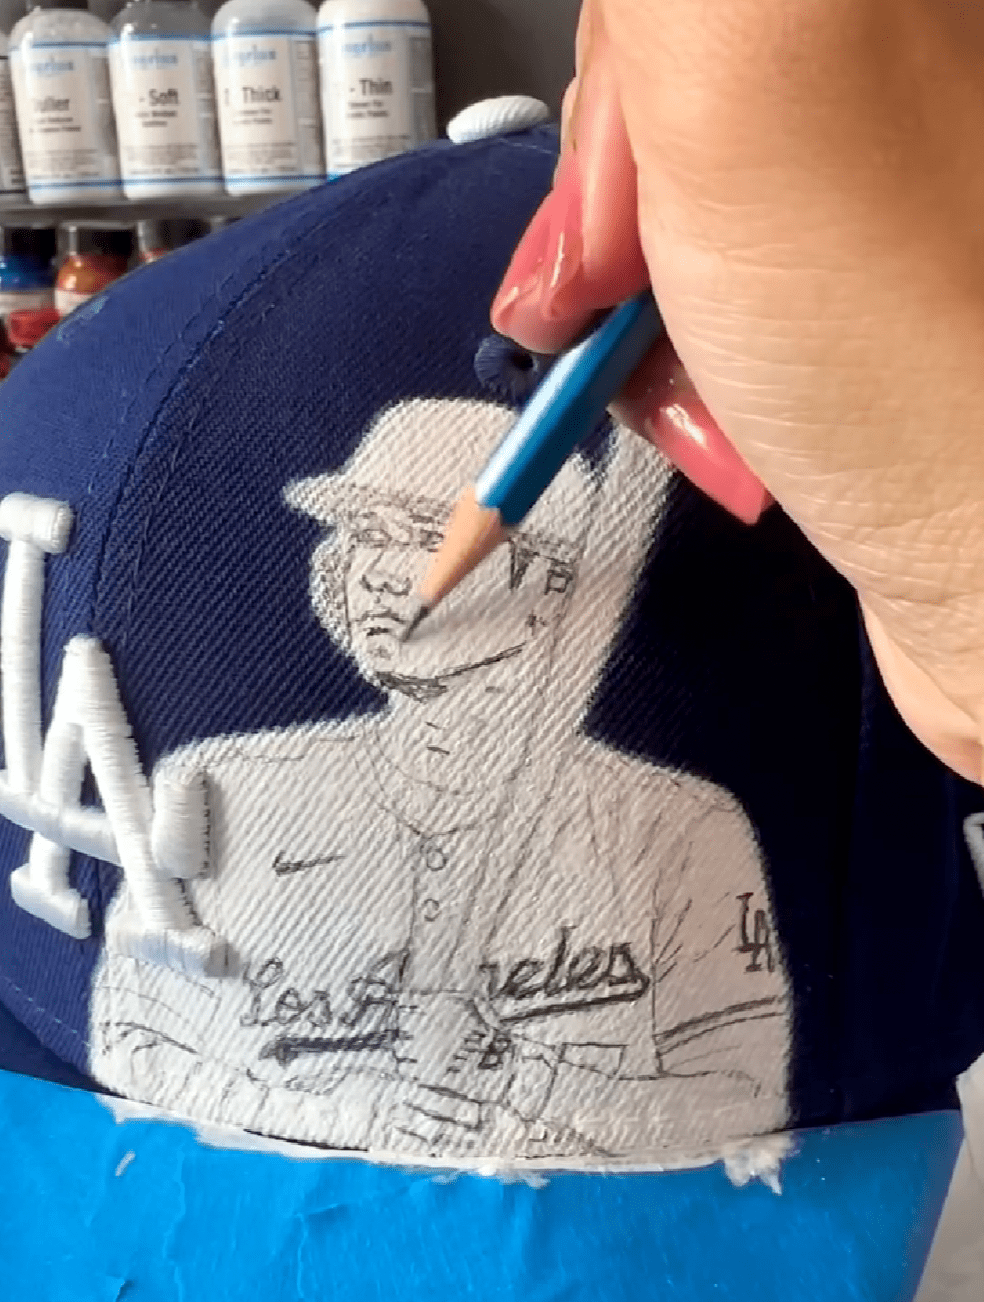
Step 2: Sketch Your Design
Use a pencil or chalk to lightly sketch your design on the hat. This helps guide your painting and ensures symmetry, especially on curved surfaces like caps or bucket hats.
Planning ahead keeps your artwork clean and professional.
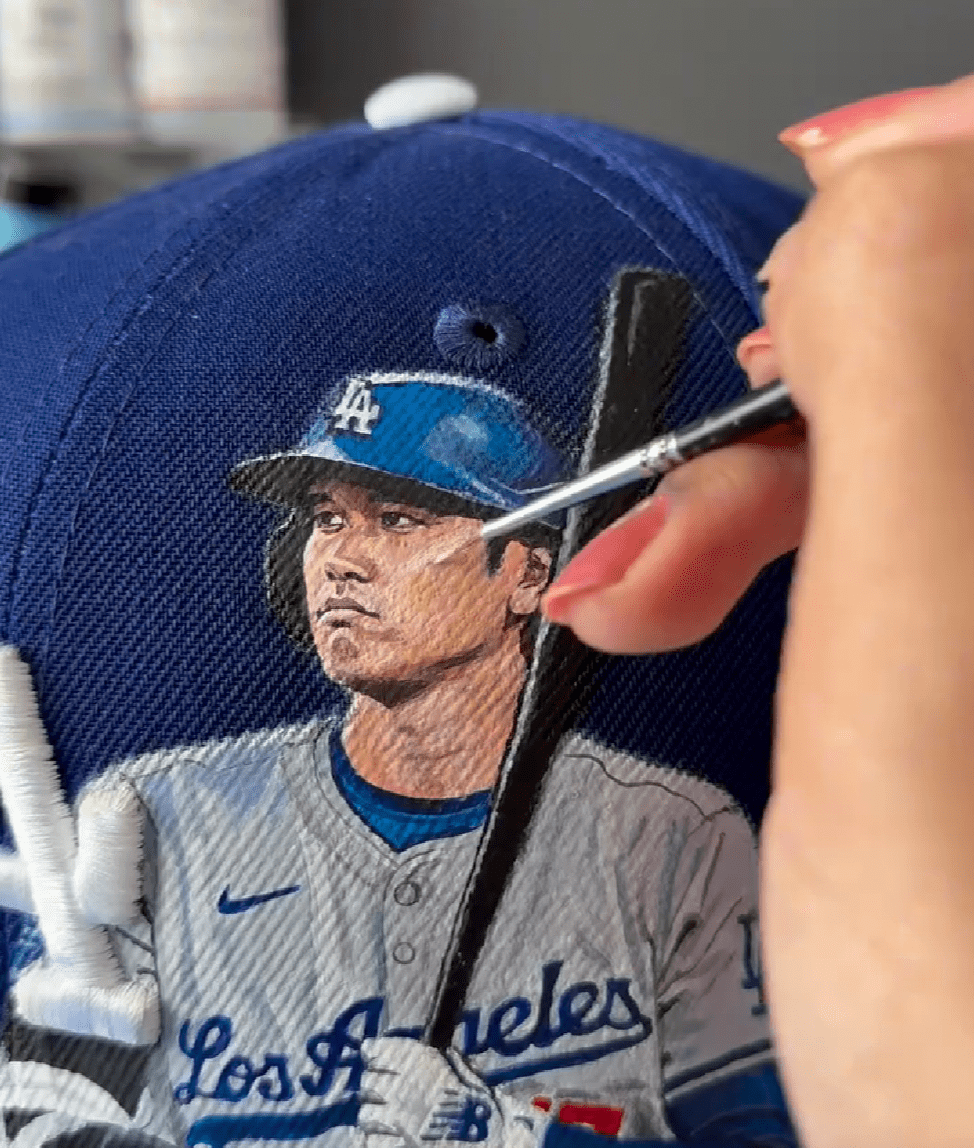
Step 3: Mix and Apply Your Paint
For cloth or fabric areas, always mix your Angelus Paint with Angelus 2-Soft Fabric Medium in a 1:1 ratio. This keeps your design flexible and prevents cracking.
- Apply thin coats using a soft brush
- Let each layer dry completely before adding the next
🎨 Browse Angelus Leather Paints to choose your custom color palette.
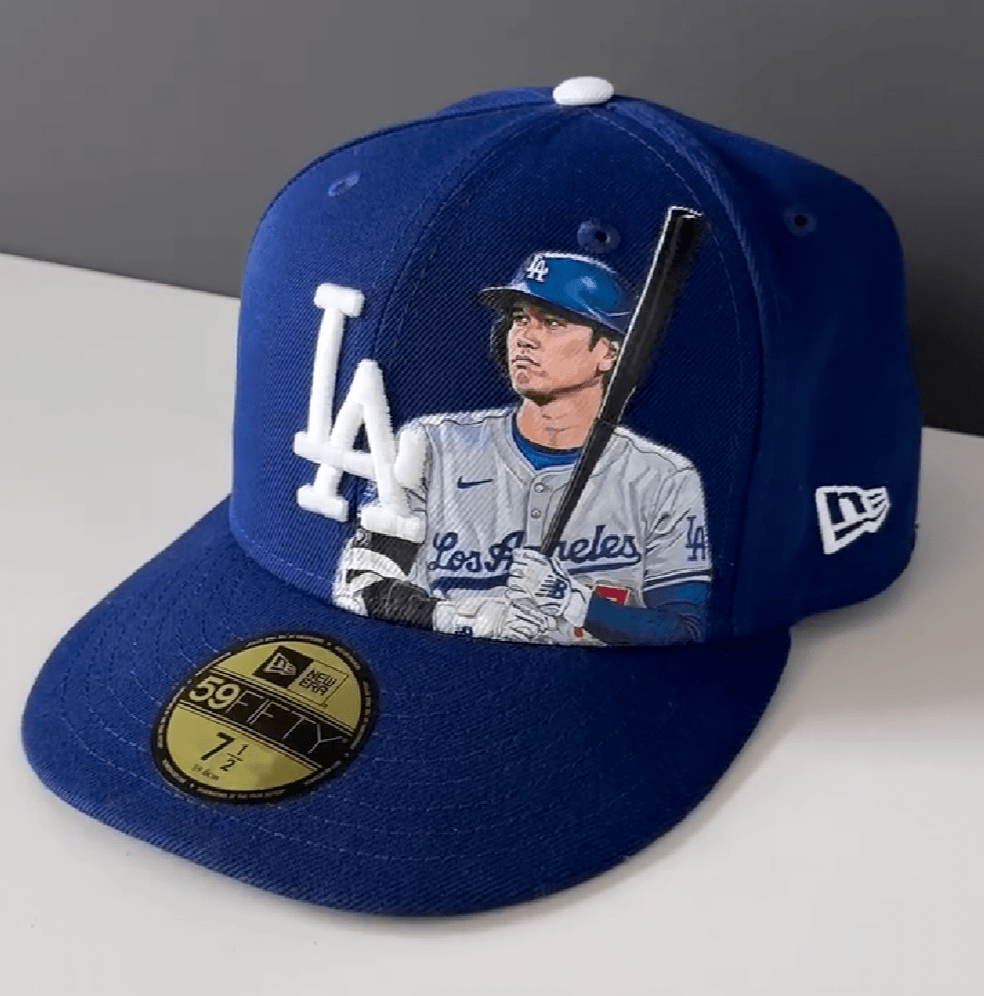
Step 4: Heat Set Your Design for Durability
To lock in the flexibility and prevent cracking or peeling, you’ll need to heat set the paint.
What you need:
- Heat gun or household dryer (on high heat)
Instructions: After your final layer dries, use a heat gun or dryer to heat set the painted area for about 2–3 minutes. Keep the heat moving and avoid holding it too close.
Creator Questions
I'm based in Toronto, Canada.
I found Angelus on Google when researching the best paint to use on leather. From there, I found their Instagram, where many other artists shared videos of how they use their products, which was very helpful in starting my journey!
I mainly use Angelus products to paint detailed portraits of athletes on sports equipment (footballs basketballs, etc.) and on clothing like jerseys, hats and jackets. I have also used it during the process of painting a wall mural.
My favourite Angelus products include the Leather Preparer and Deglazer to prep surfaces for painting and also fix mistakes during the process. Then of course the Acrylic Leather Paint, which works great on a range of surfaces from basketballs to baseball hats to jerseys. I also like using mediums like 2-Soft when working on fabric and the Duller to add to the paint to give it a nice matte finish. The Paint Brush Sets also work incredibly well with their paint!
You don’t have to know what you’re doing or how to do it. Just do it anyway and allow yourself to learn in the process. You have no idea how much you can improve and grow in a short amount of time! You will be amazed at what you’re able to create one day.
🛒 Custom by PB's Top 5 Angelus Products
Leather Preparer and Deglazer
$5.95

Angelus Paint Basics Kit
$32.95
-$39.60
2-Soft Fabric Medium
$3.95
Duller
$5.95
Angelus Paint Brush Set
$9.95
-$14.95
Leather Preparer and Deglazer
$5.95
Angelus Paint Basics Kit
$32.95
-$39.60
2-Soft Fabric Medium
$3.95
Duller
$5.95
Angelus Paint Brush Set
$9.95
-$14.95
Leather Preparer and Deglazer
$5.95
Angelus Paint Basics Kit
$32.95
-$39.60
2-Soft Fabric Medium
$3.95
Duller
$5.95
Angelus Paint Brush Set
$9.95
-$14.95
Leather Preparer and Deglazer
$5.95
Angelus Paint Basics Kit
$32.95
-$39.60
2-Soft Fabric Medium
$3.95
Duller
$5.95
Angelus Paint Brush Set
$9.95
-$14.95
Leather Preparer and Deglazer
$5.95
Angelus Paint Basics Kit
$32.95
-$39.60
2-Soft Fabric Medium
$3.95
Duller
$5.95
Angelus Paint Brush Set
$9.95
-$14.95
Leather Preparer and Deglazer
$5.95
Angelus Paint Basics Kit
$32.95
-$39.60
2-Soft Fabric Medium
$3.95
Duller
$5.95
Angelus Paint Brush Set
$9.95
-$14.95
Unlock More Inspiration
Dive deeper into our Creator Spotlight series and discover new tutorials from top artists in the community. Whether you're looking to master advanced techniques or spark fresh ideas, these step-by-step guides will take your custom game to the next level.