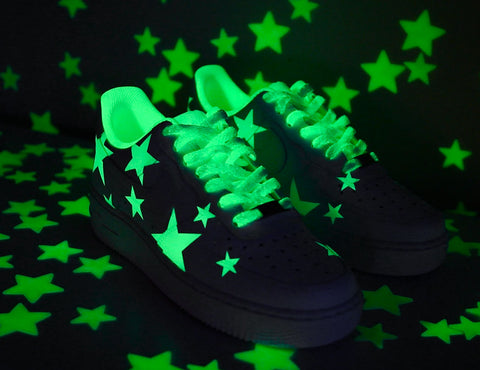
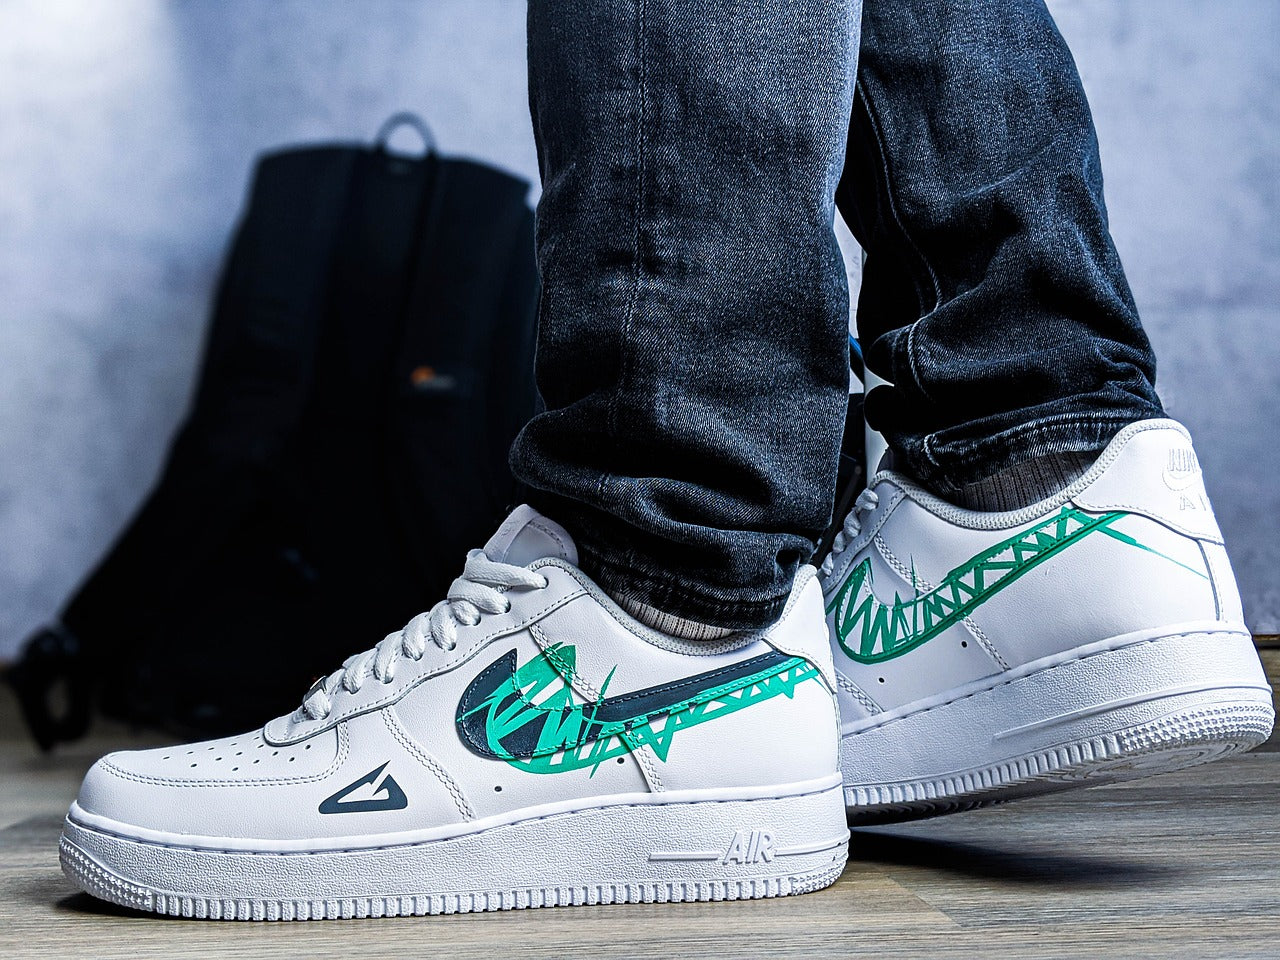
Glow-in-the-dark sneakers are the perfect blend of artistry and functionality, allowing you to express your creativity while turning heads both day and night. These sneakers aren’t just footwear; they’re wearable art that lights up your path in style. From highlighting your personal fashion statement to creating a fun DIY project, glow-in-the-dark customization is an engaging activity that has captured the imagination of sneaker enthusiasts and creatives alike.
Whether you want to give old sneakers a second life or create a unique design from scratch, customizing sneakers with glow-in-the-dark paint is a rewarding process. In this guide, we’ll take you through a detailed, step-by-step approach to designing and crafting your very own custom sneakers that glow in the dark.

Essential Materials
Before starting your project, gather all the necessary materials to ensure a seamless and enjoyable customization experience. Here’s a comprehensive list:
- Glow-in-the-dark paint: High-quality acrylic paints specifically designed for fabric, canvas, or leather.
- Paint brushes and tools: A variety of brush sizes for detailed work and broader strokes, or airbrush equipment for professional finishes.
- Painter’s tape: Used to create clean edges and protect areas you don’t want painted.
- Cleaning supplies: Soft cloths, rubbing alcohol, and leather preparers to clean and prep the surface.
- Stencils or templates (optional): Ideal for intricate or repeating patterns.
- Blacklight or UV flashlight: Helps you visualize the glow effect as you work.
- Finisher or sealant: Protects the painted design and enhances durability.
- Protective gloves: Keeps your hands clean and prevents skin irritation.
- Workspace setup: A well-ventilated area with drop cloths to protect surfaces.

Paint Options for Different Materials
- Canvas Sneakers: Use fabric-friendly paints that adhere well to porous materials.
- Leather Sneakers: Opt for leather-specific paints that are flexible and durable. Applying a preparer or deglazer ensures better adhesion.
Selecting the right materials sets the foundation for a successful customization project.
Preparing Your Sneakers
Preparation is critical to ensure your glow-in-the-dark paint adheres well and lasts over time. Follow these steps to properly prepare your sneakers:
- Clean the Sneakers:
- For canvas sneakers, use a soft brush to remove dirt and dust.
- For leather sneakers, clean the surface with rubbing alcohol or a leather preparer to remove oils and residues.
- Remove the Laces:
- Take out the shoelaces to expose the full surface of the sneaker and avoid accidental paint smudges.
- Mask Off Areas:
- Use painter’s tape to cover areas you don’t want to paint, such as soles, logos, or specific sections. Press the tape firmly to prevent paint from seeping underneath.
- Optional Base Coat:
- Apply a white base coat to dark sneakers. This step enhances the vibrancy and glow of the paint, especially on darker surfaces.
Proper preparation not only improves paint adherence but also results in a cleaner and more professional finish.
Design Planning and Tape Application
Planning your design in advance helps you achieve the desired outcome and avoids mistakes. Here’s how to plan effectively:
- Conceptualize Your Design:
- Decide on patterns, themes, or graphics for your sneakers. Popular options include geometric shapes, starry skies, abstract designs, or custom logos.
- Sketch your ideas on paper or use digital tools to visualize the final look.
- Use Stencils and Templates:
- For intricate patterns, stencils can be a game-changer. Place them securely on the sneaker before painting.
- Apply Painter’s Tape:
- Carefully tape off areas you want to remain untouched. For sharp, clean lines, ensure the tape edges align perfectly with the design boundaries.
This planning phase sets you up for a smooth painting process while minimizing errors.
Painting Techniques
Glow-in-the-dark paint requires careful application to achieve a smooth and long-lasting finish. Here are detailed painting techniques:
- Apply Thin Layers:
- Start with a thin layer of paint, letting it dry completely before adding additional layers. Thin layers prevent cracking and ensure a uniform glow.
- Use the Right Brushes:
- Small brushes are ideal for details, while broader brushes or airbrushes are better for large areas.
- Work Gradually:
- For best results, apply at least 3-5 coats of glow-in-the-dark paint, depending on the desired intensity. Allow ample drying time between coats.
- Experiment with Effects:
- Use sponges for textured effects or airbrush tools for a seamless, professional look.
- Check Progress Under UV Light:
- Periodically check your work with a UV flashlight to identify missed spots or uneven coverage.
Mastering these techniques ensures a flawless and glowing finish.

Drying and Curing Process
The drying and curing process is essential to lock in your design and ensure its longevity. Follow these steps:
- Air Drying:
- Place the sneakers in a well-ventilated area to dry. Avoid direct sunlight, which can cause warping or fading.
- Curing Time:
- Allow the sneakers to cure for 24-48 hours, depending on the paint manufacturer’s guidelines.
- Optional Heat Setting:
- For fabric sneakers, lightly heat-set the paint with an iron (use a protective cloth) or a heat gun. This step enhances durability and prevents cracking.
- Test the Glow:
- Charge the sneakers under a blacklight or natural sunlight to evaluate the glow intensity.
Proper drying and curing ensure your custom sneakers are ready to shine.
Applying the Finisher
A finisher adds a protective layer to your design, enhancing durability and visual appeal. Here’s how to apply it effectively:
- Choose Your Finish:
- Select a matte, satin, or glossy finisher based on your aesthetic preference.
- Apply Evenly:
- Use a clean brush or airbrush to apply the finisher in thin, even coats. Cover all painted areas for comprehensive protection.
- Let It Set:
- Allow the finisher to dry for several hours before handling the sneakers. Avoid stacking or compressing the shoes during this time.
A high-quality finisher preserves the vibrancy of your design and protects it from wear and tear.
Maintenance and Care
Glow-in-the-dark sneakers require regular care to maintain their brilliance and longevity. Follow these maintenance tips:
- Gentle Cleaning:
- Wipe the sneakers with a damp cloth to remove dirt and debris. Avoid abrasive cleaners that can damage the paint.
- Recharge the Glow:
- Periodically expose the sneakers to sunlight or a UV flashlight to recharge the luminescent pigments.
- Store Properly:
- Keep the sneakers in a cool, dry place when not in use. Avoid prolonged exposure to extreme heat or moisture.
- Avoid Rough Handling:
- Prevent scuffing by avoiding harsh surfaces or excessive bending of the painted areas.
Proper care ensures your custom sneakers remain vibrant and functional over time.
Troubleshooting Common Issues
Even with careful execution, some issues may arise during or after the customization process. Here’s how to address them:
- Cracking Paint:
- Cause: Paint layers are too thick or dried unevenly.
- Solution: Sand the affected area lightly, then reapply thin layers of paint.
- Uneven Glow:
- Cause: Insufficient or inconsistent paint application.
- Solution: Apply additional coats and check coverage under UV light.
- Paint Bleeding:
- Cause: Improper tape application.
- Solution: Ensure the tape is firmly pressed before painting and removed carefully after the paint dries.
- Fading Over Time:
- Cause: Prolonged exposure to harsh environments.
- Solution: Use a finisher to protect the design and store sneakers appropriately.
By troubleshooting effectively, you can preserve the quality and appearance of your custom sneakers.

Customizing sneakers with glow-in-the-dark paint is an exciting and creative journey that allows you to turn ordinary shoes into extraordinary works of art. From choosing the right materials to mastering painting techniques and finishing touches, each step contributes to a masterpiece that reflects your unique style.
High-quality materials play a crucial role in the success of your project. For top-notch paints, finishers, and tools, explore reliable providers like Angelus Direct that cater to sneaker customization needs. With the right resources and this comprehensive guide, you’re ready to create glow paint shoes that will light up any room—and your imagination.
FAQs
1. Can glow-in-the-dark paint be used on leather sneakers?
Yes, glow-in-the-dark paint works well on leather sneakers when paired with a leather preparer or deglazer. This ensures the paint adheres properly and lasts longer.
2. How do I make the glow last longer?
Recharge your sneakers by exposing them to sunlight or a UV flashlight before use. Applying multiple thin layers of paint also enhances the glow effect.
3. What if my paint cracks after application?
If the paint cracks, sand the affected area lightly and reapply thin layers. Ensure each layer dries completely before adding the next.
4. Are there alternative ways to make sneakers glow?
If you prefer not to use paint, consider using glow-in-the-dark laces or adhesive decals for a temporary customization option.
5. Where can I find reliable tools and materials for sneaker customization?
Many enthusiasts trust Angelus Direct for its comprehensive range of paints, finishers, and customization tools, making it easier to bring creative sneaker designs to life.

