Introduction
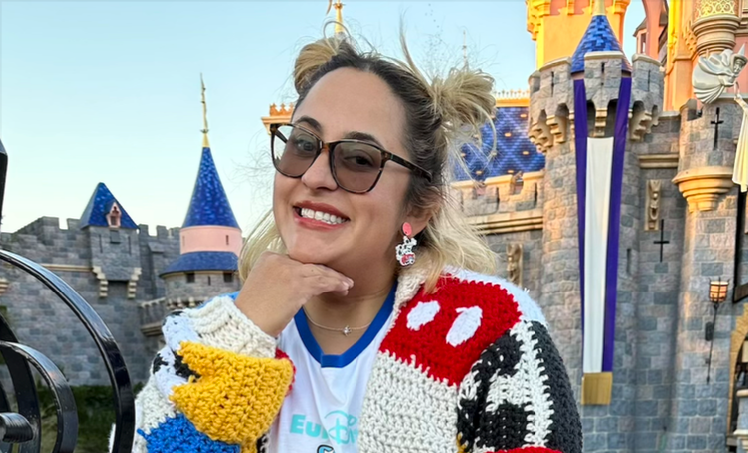
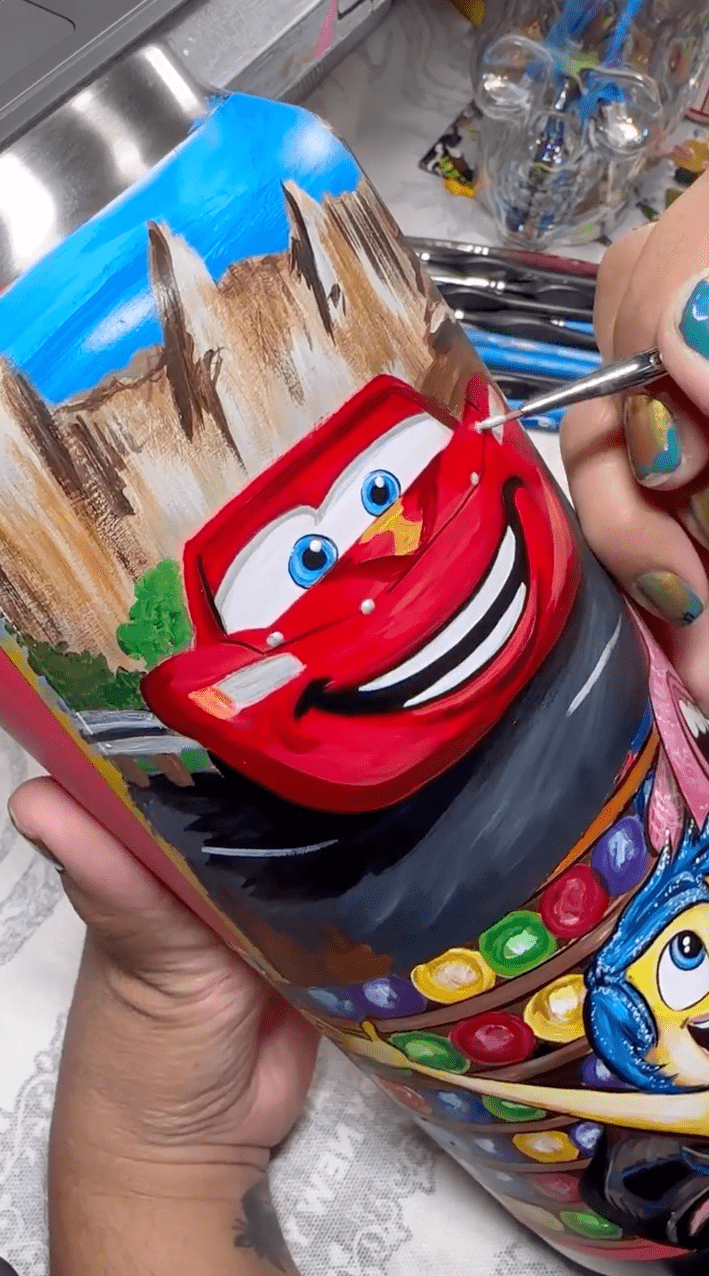
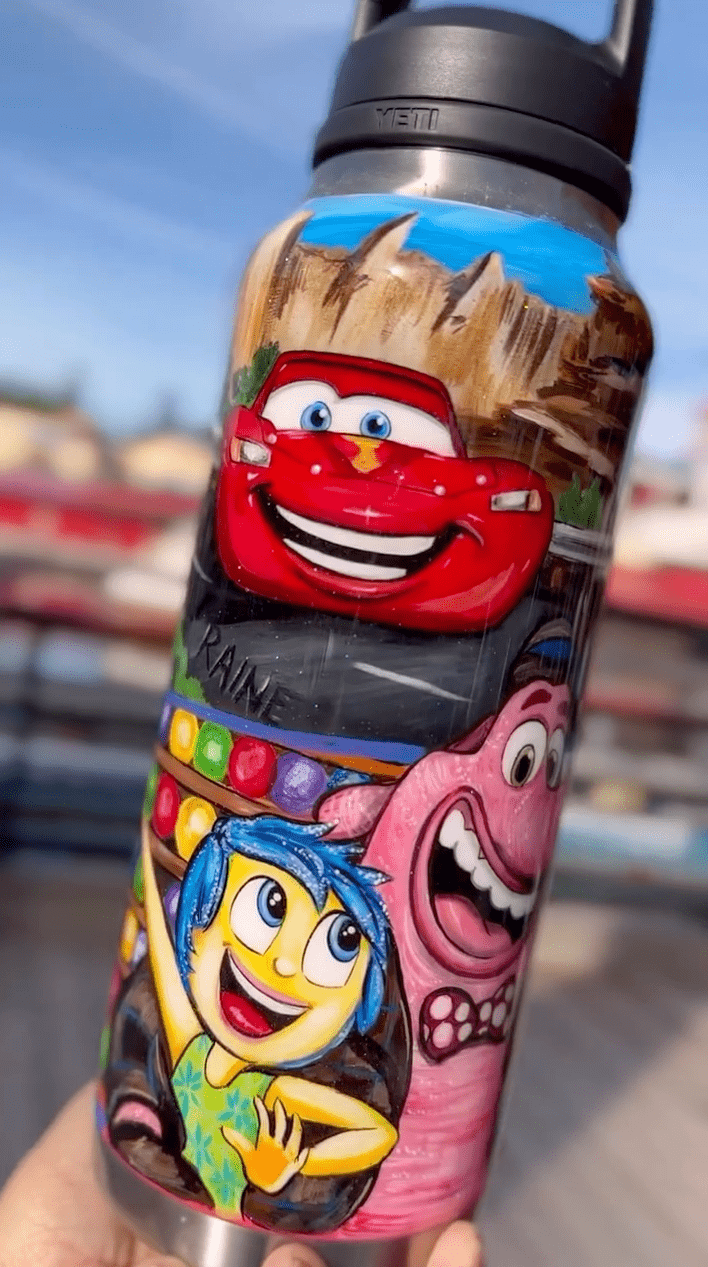
Discover the art of transforming everyday accessories into wearable masterpieces with this exclusive guide by Danielle Jade, the creative force behind @r2jade2. Based in Los Angeles, she creates hand-painted drinkware featuring by well known cartoons and characters. Danielle brings years of artistic passion and experience to the table.
Creator Spotlight
Creator Spotlight
Creator Spotlight
Creator Spotlight
Creator Spotlight
Creator Spotlight
Creator Spotlight
Creator Spotlight
Creator Spotlight
Creator Spotlight
Creator Spotlight
Creator Spotlight
Creator Spotlight
Creator Spotlight
Creator Spotlight
Creator Spotlight
Creator Spotlight
Creator Spotlight
Creator Spotlight
Creator Spotlight
Custom By Danielle Jade
Hey there! I'm Danielle - but in the magical corners of the internet, I go by @r2jade2! Im a Full time Artist, Mama bear, and an Ice coffee enthusiast. Im based in Los Angeles, California. I'm known for creating custom drinkware inspired by beloved characters. I love the idea of being able to carry a custom piece of art with me everyday. I started painting when I was very young, my dad is an artist so it kind of runs in the family. I took it seriously in 2016 when I quite my job to focus full time on my art. I wouldn't have it any other way!
Creator Spotlight
Creator Spotlight
Creator Spotlight
Creator Spotlight
Creator Spotlight
Creator Spotlight
Creator Spotlight
Creator Spotlight
Creator Spotlight
Creator Spotlight
Creator Spotlight
Creator Spotlight
Creator Spotlight
Creator Spotlight
Creator Spotlight
Creator Spotlight
Creator Spotlight
Creator Spotlight
Creator Spotlight
Creator Spotlight
How to Paint on Drinkware in 4 Easy Steps (With Angelus Products)
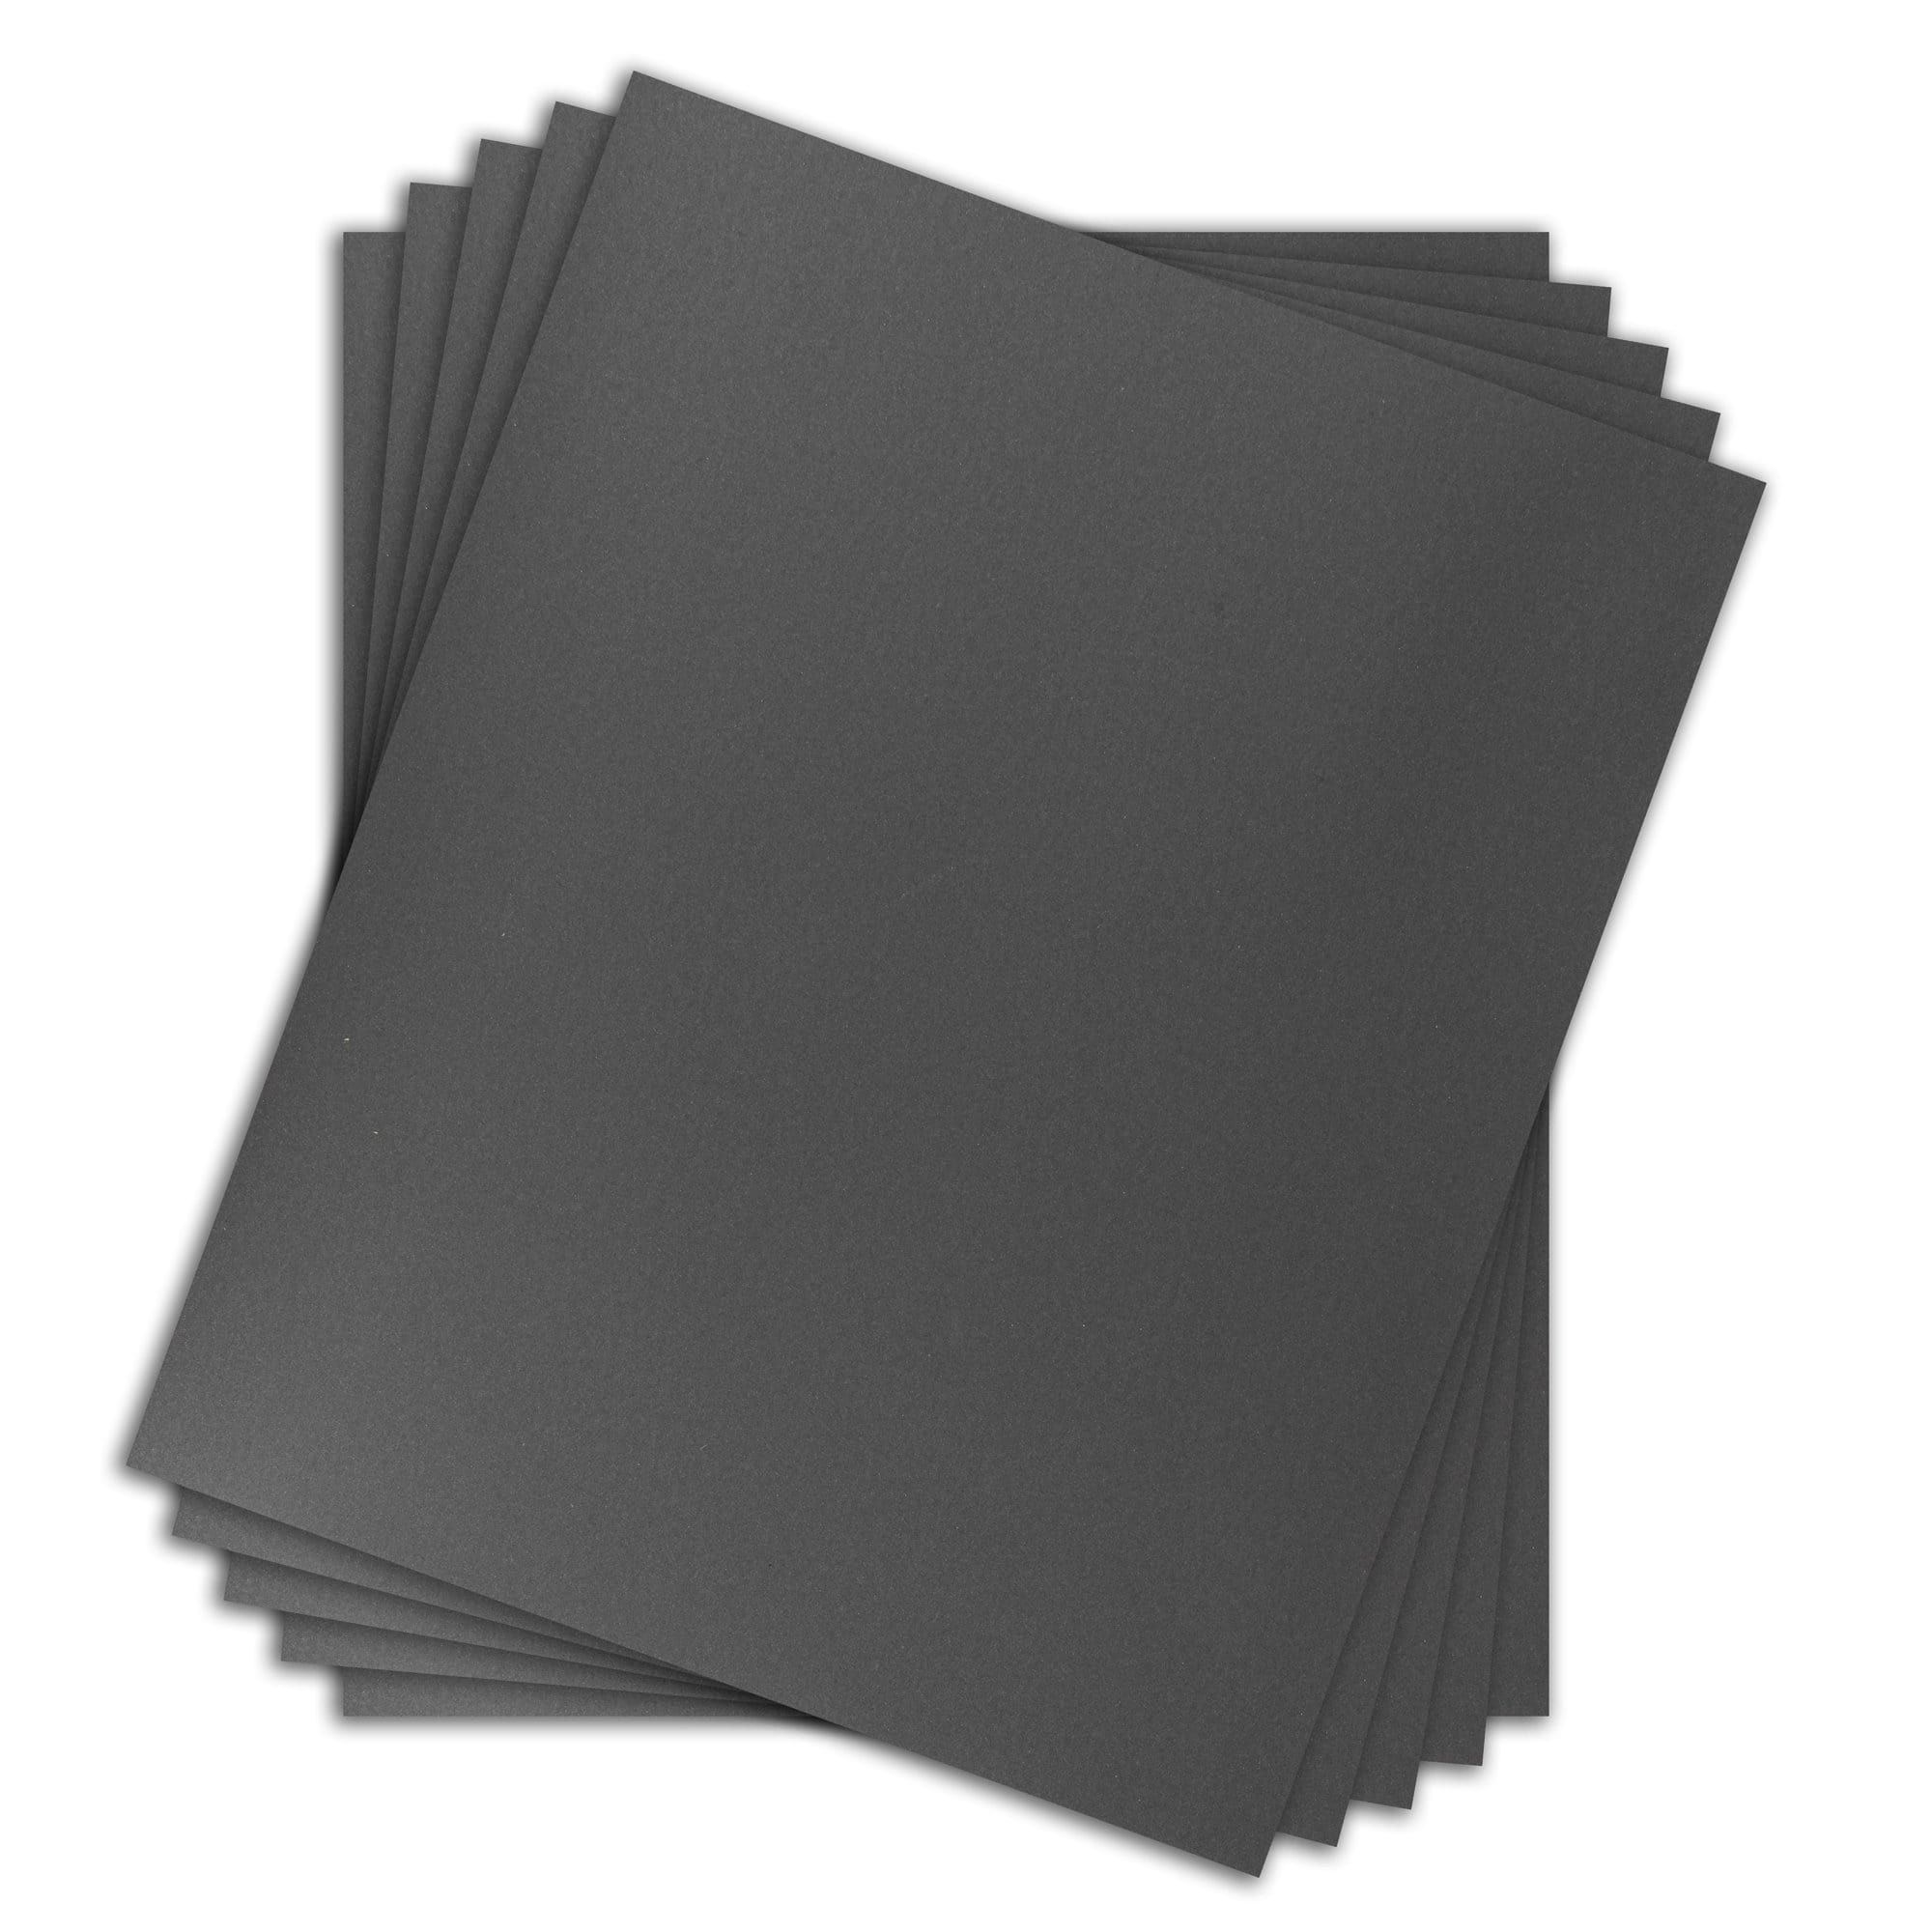
Step 1: Clean & Prep the Surface
Start by thoroughly cleaning your cup, tumbler, or bottle with isopropyl alcohol to remove any oils, dust, or residue. If the surface is glossy or slick (like stainless steel or glass), lightly scuff it with fine-grit sandpaper to help the paint adhere better.
Start by thoroughly cleaning your cup, tumbler, or bottle with isopropyl alcohol to remove any oils, dust, or residue. If the surface is glossy or slick (like stainless steel or glass), lightly scuff it with fine-grit sandpaper to help the paint adhere better.
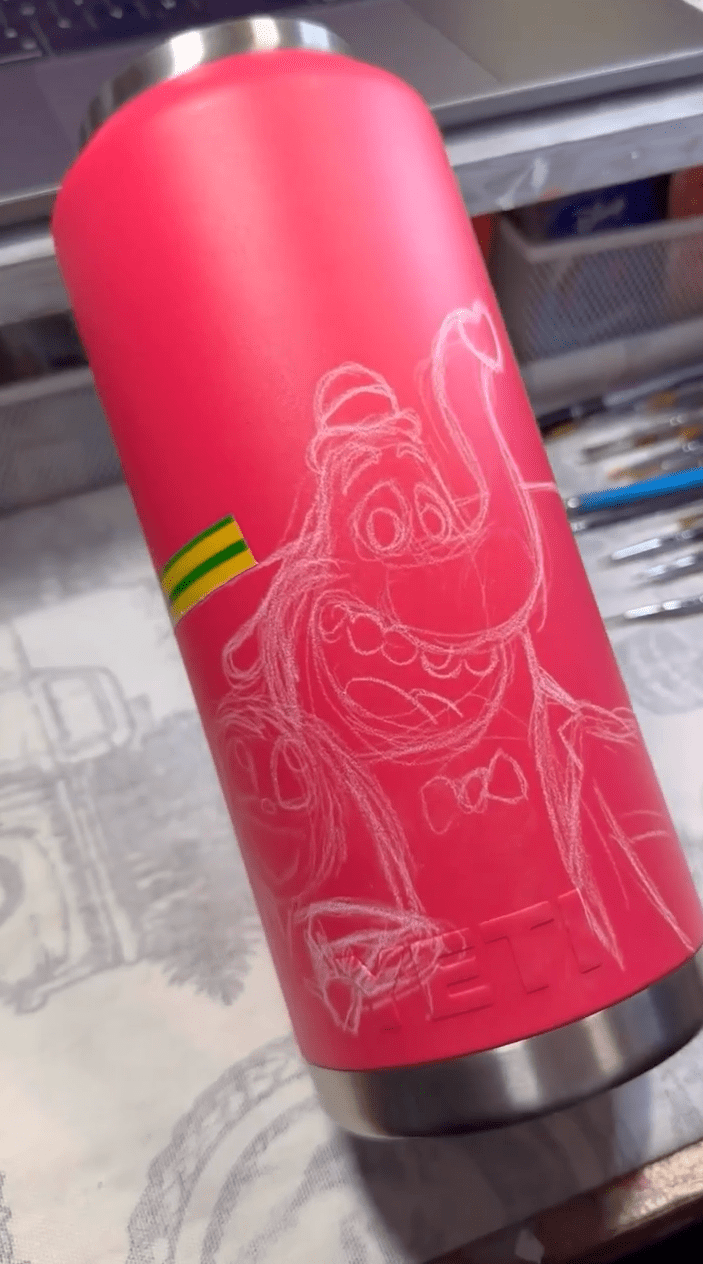
Step 2: Sketch Your Design
Use a pencil to lightly sketch your artwork onto the drinkware. You can also create a stencil or use masking tape for sharp lines and cleaner shapes. If you are comfortable free handing, you can start freestyling with a detail brush and black paint. This step sets the foundation for a polished final result.
Step 3: Apply a Base Coat (If Needed)
For colorful or detailed designs, apply a thin white or neutral base layer using Angelus Paint. Let it dry completely before layering on other colors as this helps the pigments pop and stick evenly.
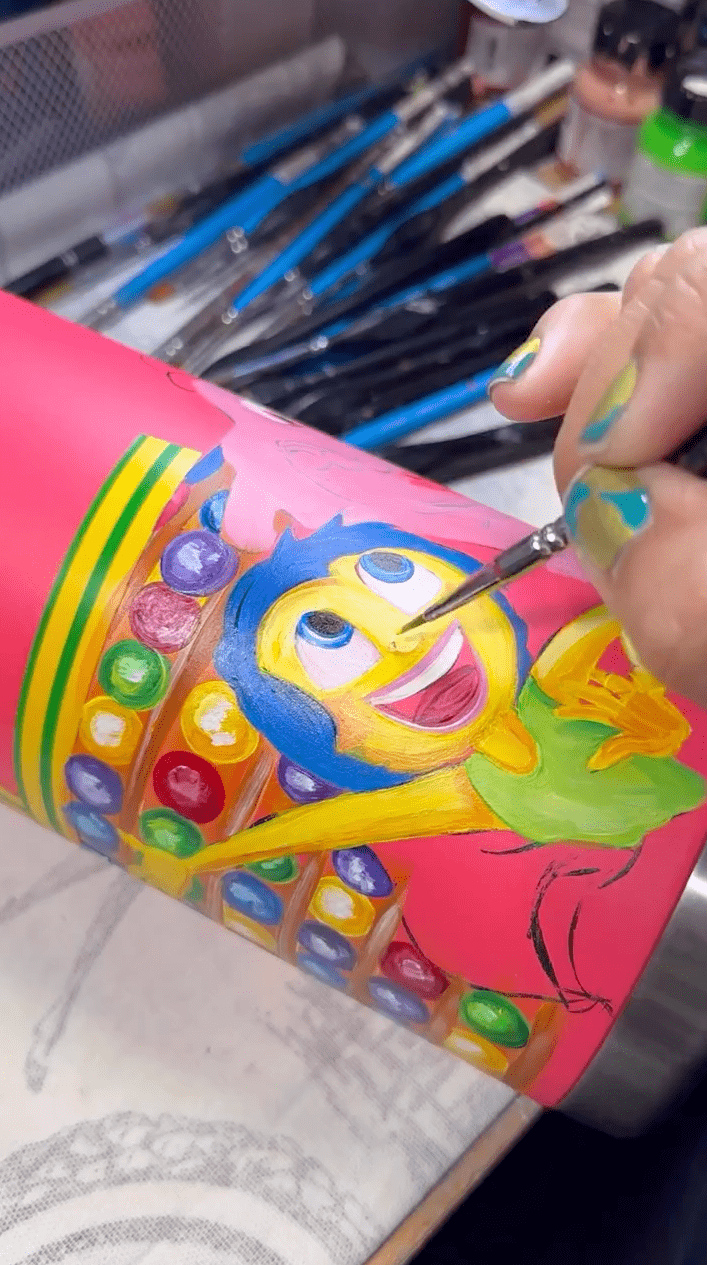
Step 4: Paint Your Design in Layers
Using fine detail brushes, start painting your design in thin, even layers. Allow each layer to fully dry before adding the next to prevent smudging or cracking. Angelus Paints are highly pigmented, so a little goes a long way. Use 2-3 coats or until fully opaque. For black linework, you can get away with just one coat.
Step 5: Seal It Up
To protect your artwork and give it a lasting finish, choose a sealing method that fits your setup:
Epoxy Resin - (Most Durable): If you want a high-gloss, glass-like finish, use a two-part epoxy resin and a cup turner (rotating tool) to ensure even coverage as it cures. This method is ideal for heavy-use drinkware and gives a pro-level finish.
Angelus 4-Coat (Flexible Option): For a strong, flexible finish without needing extra tools, Angelus 4-Coat is a great choice. It’s available in matte, satin, gloss, and high gloss. Just pick the finish you want and apply it in thin, even layers using a soft brush or sponge. It dries fast and adds a durable protective layer perfect for custom drinkware.
Spray Epoxy (Quick & Easy): For a lighter option, a clear spray epoxy works well. Apply 2-3 light coats, allowing each one to dry before adding the next. Best for decorative pieces or low-use items.
Let your finished piece cure for at least 24-48 hours before washing or using it. Hand washing is best, but we have placed our custom cups in dishwashers for years and had no issues (good prep and painting technique is key for this level of durability!)
Creator Questions
Los Angeles, CA
I heard about Angelus through a fellow artist, maybe you've heard of him..Savethepanduhs. I was painting with basic acrylic/enamel paint until I found out about Angelus.
I use Angelus for my hand painted tumblers, canvas and leather bags, jackets and just about everything!
My top 5!? Where to begin! Acrylic paint!, Brush cleaner, Leather preparer and deglazer, Micro detail brush 20/0 spotter, #0 Spotter Micro Detail Paint Brush.. the list can go on.
Dont be afraid to start! whether that's creating art, starting your business, or trying a new hobby, JUST DO IT. Once you get over that initial self doubt you'll start to feel more confident in your yourself. There may be hundreds of artist doing the same thing but no one will ever have your style, that's what makes us all unique.
🛒 Danielle's Top 5 Angelus Products
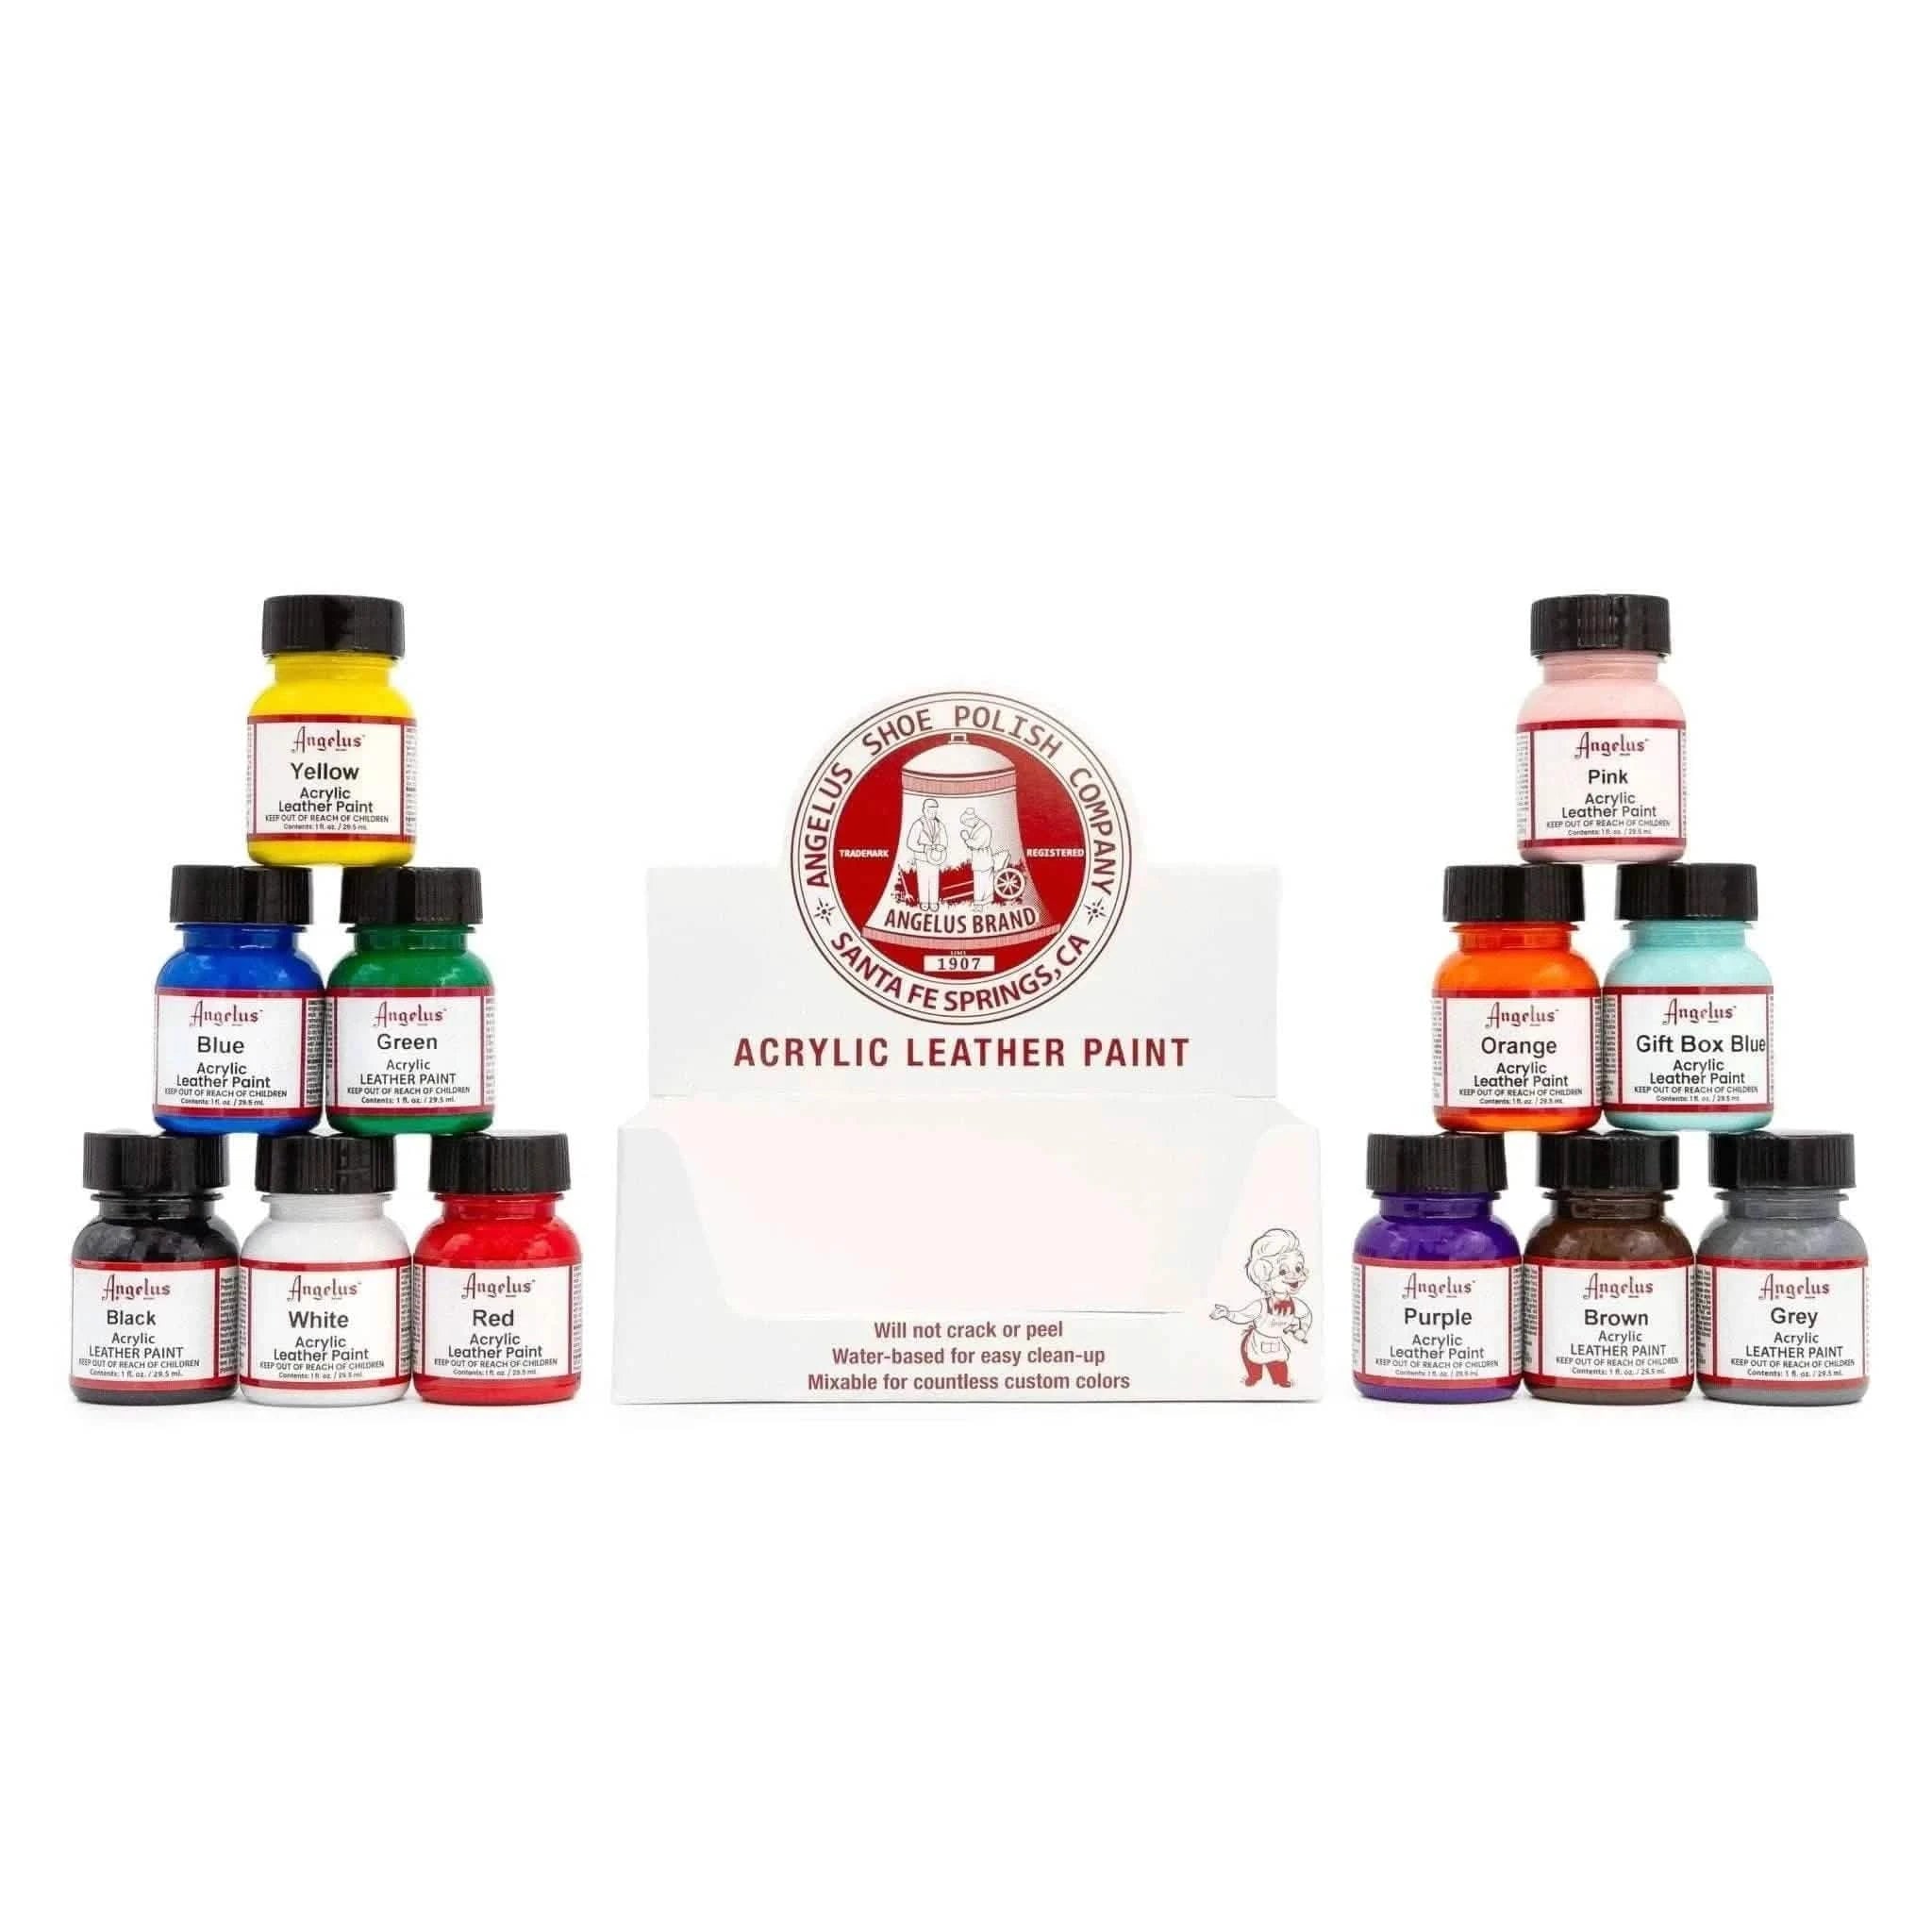
12 Color Paint Assortment Kit
$42.95
-$47.40
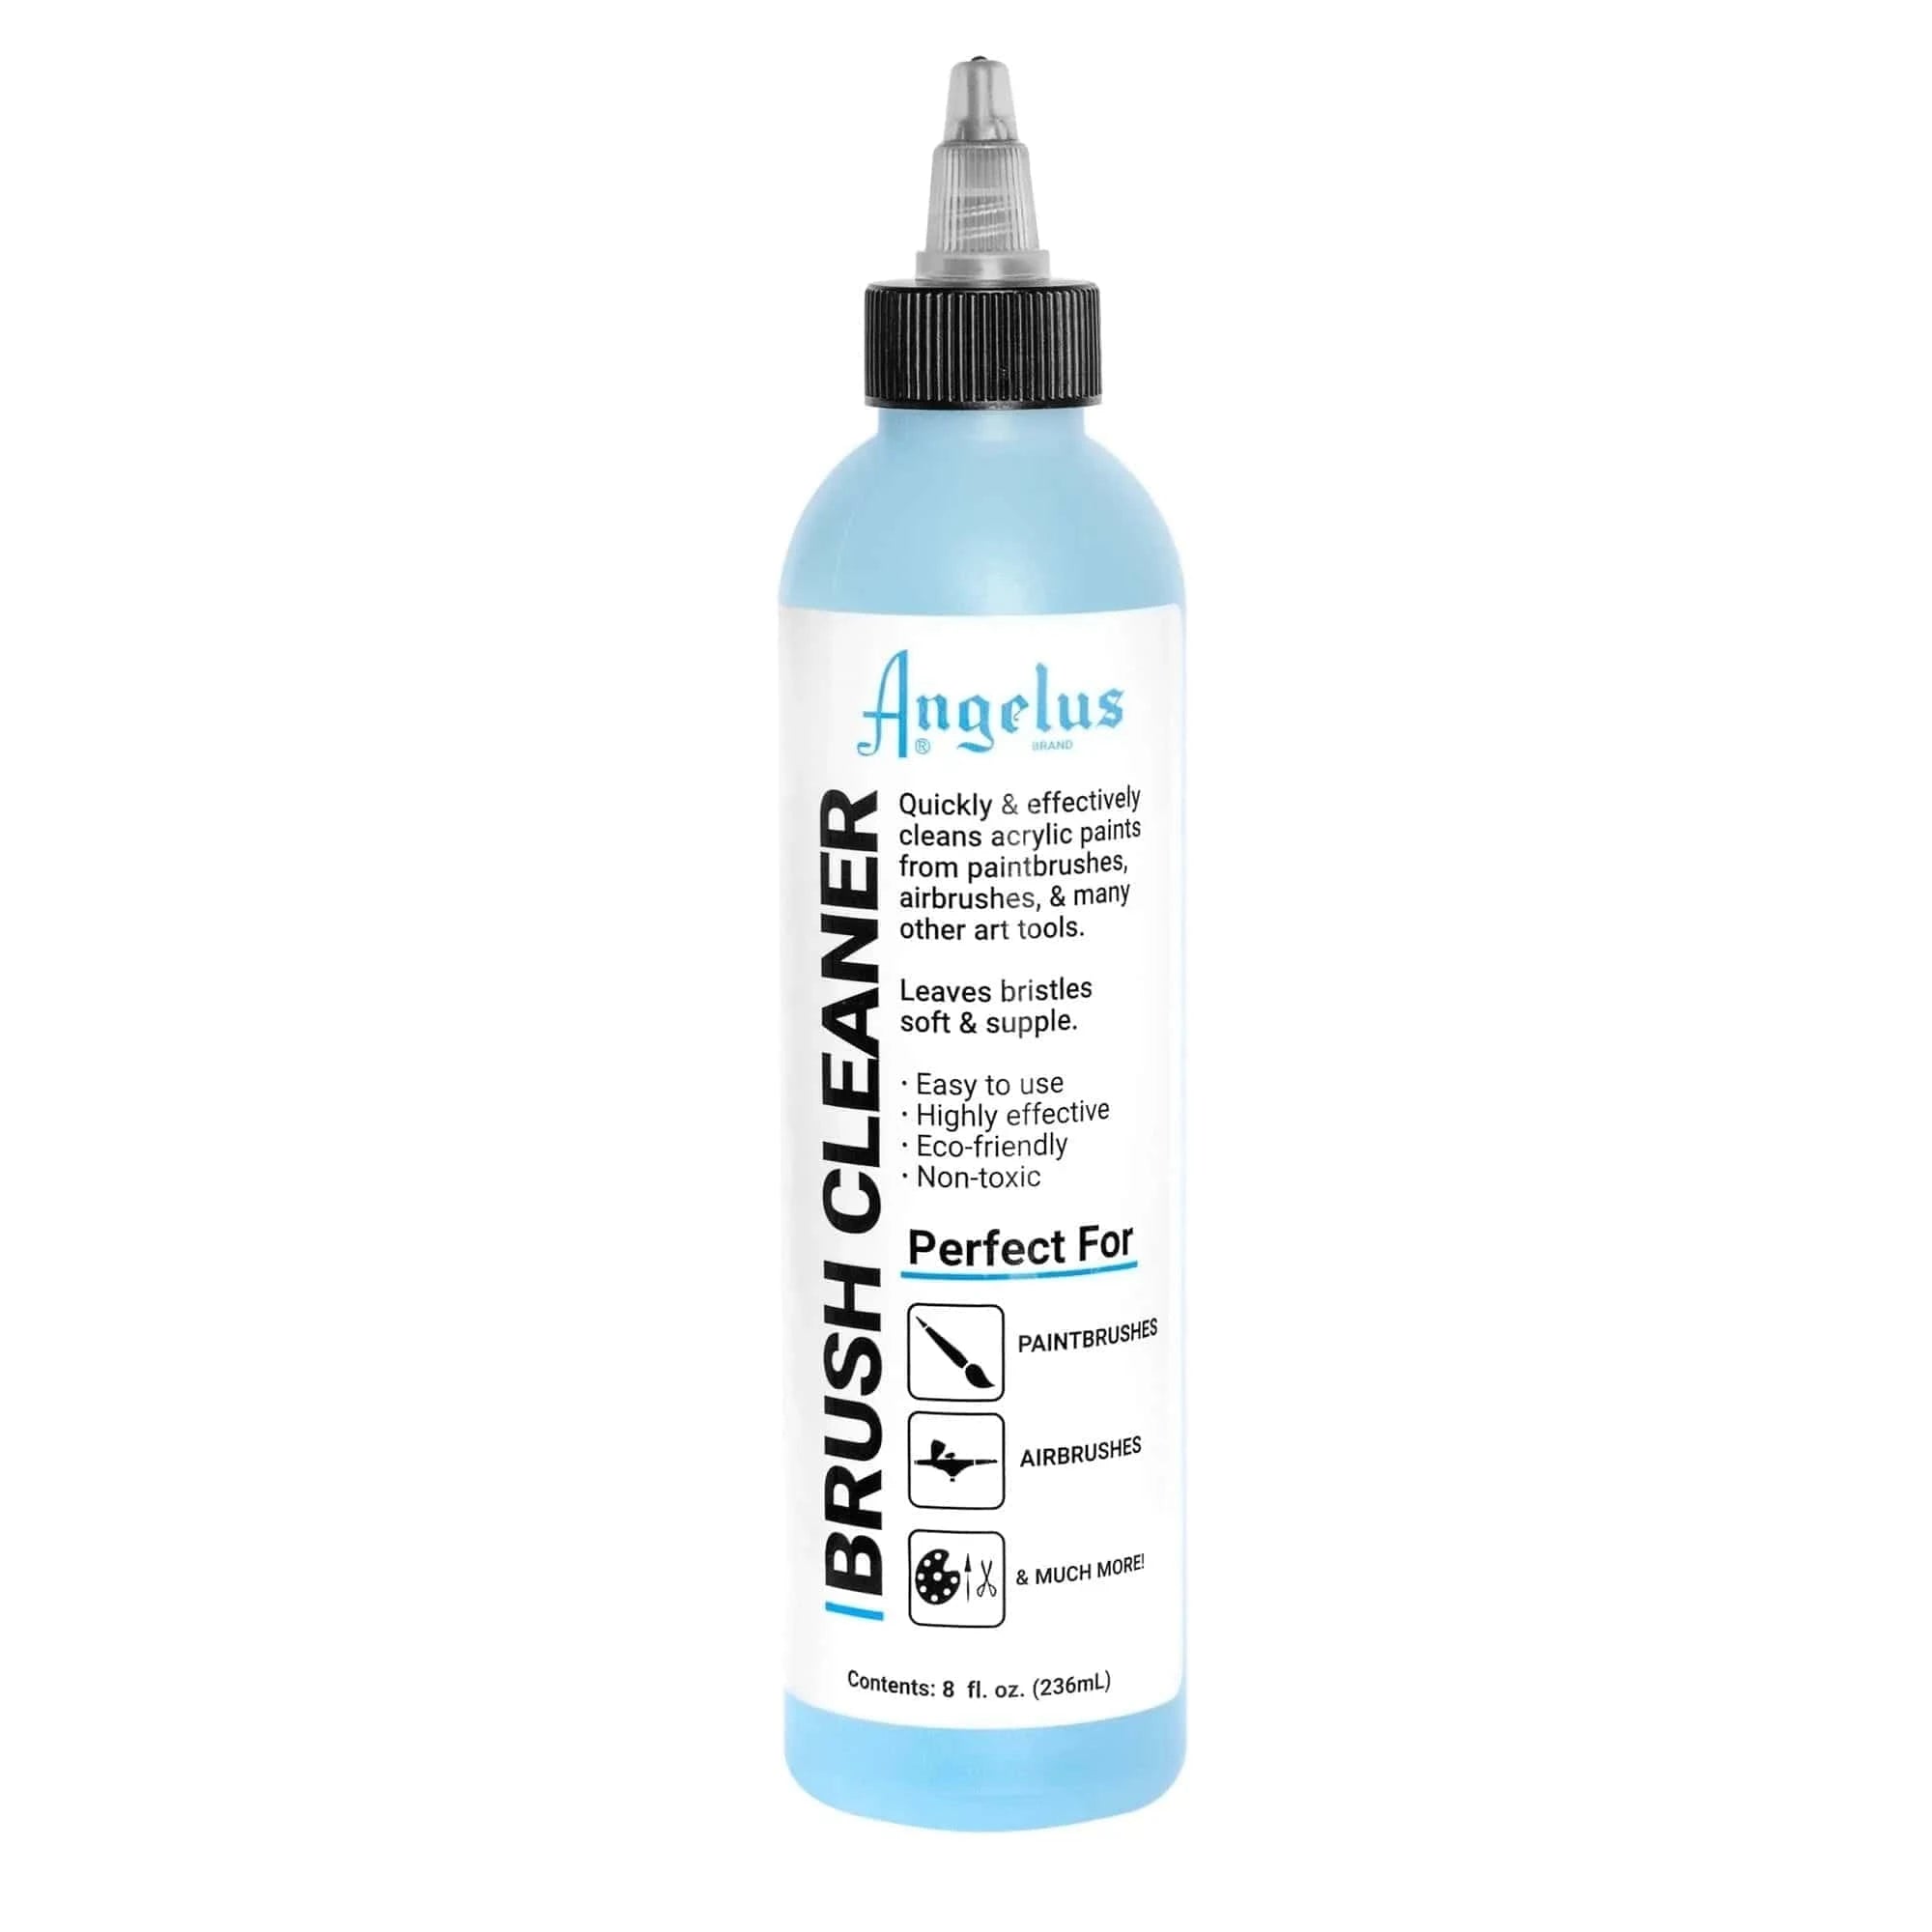
Angelus Brush Cleaner
$8.95
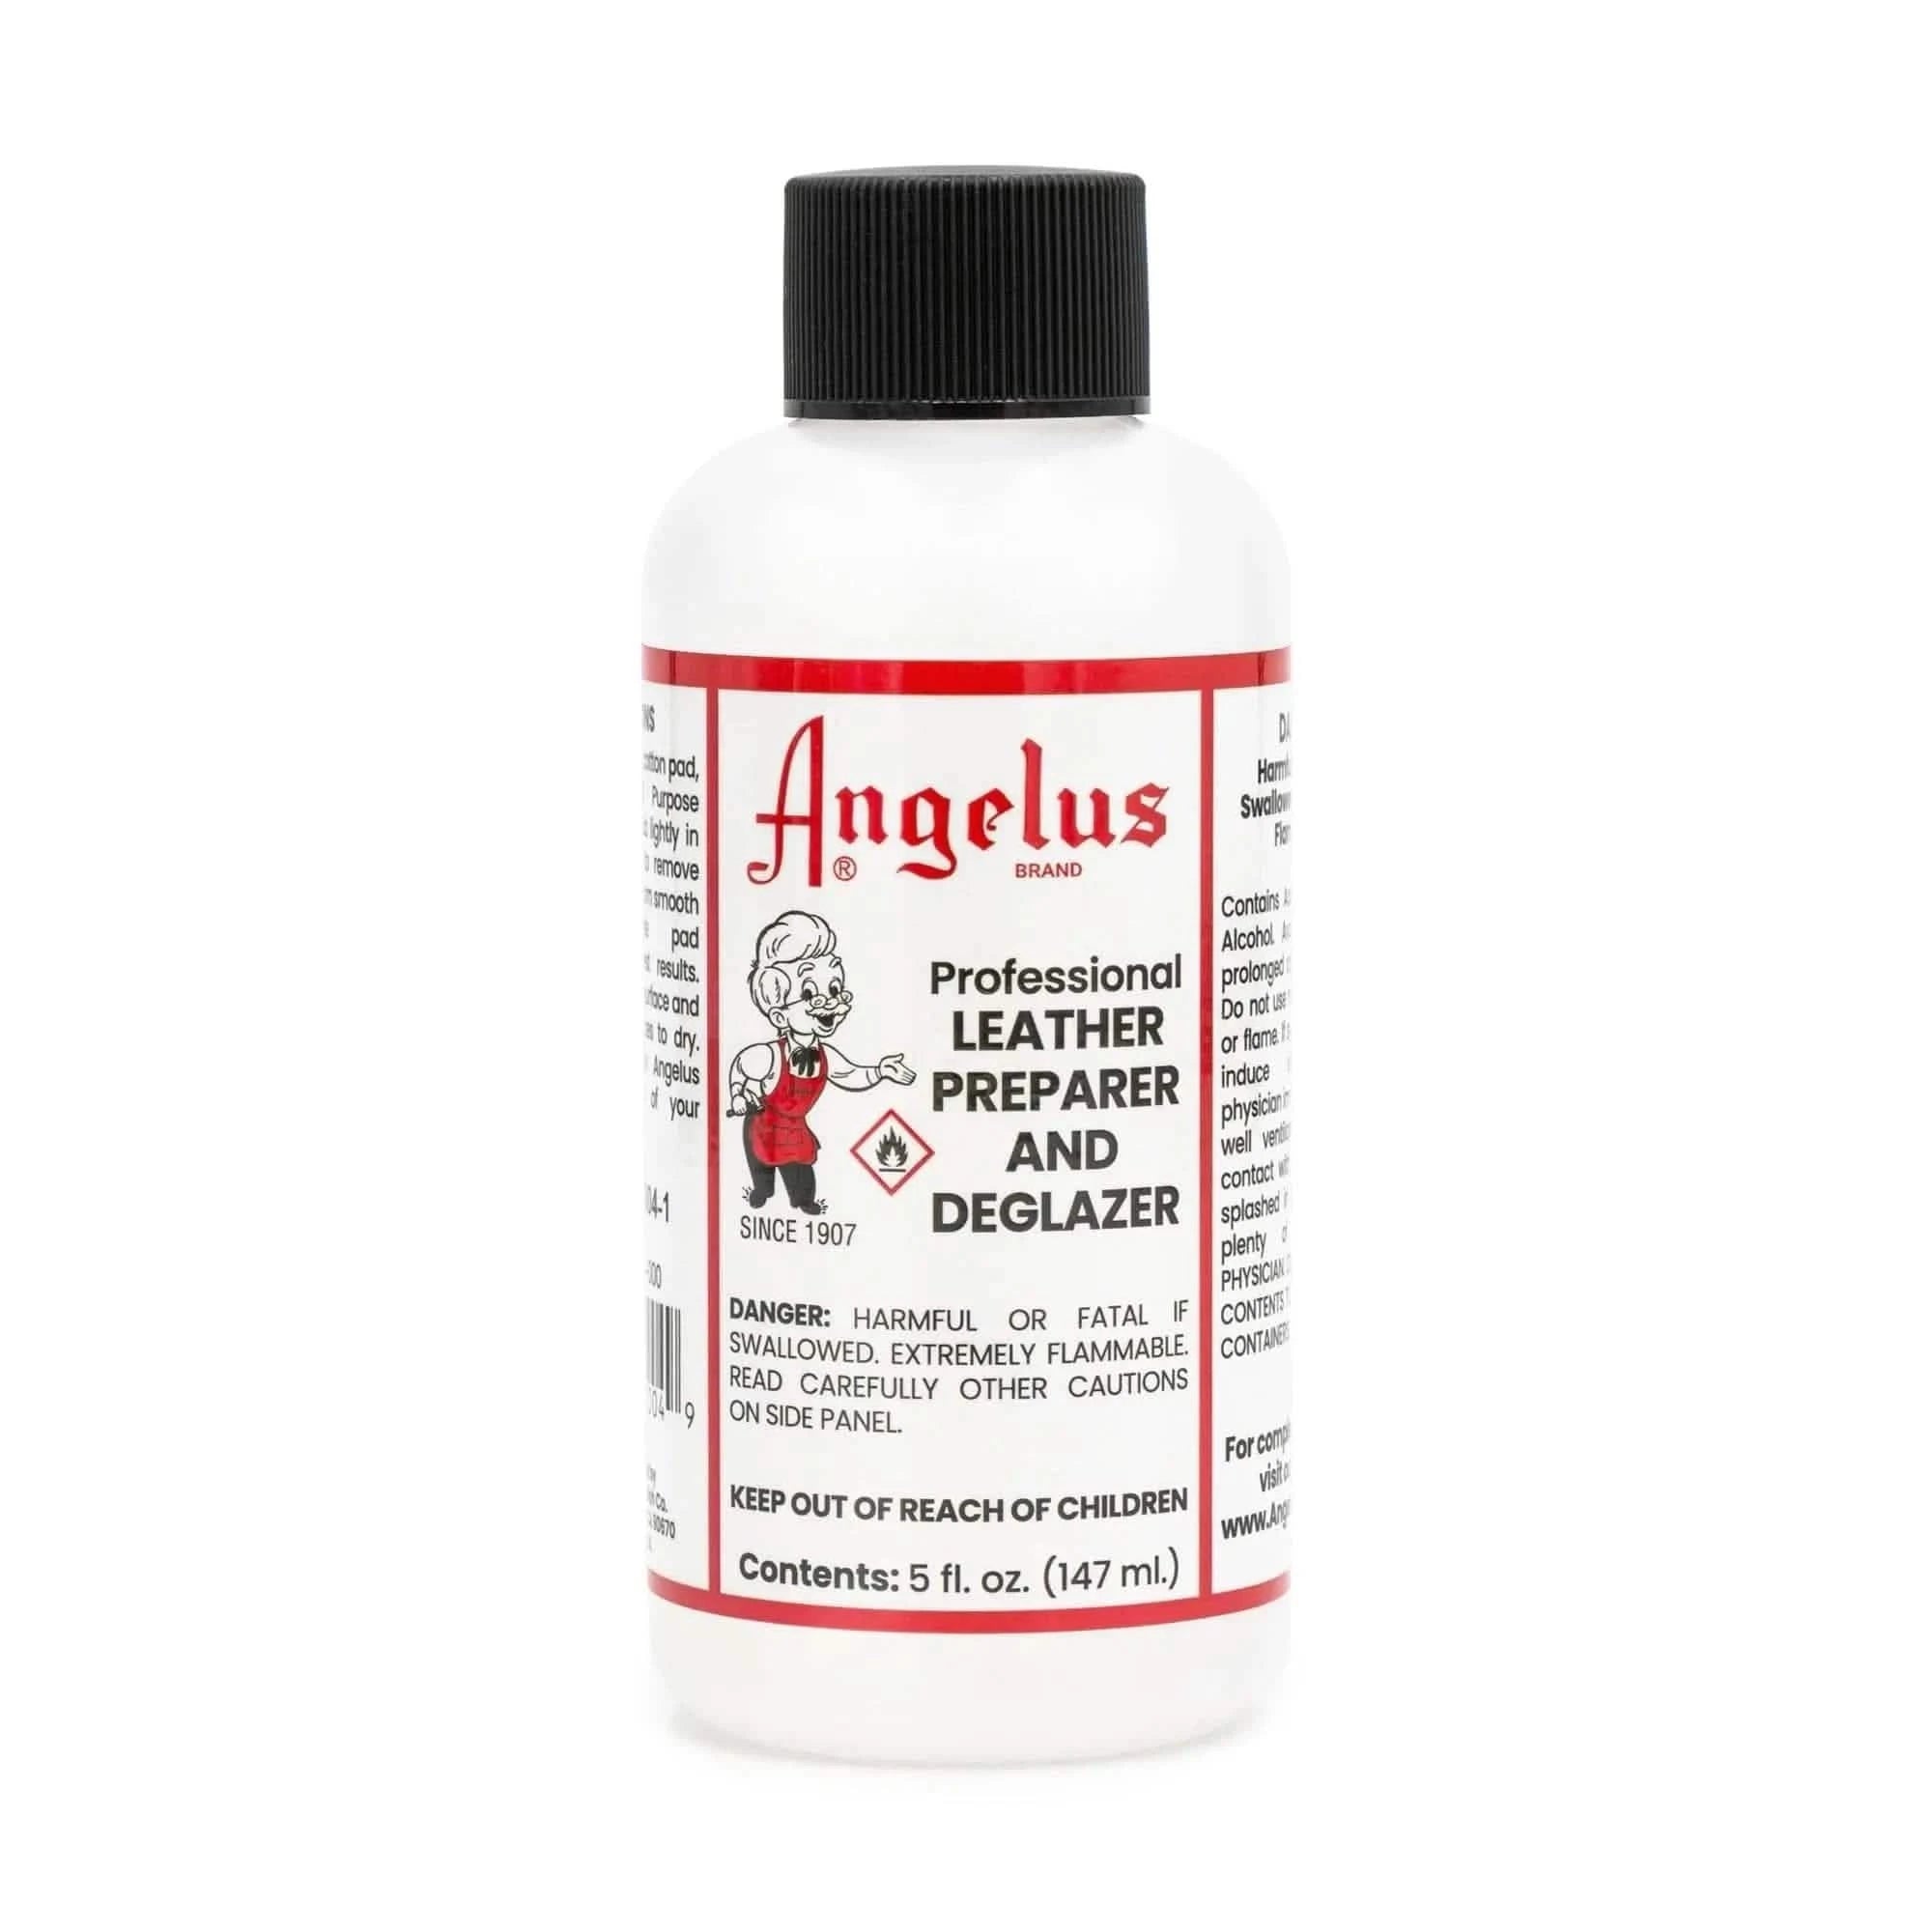
Leather Preparer and Deglazer
$5.95
-$3.67
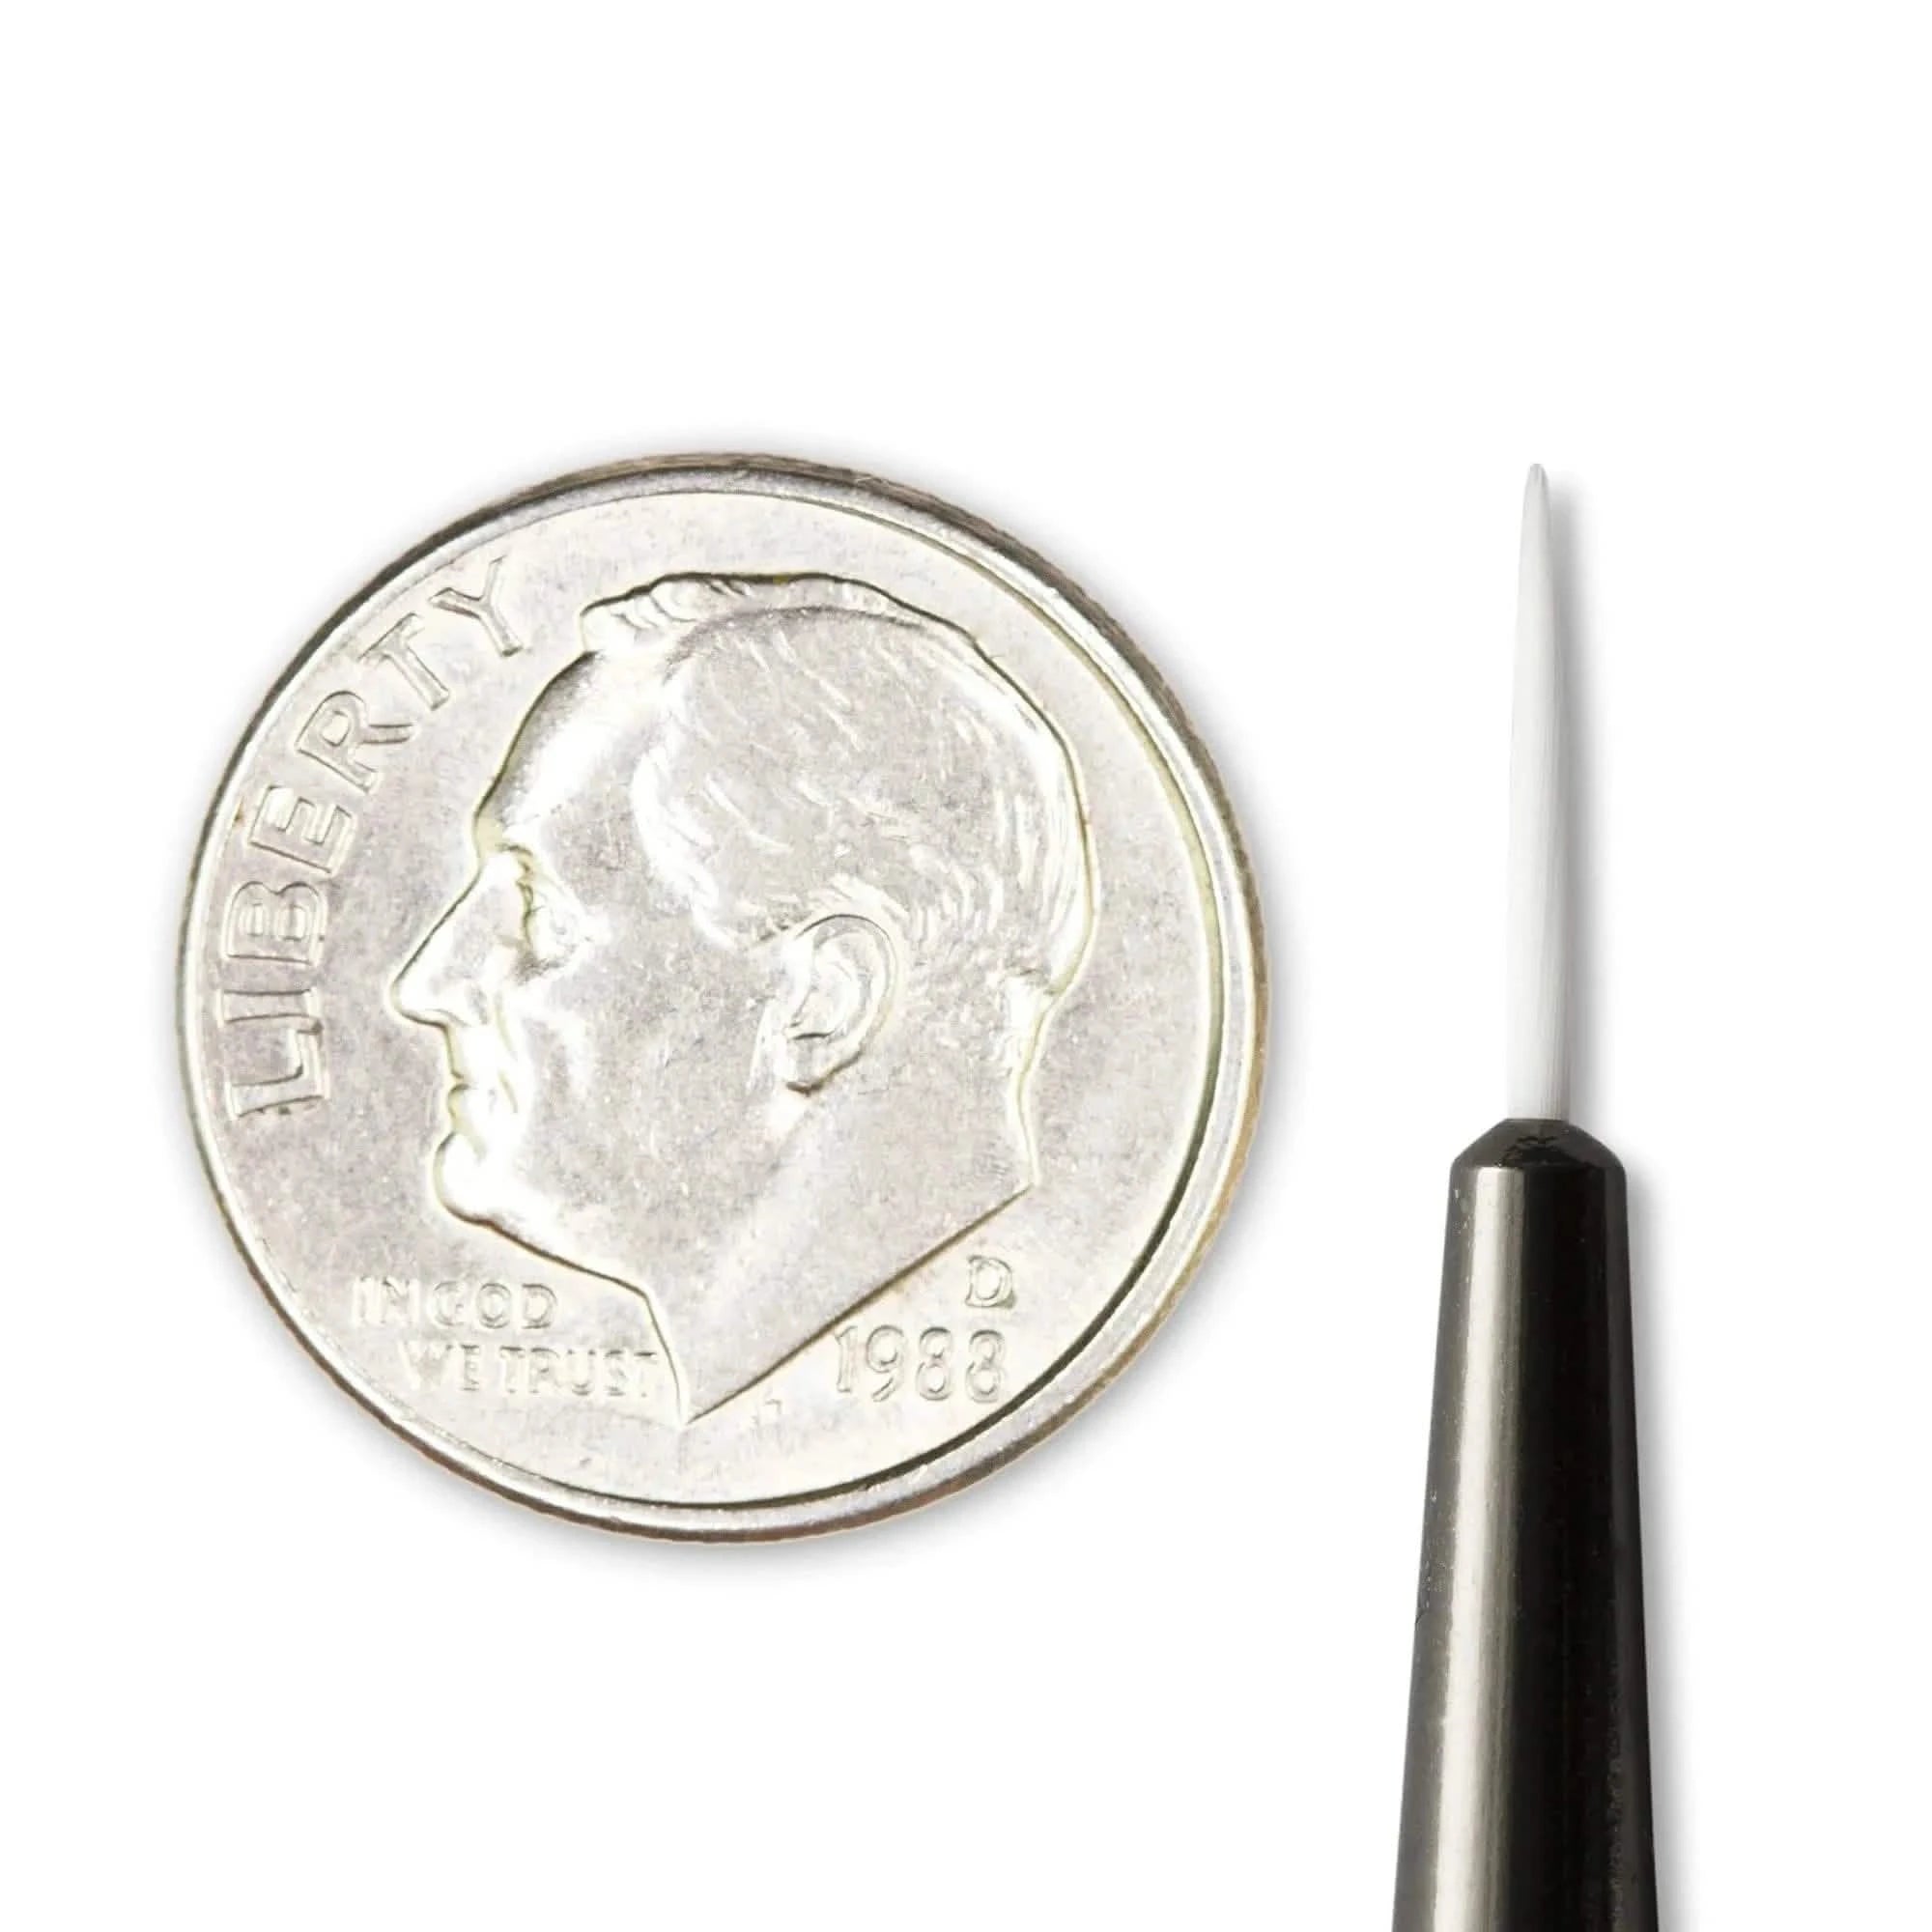
Angelus Micro Detail Brush - 20/0 Spotter
$6.95
-$5.95
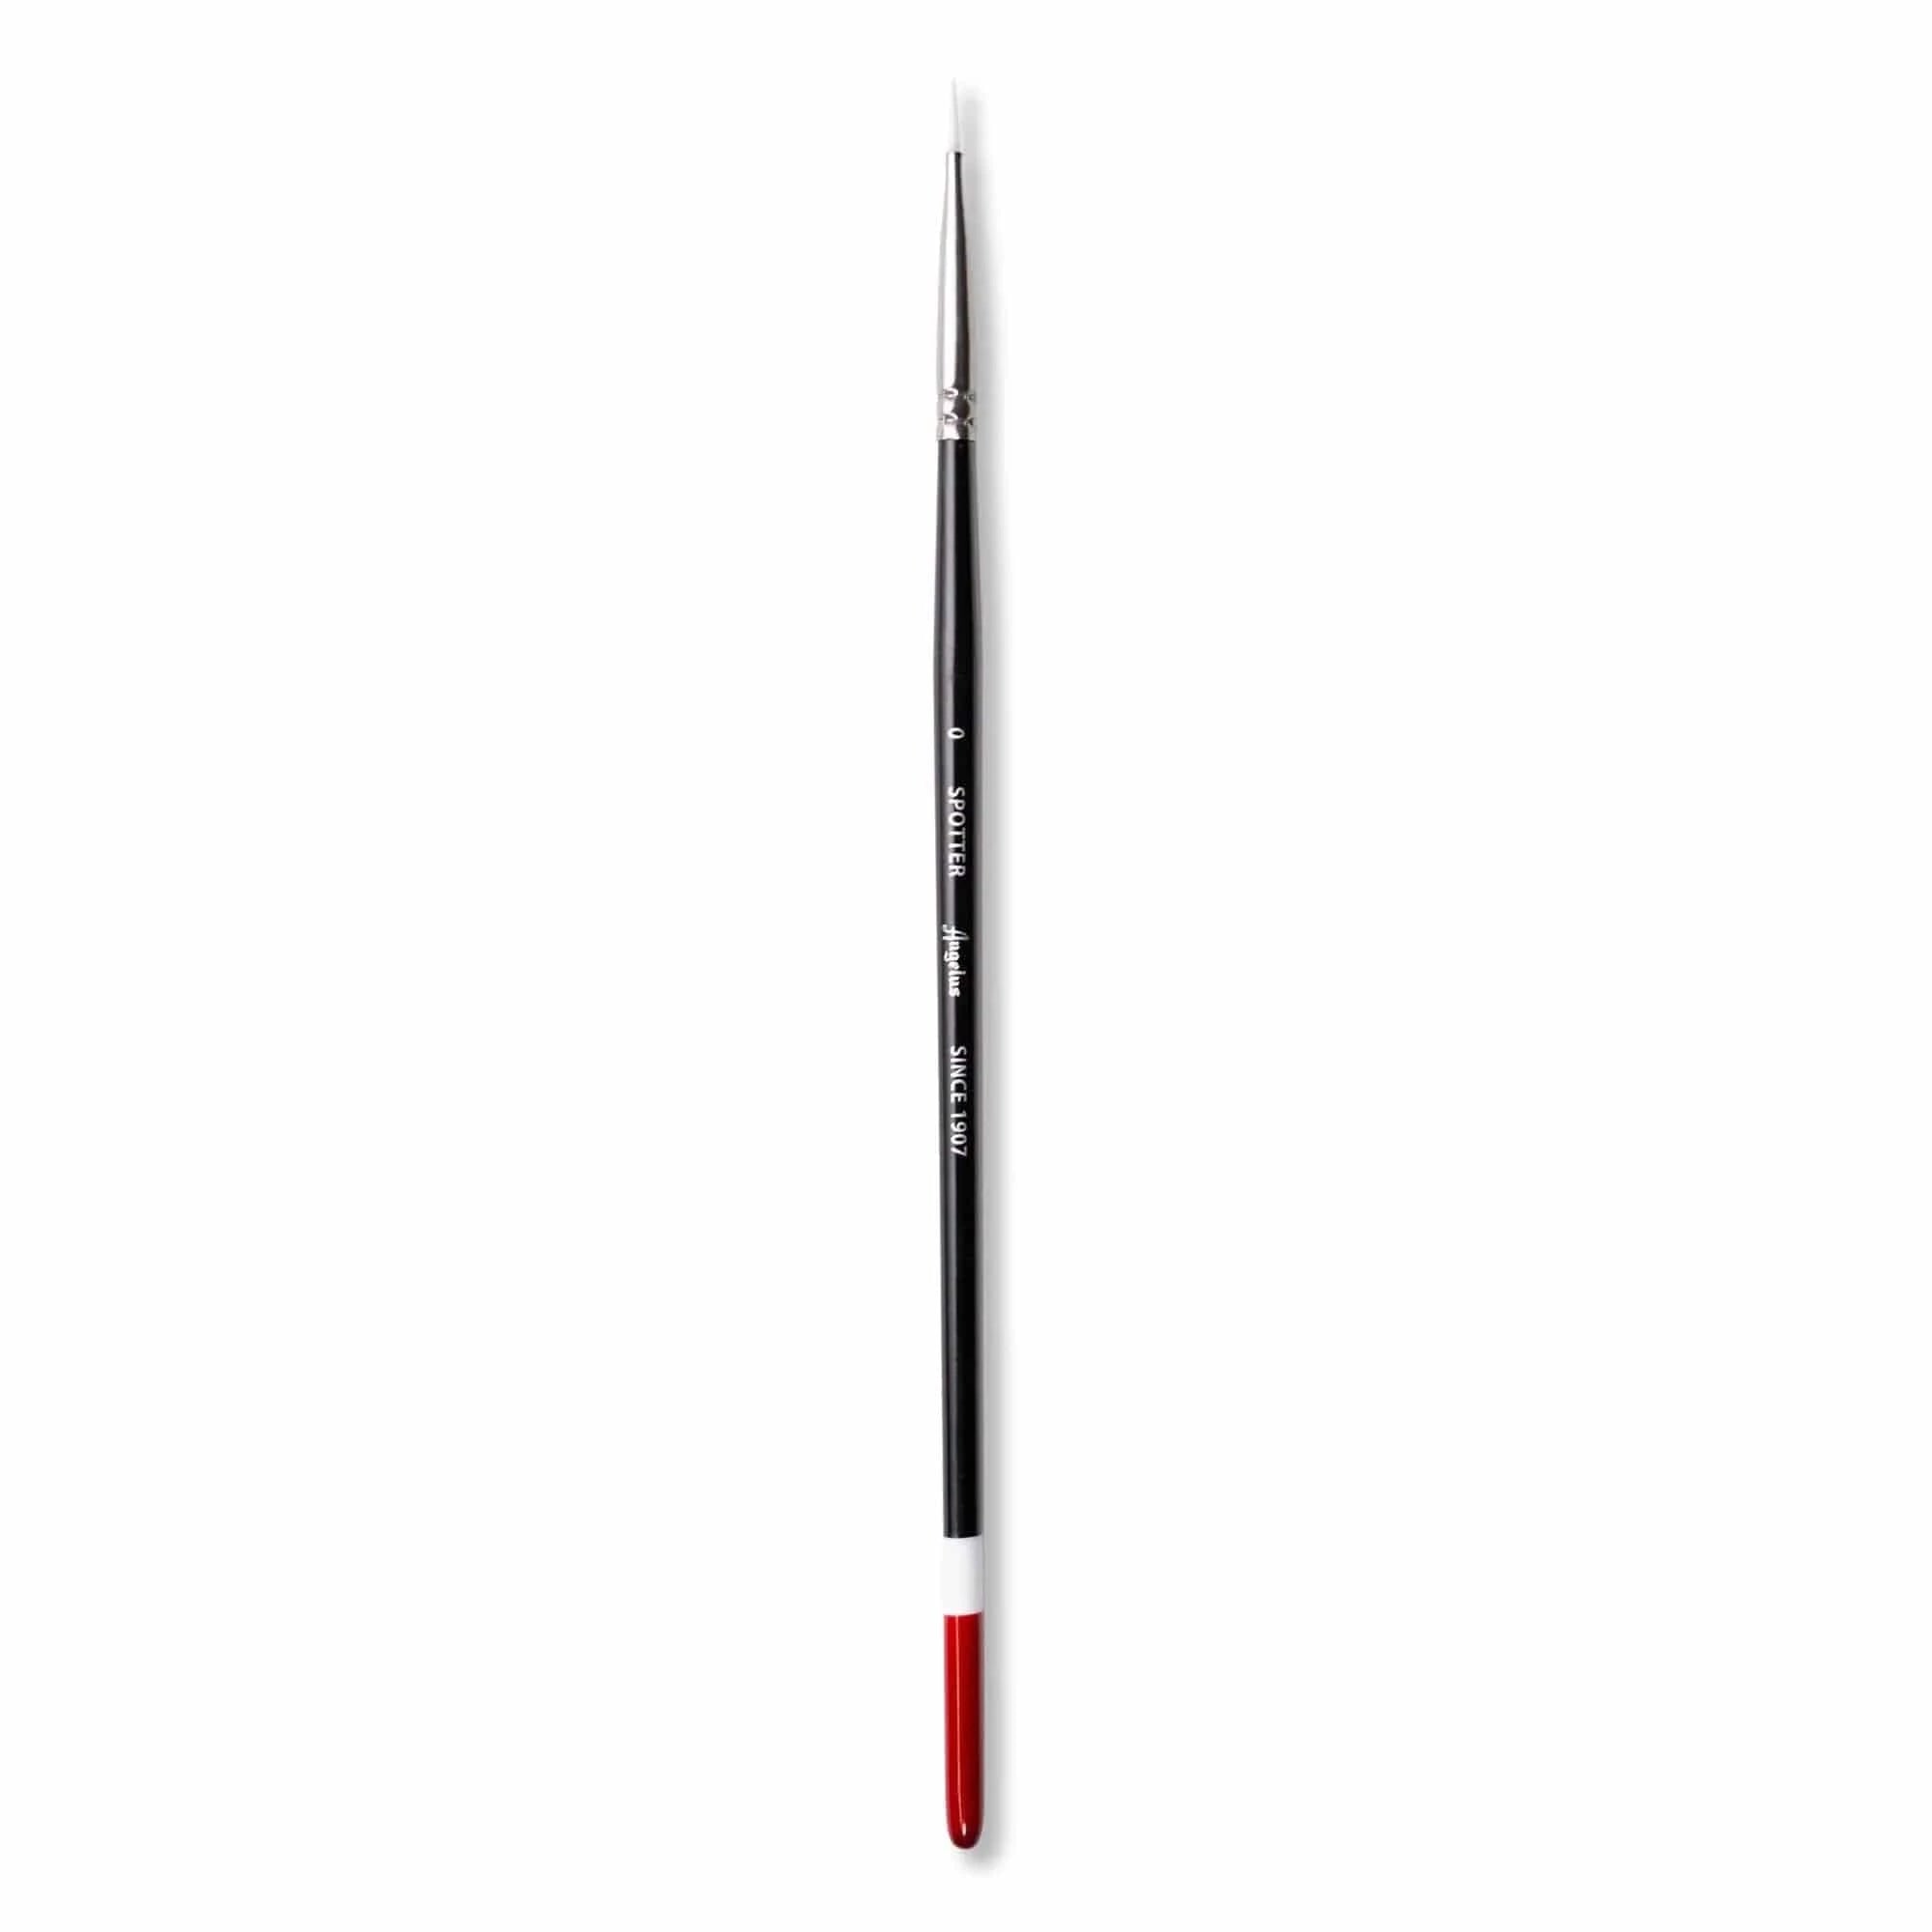
Angelus Micro Detail Paint Brush - #0 Spotter
$6.95
12 Color Paint Assortment Kit
$42.95
-$47.40
Angelus Brush Cleaner
$8.95
Leather Preparer and Deglazer
$5.95
-$3.67
Angelus Micro Detail Brush - 20/0 Spotter
$6.95
-$5.95
Angelus Micro Detail Paint Brush - #0 Spotter
$6.95
12 Color Paint Assortment Kit
$42.95
-$47.40
Angelus Brush Cleaner
$8.95
Leather Preparer and Deglazer
$5.95
-$3.67
Angelus Micro Detail Brush - 20/0 Spotter
$6.95
-$5.95
Angelus Micro Detail Paint Brush - #0 Spotter
$6.95
12 Color Paint Assortment Kit
$42.95
-$47.40
Angelus Brush Cleaner
$8.95
Leather Preparer and Deglazer
$5.95
-$3.67
Angelus Micro Detail Brush - 20/0 Spotter
$6.95
-$5.95
Angelus Micro Detail Paint Brush - #0 Spotter
$6.95
12 Color Paint Assortment Kit
$42.95
-$47.40
Angelus Brush Cleaner
$8.95
Leather Preparer and Deglazer
$5.95
-$3.67
Angelus Micro Detail Brush - 20/0 Spotter
$6.95
-$5.95
Angelus Micro Detail Paint Brush - #0 Spotter
$6.95
12 Color Paint Assortment Kit
$42.95
-$47.40
Angelus Brush Cleaner
$8.95
Leather Preparer and Deglazer
$5.95
-$3.67
Angelus Micro Detail Brush - 20/0 Spotter
$6.95
-$5.95
Angelus Micro Detail Paint Brush - #0 Spotter
$6.95
Unlock More Inspiration
Dive deeper into our Creator Spotlight series and discover new tutorials from top artists in the community. Whether you're looking to master advanced techniques or spark fresh ideas, these step-by-step guides will take your custom game to the next level.