Introduction
Light up your customs with this step-by-step glow-in-the-dark sneaker tutorial featuring Tristan Custom Snkrs! In this video guide, Tristan breaks down exactly how to apply Angelus Glow in the Dark Paint to achieve bold, radiant effects that shine in the dark and pop in the daylight. Whether you're customizing for fun or creating client-ready kicks, this tutorial covers pro tips for prep, layering, and sealing your glow finish. Perfect for sneaker artists, DIY customizers, and creatives looking to level up their skills.
Creator Spotlight
Creator Spotlight
Creator Spotlight
Creator Spotlight
Creator Spotlight
Creator Spotlight
Creator Spotlight
Creator Spotlight
Creator Spotlight
Creator Spotlight
Creator Spotlight
Creator Spotlight
Creator Spotlight
Creator Spotlight
Creator Spotlight
Creator Spotlight
Creator Spotlight
Creator Spotlight
Creator Spotlight
Creator Spotlight
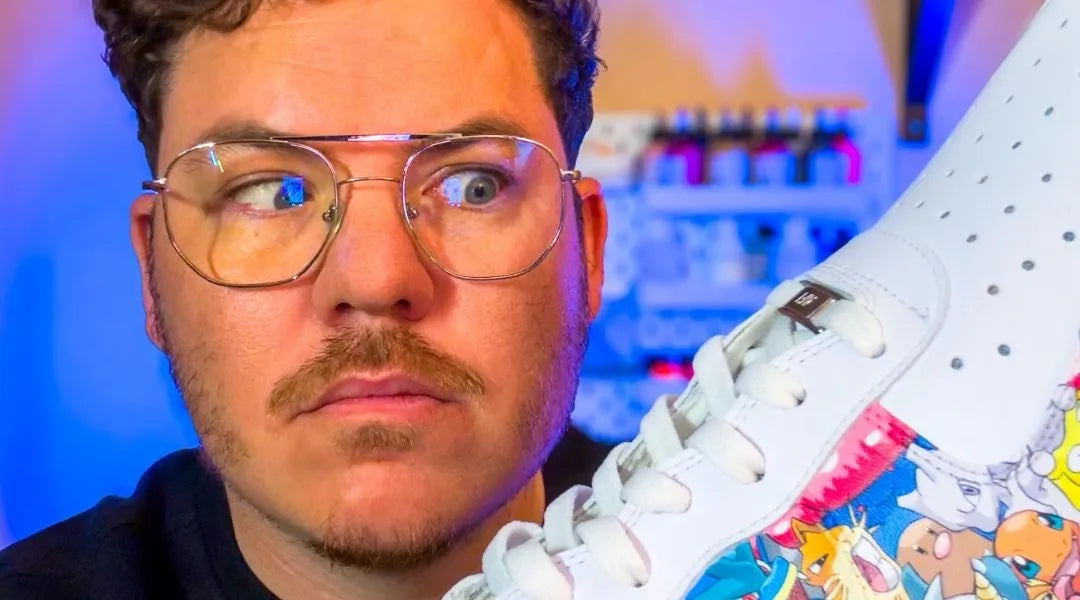
Tristan Custom Snkrs
My name is Tristan, and I’m based in Pau, in the southwest of France.
I’ve been customizing sneakers for almost 3 years now. I started during the pandemic lockdown.When my wife got a professional opportunity that required us to move, I decided to quit my job, a 10-year career in the insurance industry, and go all-in on sneaker customization.
My style is heavily inspired by anime, manga, and Pokémon. I gained traction on social media thanks to various creative concepts, especially the Pokémon 151 pair, where I challenged myself to paint the entire first generation of Pokémon characters on a single pair of shoes.
Creator Spotlight
Creator Spotlight
Creator Spotlight
Creator Spotlight
Creator Spotlight
Creator Spotlight
Creator Spotlight
Creator Spotlight
Creator Spotlight
Creator Spotlight
Creator Spotlight
Creator Spotlight
Creator Spotlight
Creator Spotlight
Creator Spotlight
Creator Spotlight
Creator Spotlight
Creator Spotlight
Creator Spotlight
Creator Spotlight
4 Easy Steps to Create Glow-in-the-Dark Custom Sneakers
Step 1: Prep Your Sneakers for Paint
Before you touch any paint, proper prep is key to ensuring your custom design sticks and stays.
For leather sneakers:
- Start by removing any factory finish or dirt to make sure the paint adheres properly. Use Angelus Leather Preparer & Deglazer to strip the surface clean.
Pro tip: Use a cotton ball or lint-free cloth to apply for even coverage.
For fabric sneakers:
- Angelus Foam-Tex Cleaner Kit – gently removes dirt, grime, and oils from fabric.
- Use Foam-Tex Cleaner and a brush to thoroughly clean the fabric. Wipe off excess moisture with a towel and let the shoes dry completely. Clean surfaces = better paint adhesion.
Step 2: Lay Down a Base Coat
Before adding the Glow-in-the-Dark paint, first make sure you select your base color that you want to go under the translucent glow. In this video, Tristan laid down a few coats of Purple paint.
Pro tip: Apply 2–3 thin coats and let each layer dry completely before moving on.

Step 3: Add the Glow in the Dark Paint
Now for the magic! Use Angelus Glow in the Dark Paint to bring your design to life. You can apply it directly or mix it into your designs for glowing accents.
Apply 3–5 coats for maximum brightness and charge under direct light.

Step 4: Seal & Protect Your Artwork
This step is optional!
Lock in your design with Angelus 4-Coat or Angelus Acrylic Finishers to prevent cracking and preserve the glow. This final step protects your customs while keeping a clean, matte look.
Use a soft brush or airbrush for an even topcoat.

Creator Questions
I'm based in Pau, France.
I discovered Angelus through social media. I first got into customizing by watching videos from American artists like Dillon DeJesus. I ordered my first Angelus paints shortly after, and I’ve been hooked ever since. I’m also proud to be an Angelus France ambassador for over a year now.
I mainly use Angelus products for sneaker customization, but I also use them to paint gaming controllers and basketballs. What I love most about Angelus paint is its durability and smooth application. I’ve never had issues with cracking or fading.
The versatility of the products is also a big plus: with the right additives, I can paint on leather, inner lining, soles, plastic, rubber, and more, and achieve different finishes like matte, gloss, neon, or fluorescent.
5. Applicator Pads – They may look like regular cotton pads, but they’re incredibly durable and don’t tear apart. I use them to clean shoes or fix mistakes. Way better than traditional cotton balls.
4. 2-Thin – A must-have thinner for making paint more fluid. Perfect for achieving smooth layers or reviving paint that’s been sitting in the palette too long.
3. Matte 4-Coat – My go-to sealer for giving customs a clean, matte finish I love.
2. Paintable Repair Filler – I use it on every custom where I remove the Swoosh. It’s perfect for covering stitching holes.
1. Flat White Paint – My absolute favorite. I love working with matte finishes, and Flat White lets me give that look to any color mix. It’s a must in almost every pair I create.
Don’t put too much pressure on yourself. Create projects that you’re passionate about—something you won’t mind spending hours on. Technique comes with time. And of course, if you want your customs to last, use Angelus!
🛒 Tristan's Top 5 Angelus Products
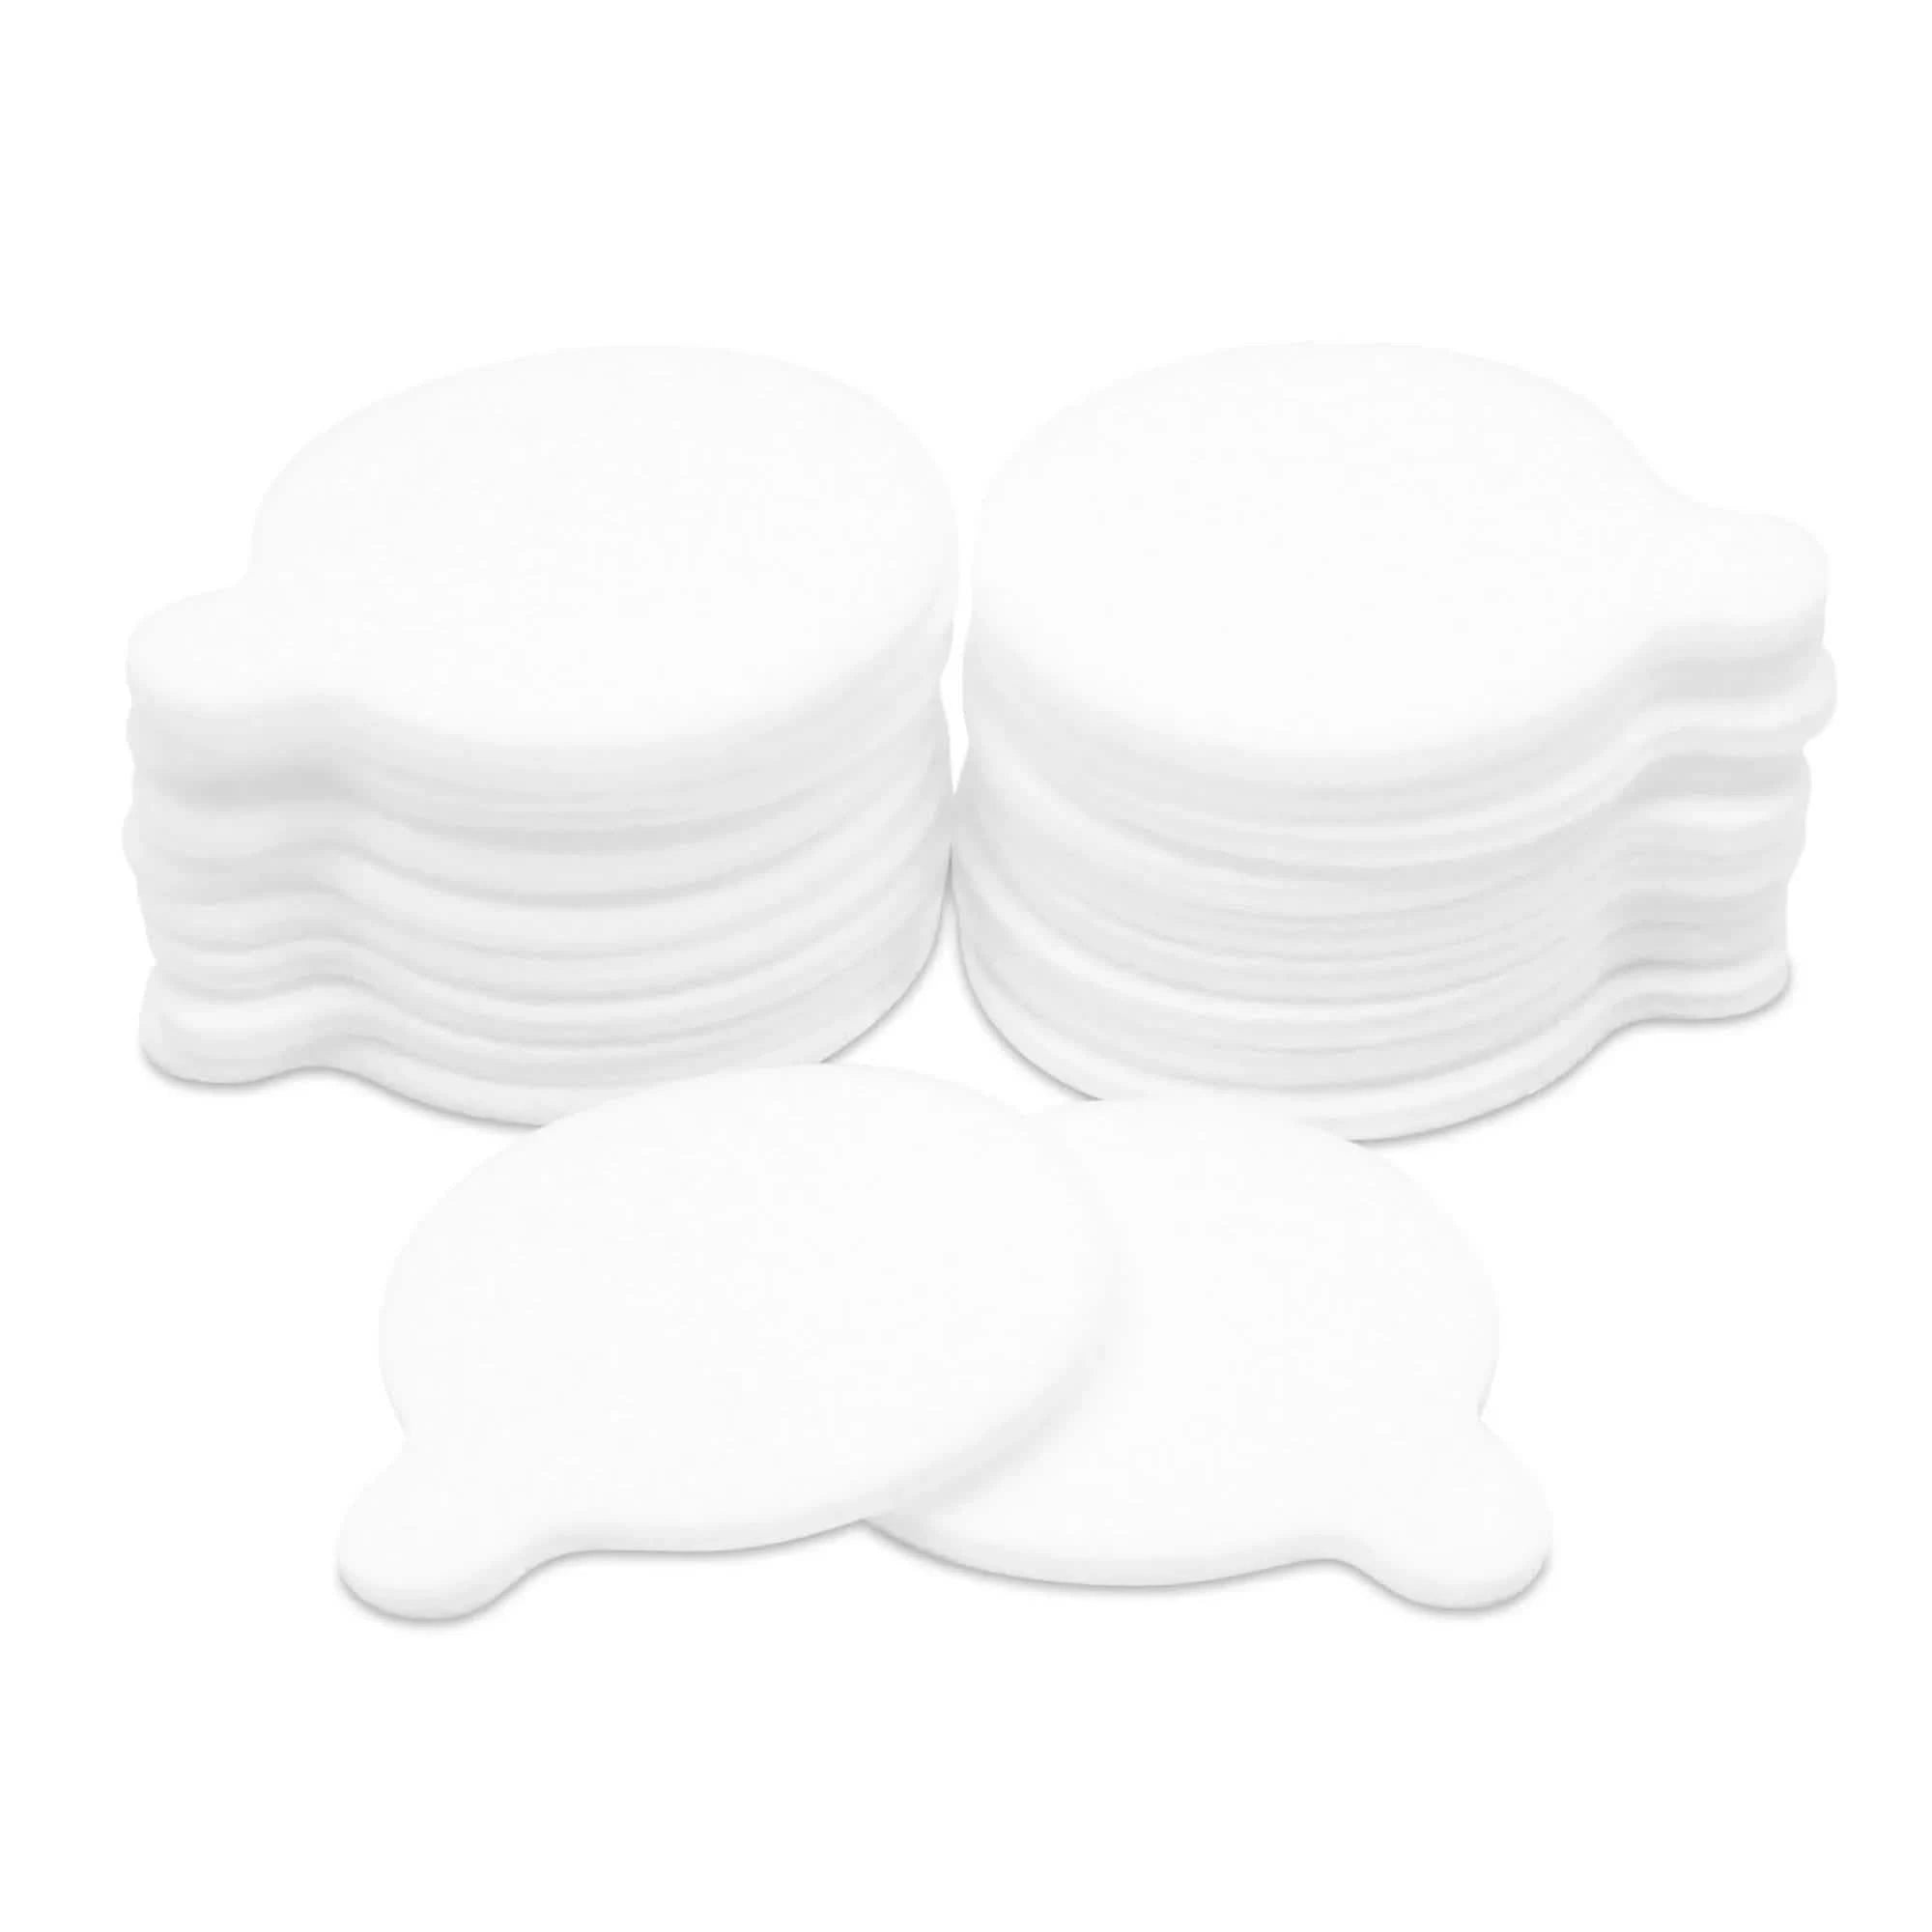
All-Purpose Applicator Pads
$5.95
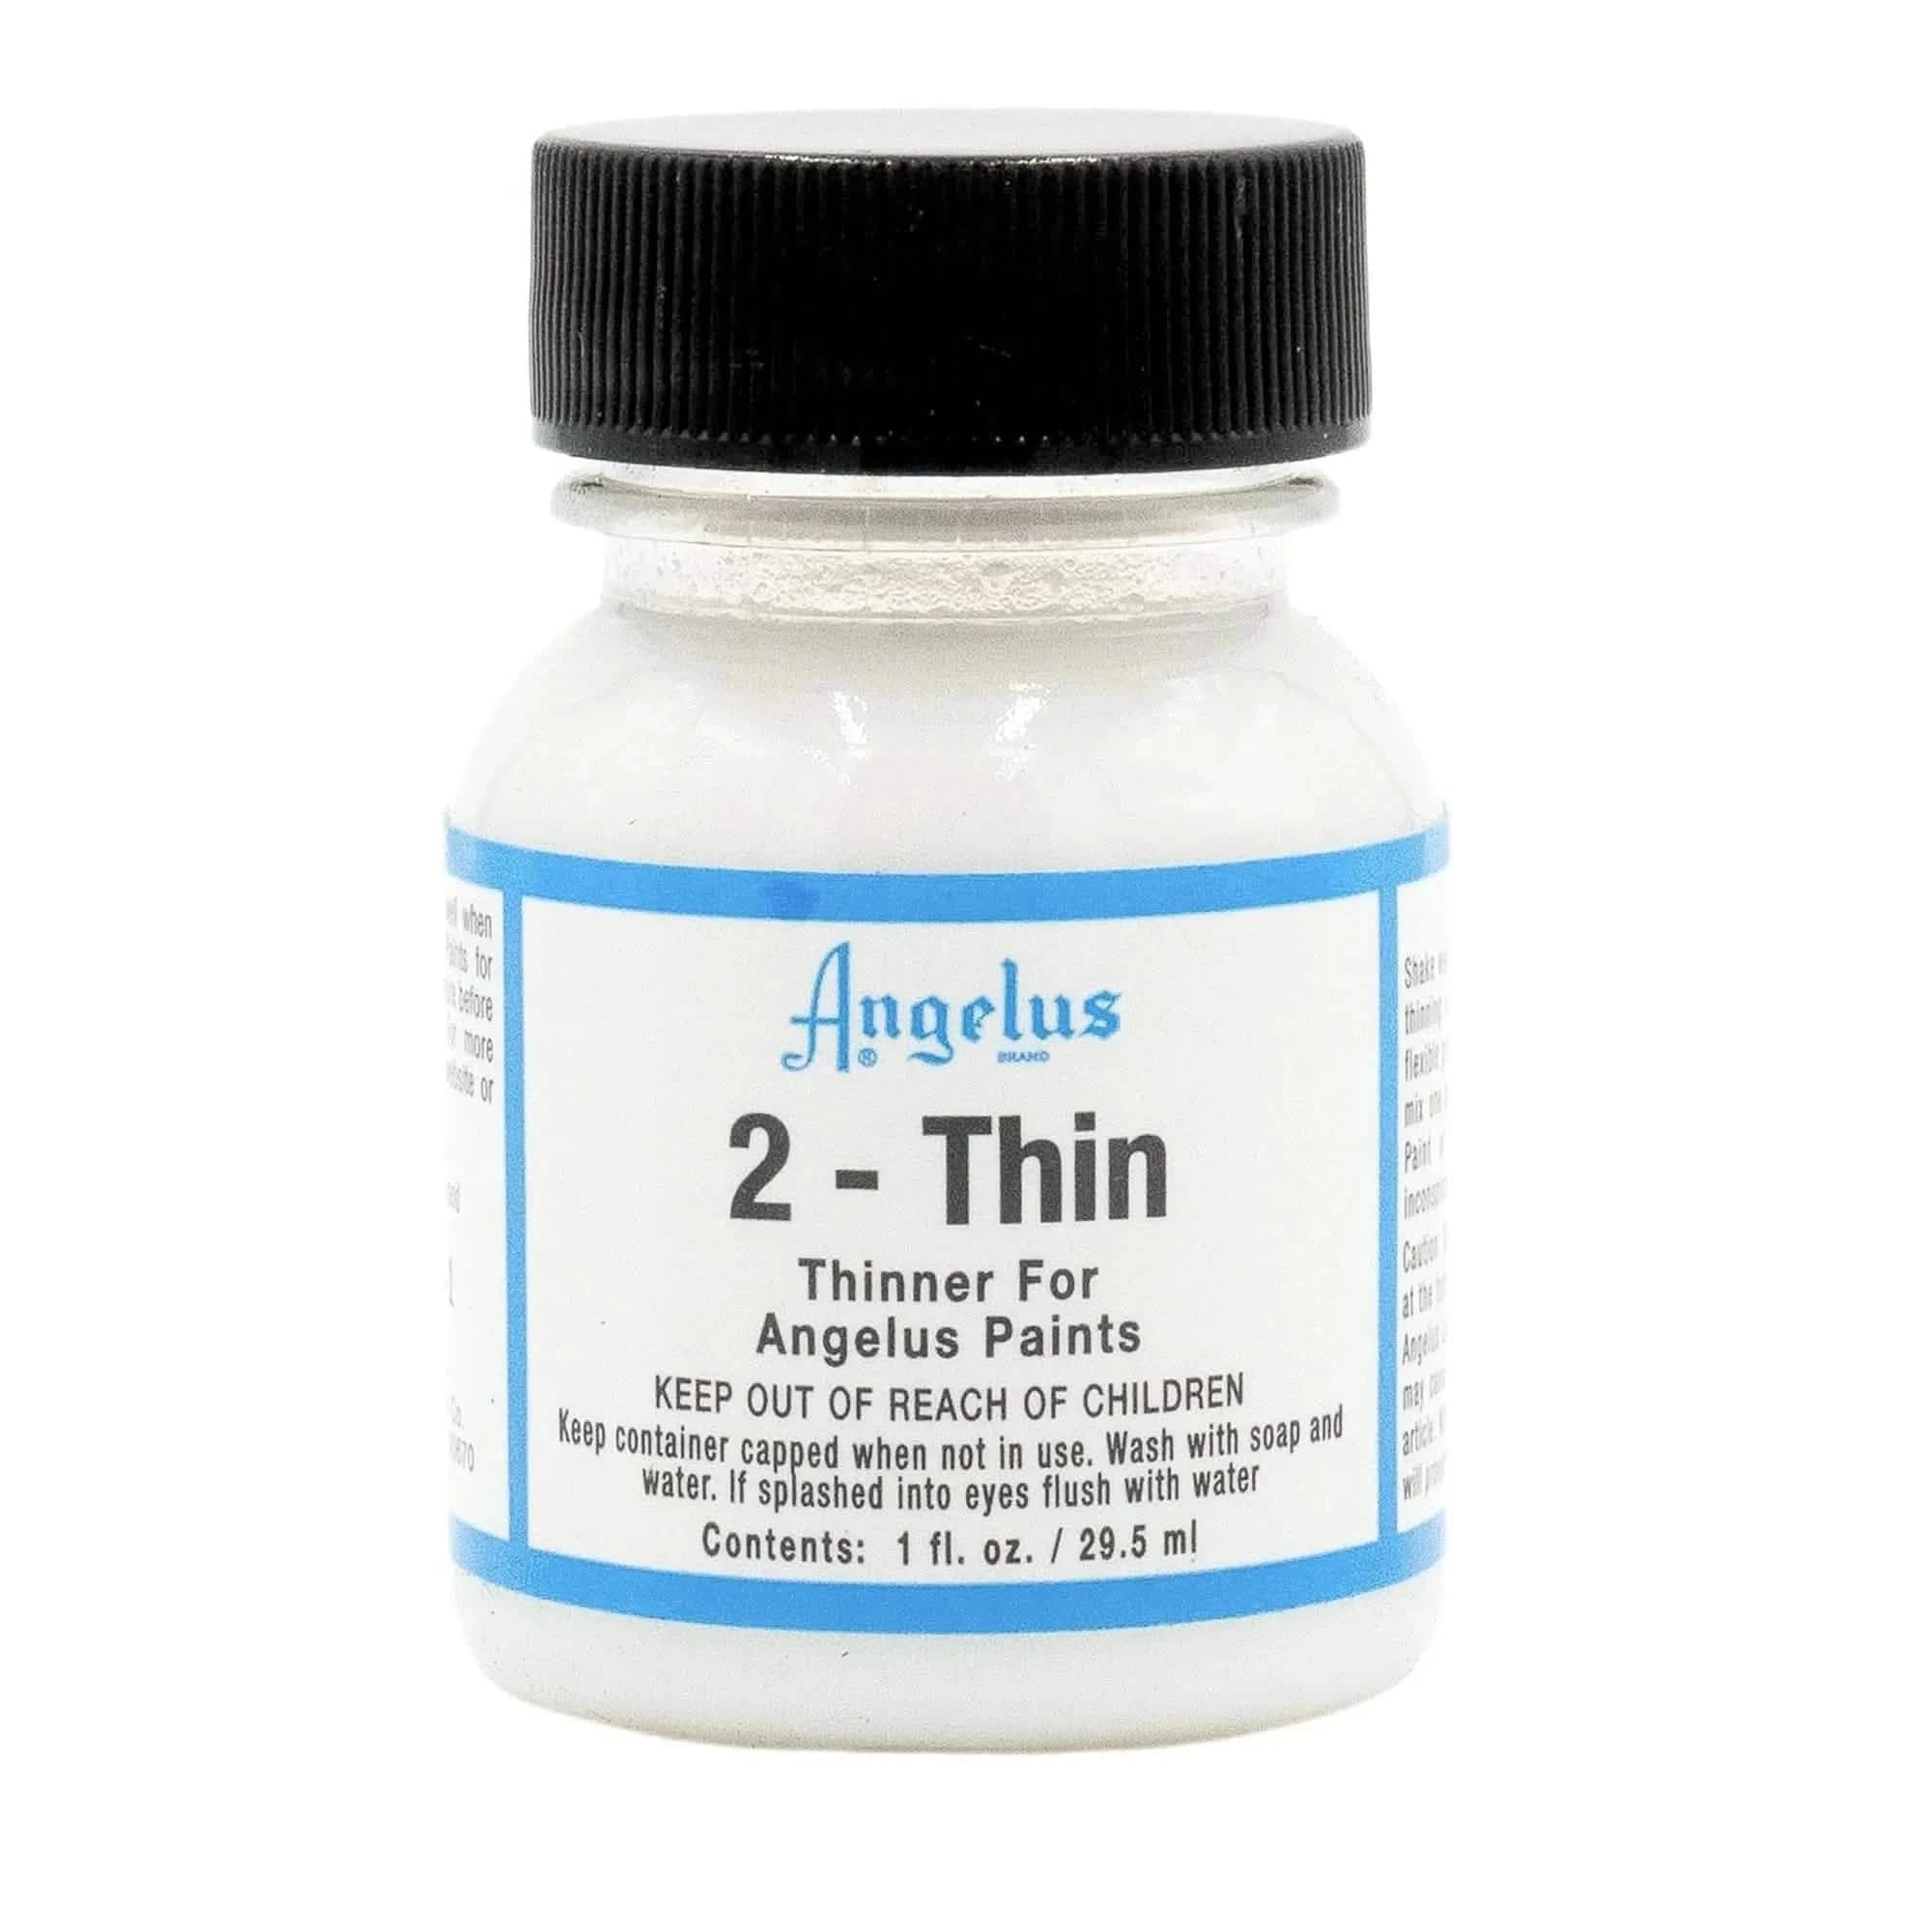
2-Thin Paint Thinner
$3.95
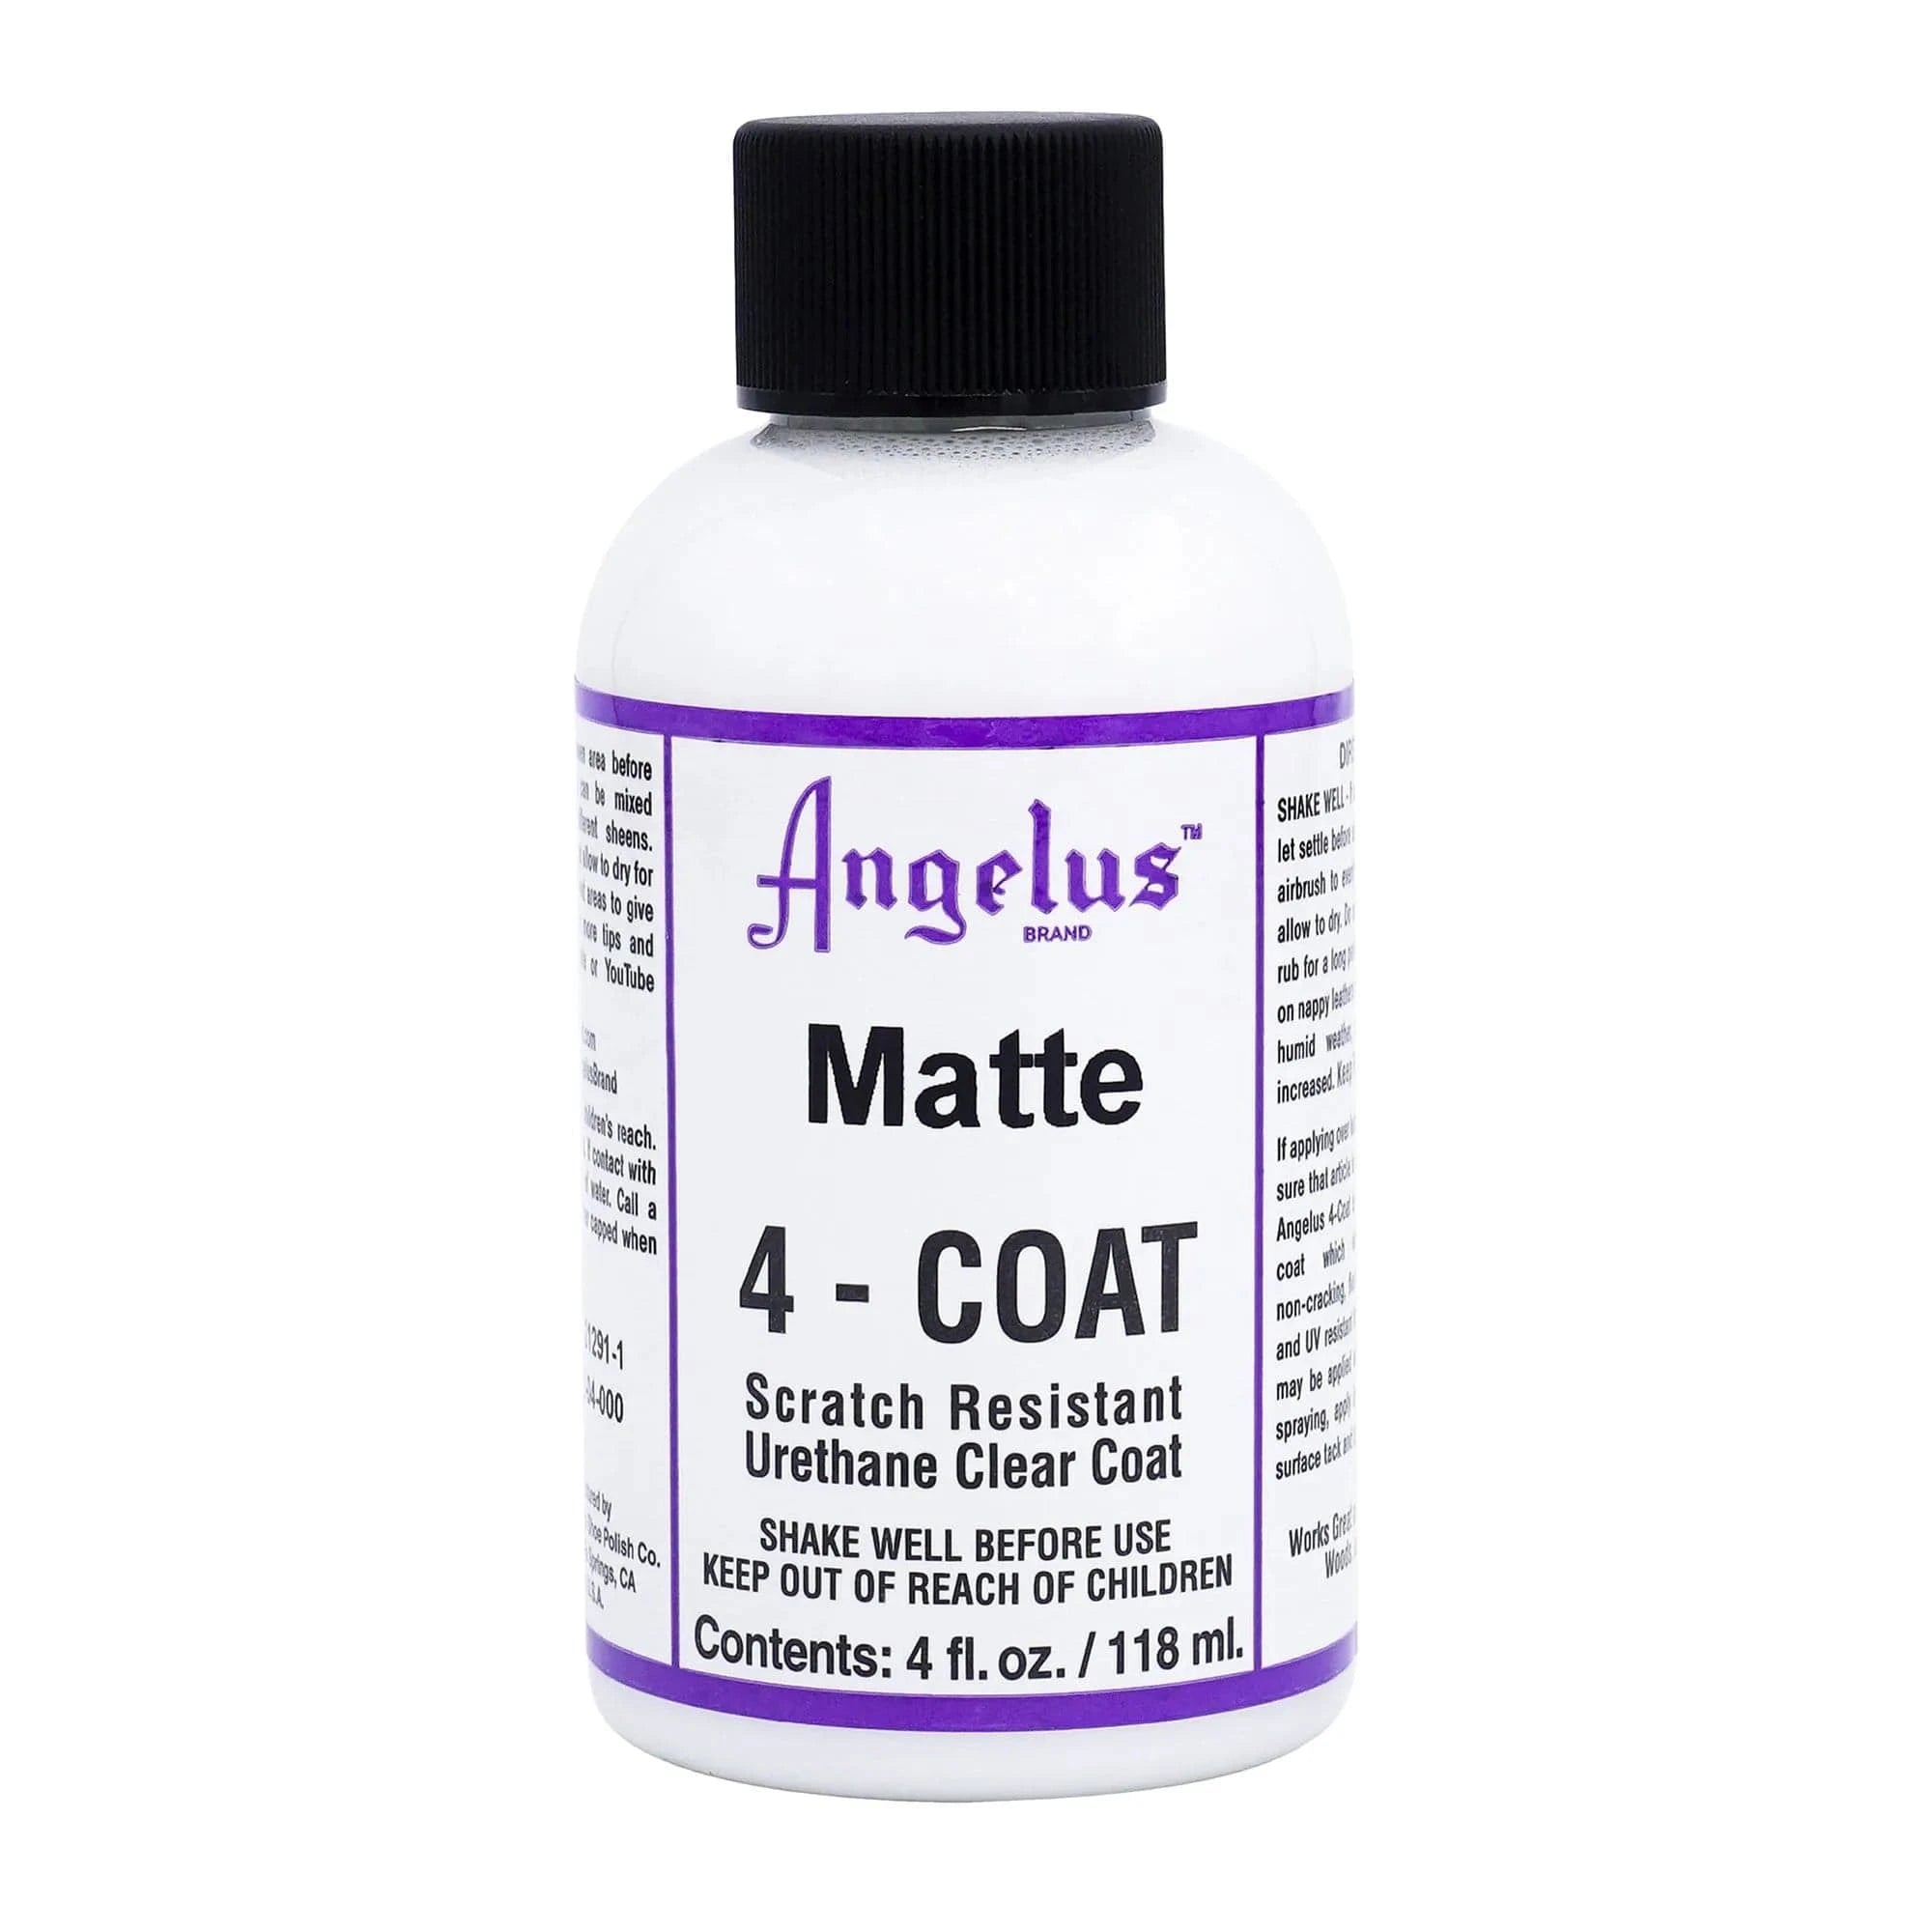
Matte 4-Coat
$6.95
Paintable Repair Filler
$10.95
Angelus Flat White Paint
$3.95
-$0.00
All-Purpose Applicator Pads
$5.95
2-Thin Paint Thinner
$3.95
Matte 4-Coat
$6.95
Paintable Repair Filler
$10.95
Angelus Flat White Paint
$3.95
-$0.00
All-Purpose Applicator Pads
$5.95
2-Thin Paint Thinner
$3.95
Matte 4-Coat
$6.95
Paintable Repair Filler
$10.95
Angelus Flat White Paint
$3.95
-$0.00
All-Purpose Applicator Pads
$5.95
2-Thin Paint Thinner
$3.95
Matte 4-Coat
$6.95
Paintable Repair Filler
$10.95
Angelus Flat White Paint
$3.95
-$0.00
All-Purpose Applicator Pads
$5.95
2-Thin Paint Thinner
$3.95
Matte 4-Coat
$6.95
Paintable Repair Filler
$10.95
Angelus Flat White Paint
$3.95
-$0.00
All-Purpose Applicator Pads
$5.95
2-Thin Paint Thinner
$3.95
Matte 4-Coat
$6.95
Paintable Repair Filler
$10.95
Angelus Flat White Paint
$3.95
-$0.00
Unlock More Inspiration
Dive deeper into our Creator Spotlight series and discover new tutorials from top artists in the community. Whether you're looking to master advanced techniques or spark fresh ideas, these step-by-step guides will take your custom game to the next level.