
Introduction
Learn how to repair holes in leather with ease using Angelus Paintable Repair Filler in this step-by-step tutorial by custom sneaker artist Cassy Kustoms. Perfect for DIYers, restorers, and sneaker customizers, this guide shows you how to seamlessly fill damaged or torn leather and prep it for painting. Whether you're restoring old kicks or customizing from scratch, this leather repair method will level up your skills.
Creator Spotlight
Creator Spotlight
Creator Spotlight
Creator Spotlight
Creator Spotlight
Creator Spotlight
Creator Spotlight
Creator Spotlight
Creator Spotlight
Creator Spotlight
Creator Spotlight
Creator Spotlight
Creator Spotlight
Creator Spotlight
Creator Spotlight
Creator Spotlight
Creator Spotlight
Creator Spotlight
Creator Spotlight
Creator Spotlight
Cassy Kustoms
I’m Cassy, a creative designer in the DMV area known for my sneaker artwork. I started customizing at sixteen, and I can’t believe how far art has taken me. My dream career started with asking friends in high school if I could paint their phone cases or AirPods cases. This led to painting custom art on sneakers and consistently sharing my work on social media. As I grow as an artist, I’ve been finding new ways to blend all my creative passions—painting, video creation, graphic design, and photography.
Creator Spotlight
Creator Spotlight
Creator Spotlight
Creator Spotlight
Creator Spotlight
Creator Spotlight
Creator Spotlight
Creator Spotlight
Creator Spotlight
Creator Spotlight
Creator Spotlight
Creator Spotlight
Creator Spotlight
Creator Spotlight
Creator Spotlight
Creator Spotlight
Creator Spotlight
Creator Spotlight
Creator Spotlight
Creator Spotlight
How to Repair Holes in Leather with Angelus Paintable Repair Filler: A 4-Step Guide
Step 1: Prep the Surface
Start by cleaning the damaged leather with Angelus Leather Preparer & Deglazer. This removes dirt, oils, and any old finishes that might prevent adhesion. Next, lightly sand the area using Angelus Multi-Purpose Wet Sandpaper to create texture for the filler to grip onto.
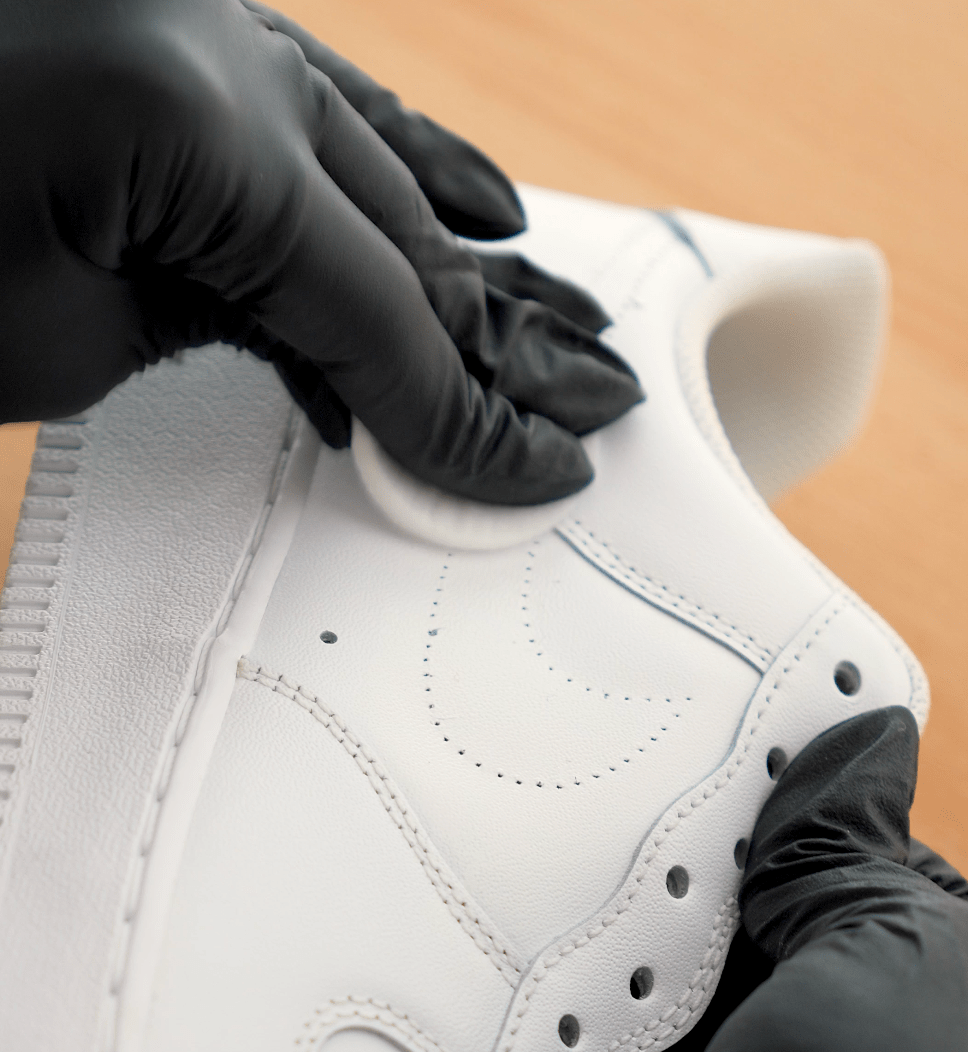
Start by cleaning the damaged leather with Angelus Leather Preparer & Deglazer. This removes dirt, oils, and any old finishes that might prevent adhesion. Next, lightly sand the area using Angelus Multi-Purpose Wet Sandpaper to create texture for the filler to grip onto.
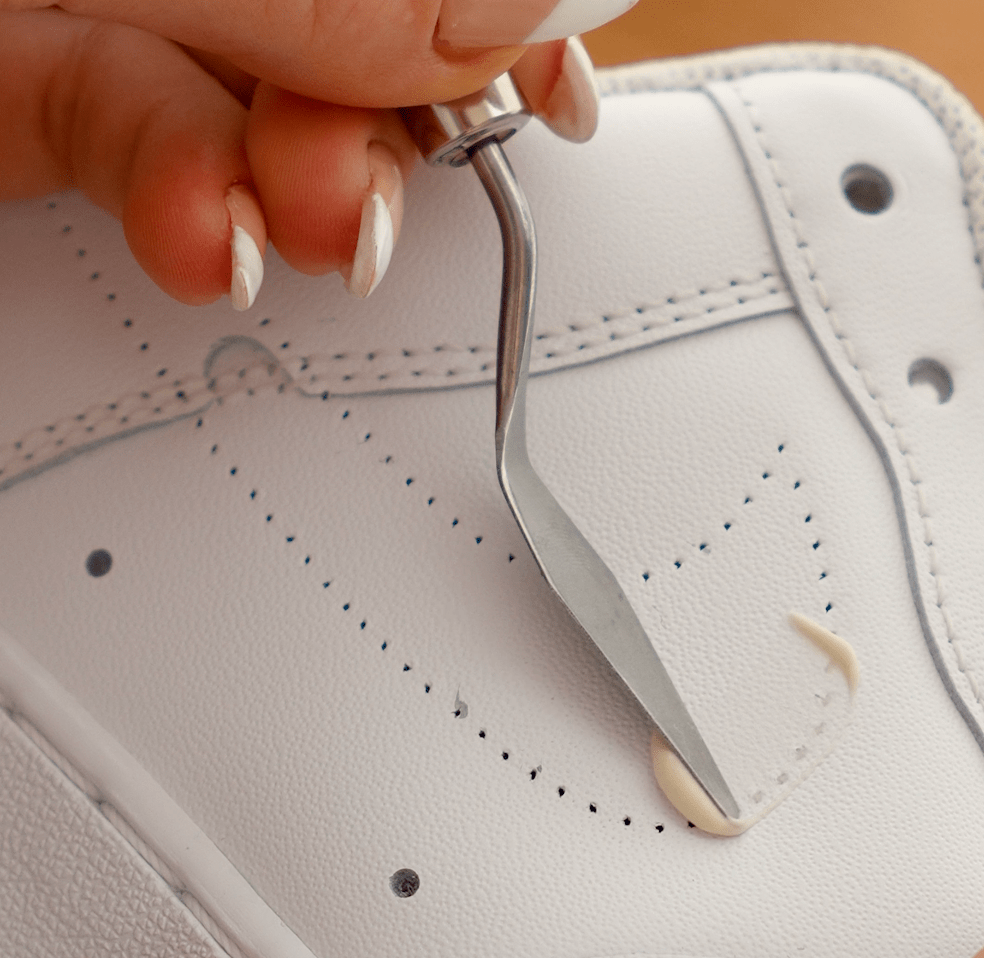
Step 2: Apply the Filler
Using a spatula or applicator, spread a thin, even layer of Angelus Paintable Repair Filler directly into the hole or tear. Make sure the filler gets deep into any cracks or cuts. For deeper damage, apply multiple thin layers, letting each one dry completely before adding the next.
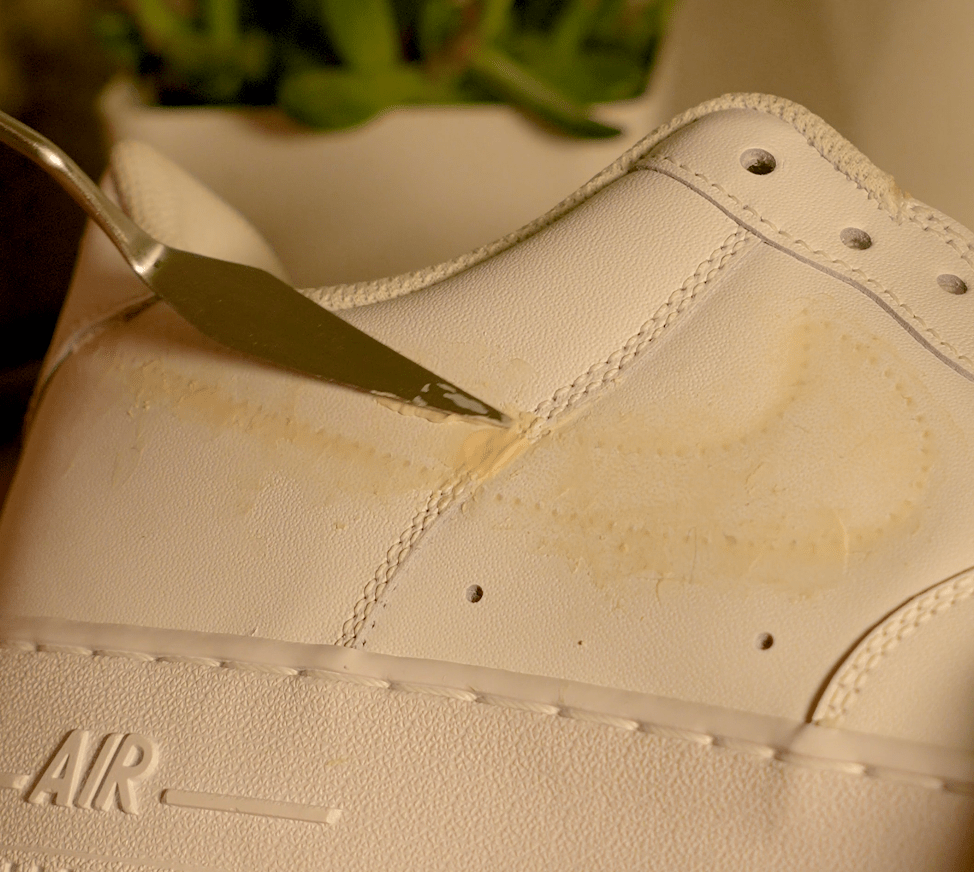
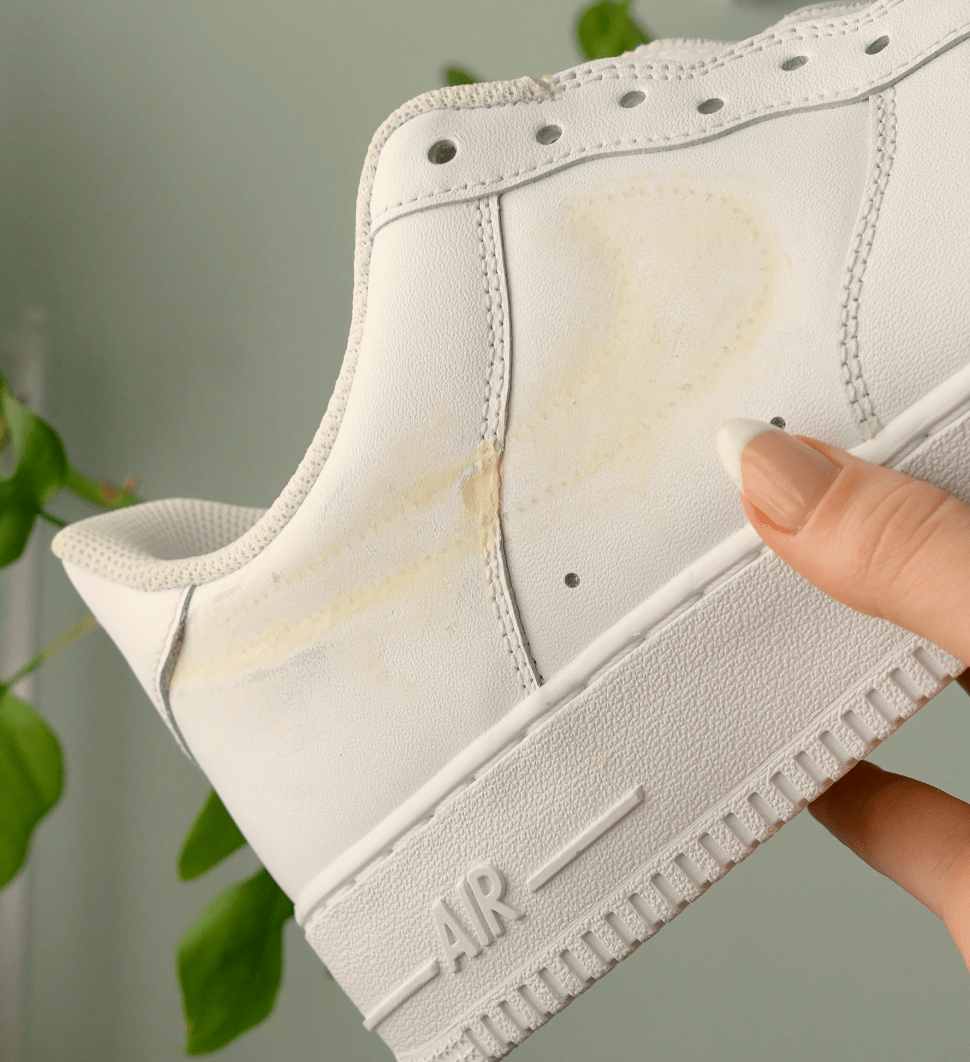
Step 3: Let It Dry & Smooth It Out
Allow the filler to dry thoroughly between layers — drying time can vary depending on temperature and humidity. Once fully dry, use sandpaper (start coarse, end fine) to gently smooth the surface until it blends seamlessly with the surrounding leather.
Step 4: Paint & Finish
Once your repair is smooth, it’s time to paint. Use Angelus Leather Paint to match the color and finish of the original material. For best results, apply thin coats and consider using a heat gun to speed up drying and curing.
Creator Questions
I'm based in the DMV area.
I knew about Angelus from watching YouTube as a teen, and when I finally ordered my first Leather Paint Basics Kit, I was so excited! It was the first of many paint bottles I’d open… literally opening a whole world of new possibilities.
I use Angelus products to transform my client’s visions into custom, wearable works of art.
There’s so many essential products that I use nearly every day! But my top 5 favorite products would have to be the Applicator Pads, Satin 4-Coat Finisher, Detail Knife, Sand Paint, and White Paint.
Embrace every project as a learning experience! I have yet to work on a project where I didn’t mess up at some point. We don’t typically see that part of the process on social media, but I promise everyone around you is making mistakes behind the scenes. Keep saying yes to things, learn as you go, and reach out to your creative community for help or advice when you need it! Many artists share their process and learning experiences for free, so that is a great place to look for inspiration and guidance.
🛒 Cassy's Top 5 Angelus Products
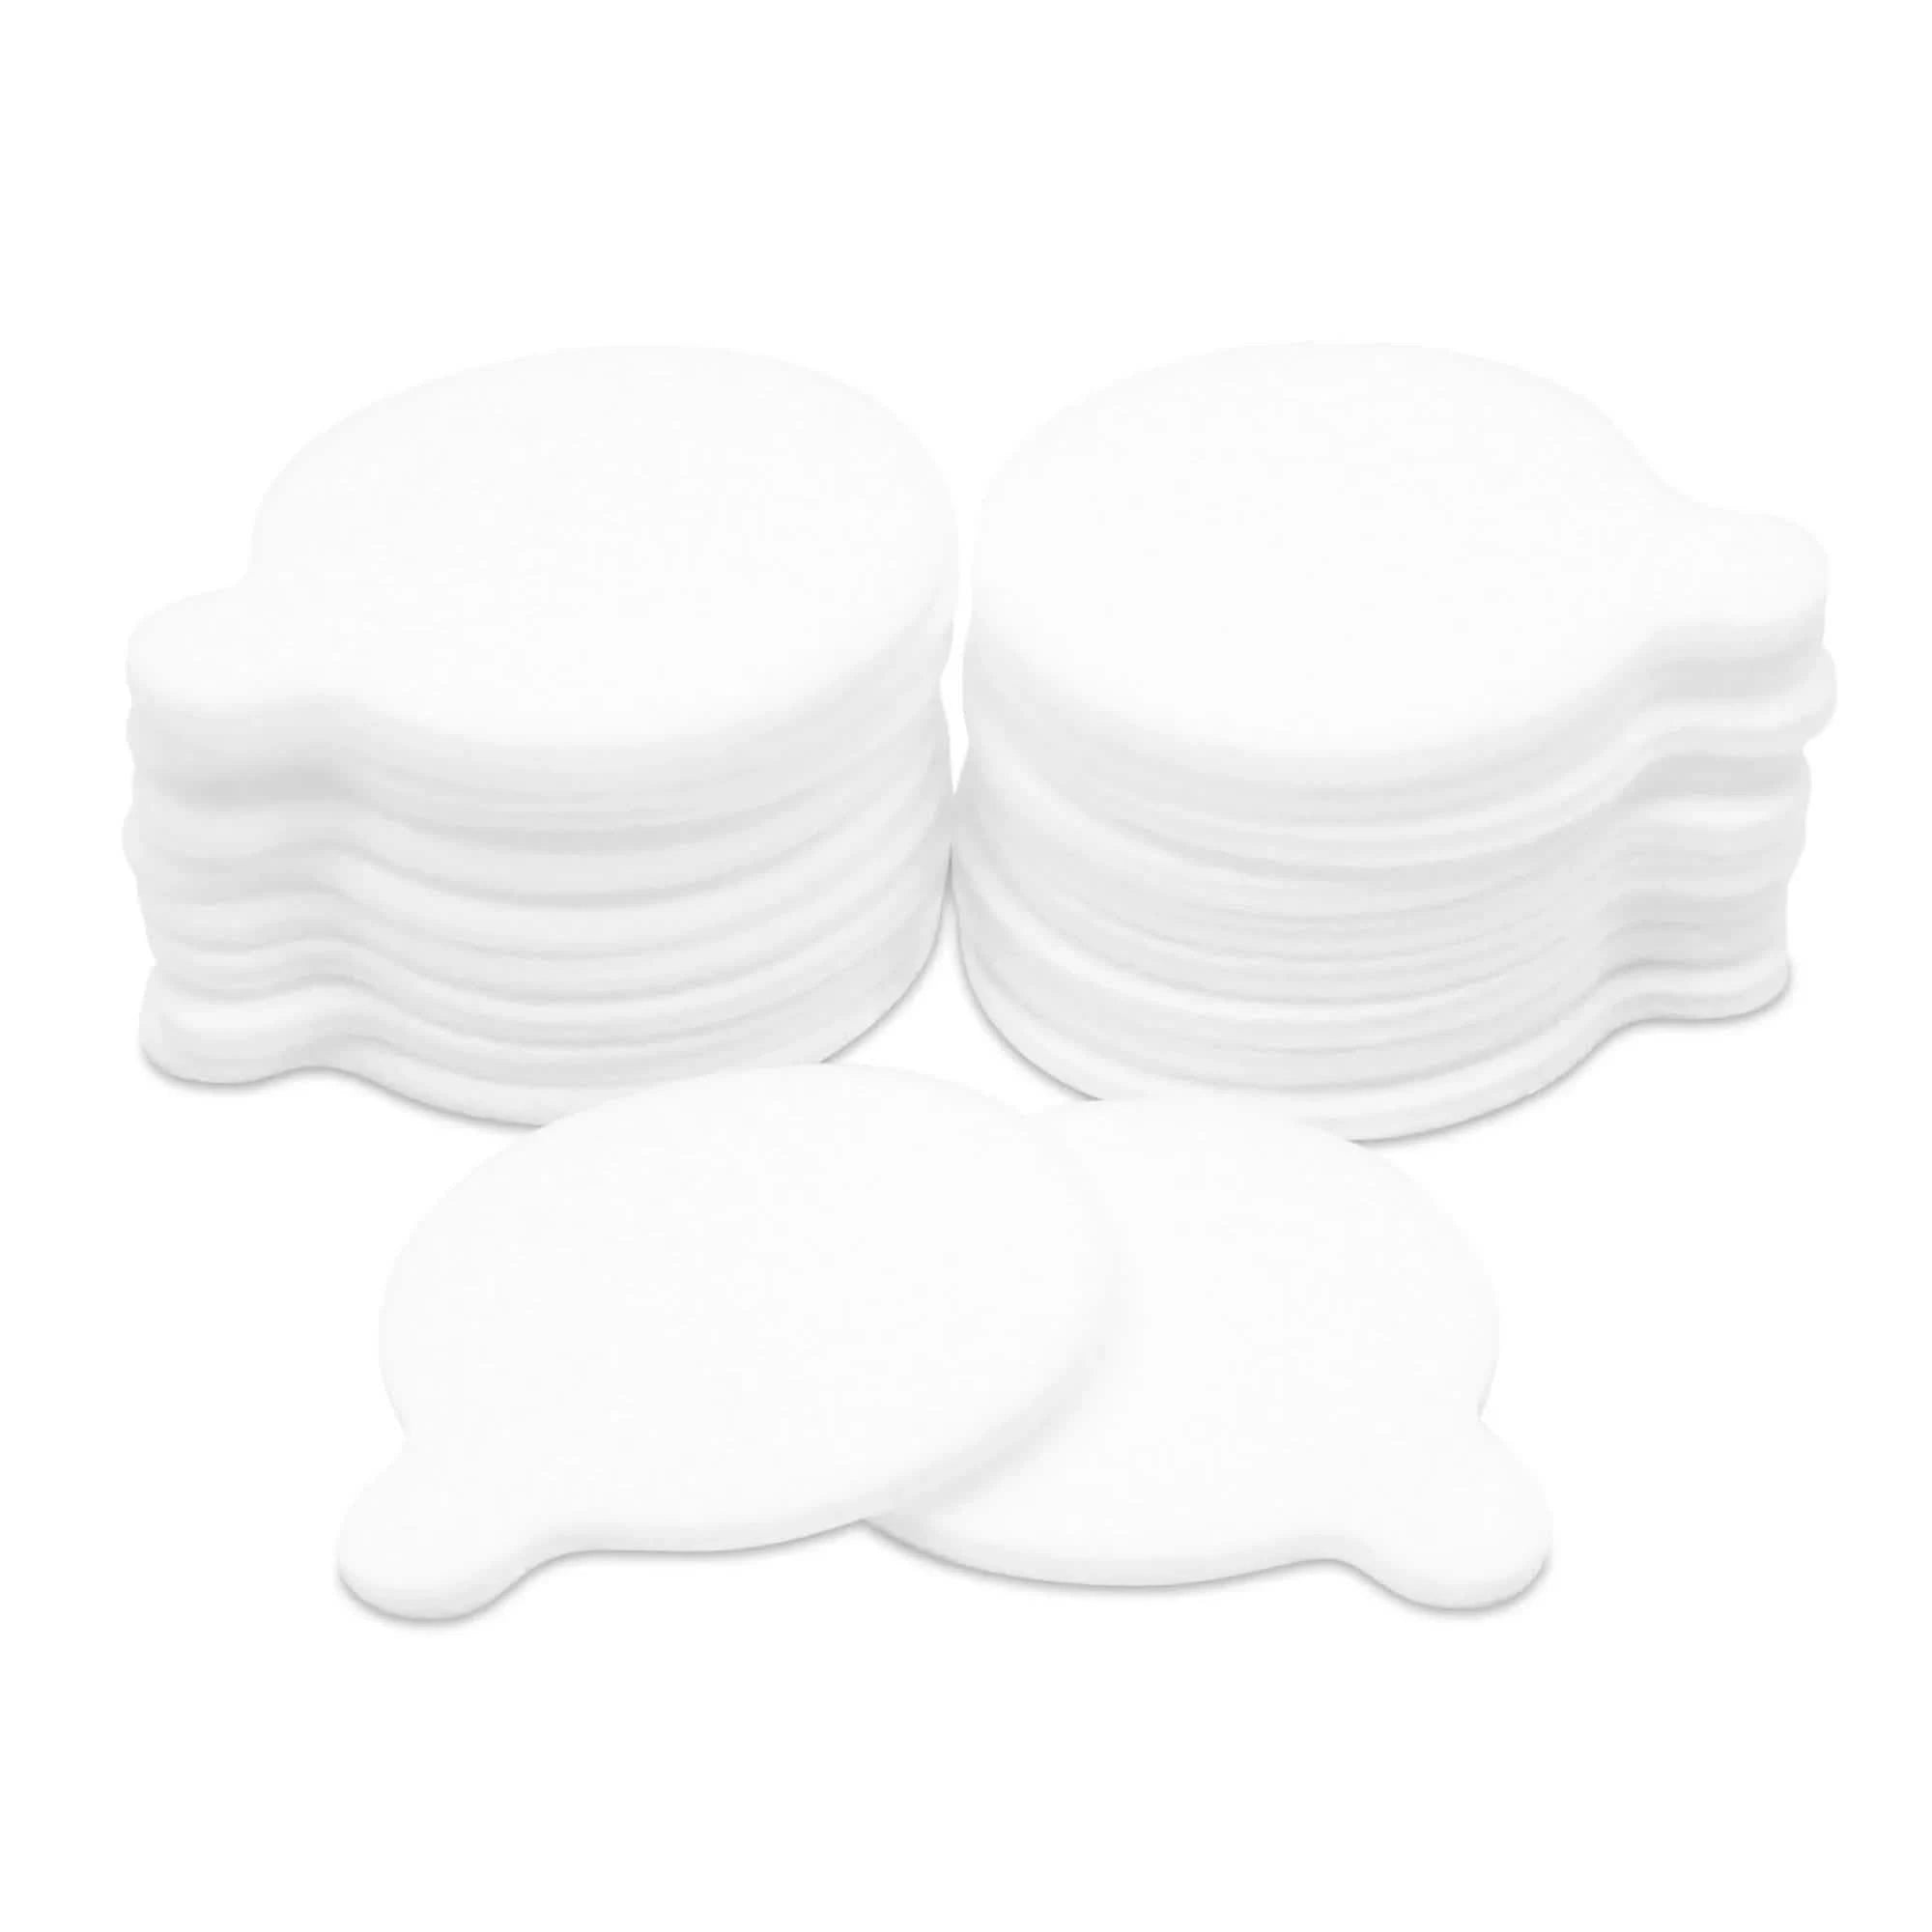
All-Purpose Applicator Pads
$5.95
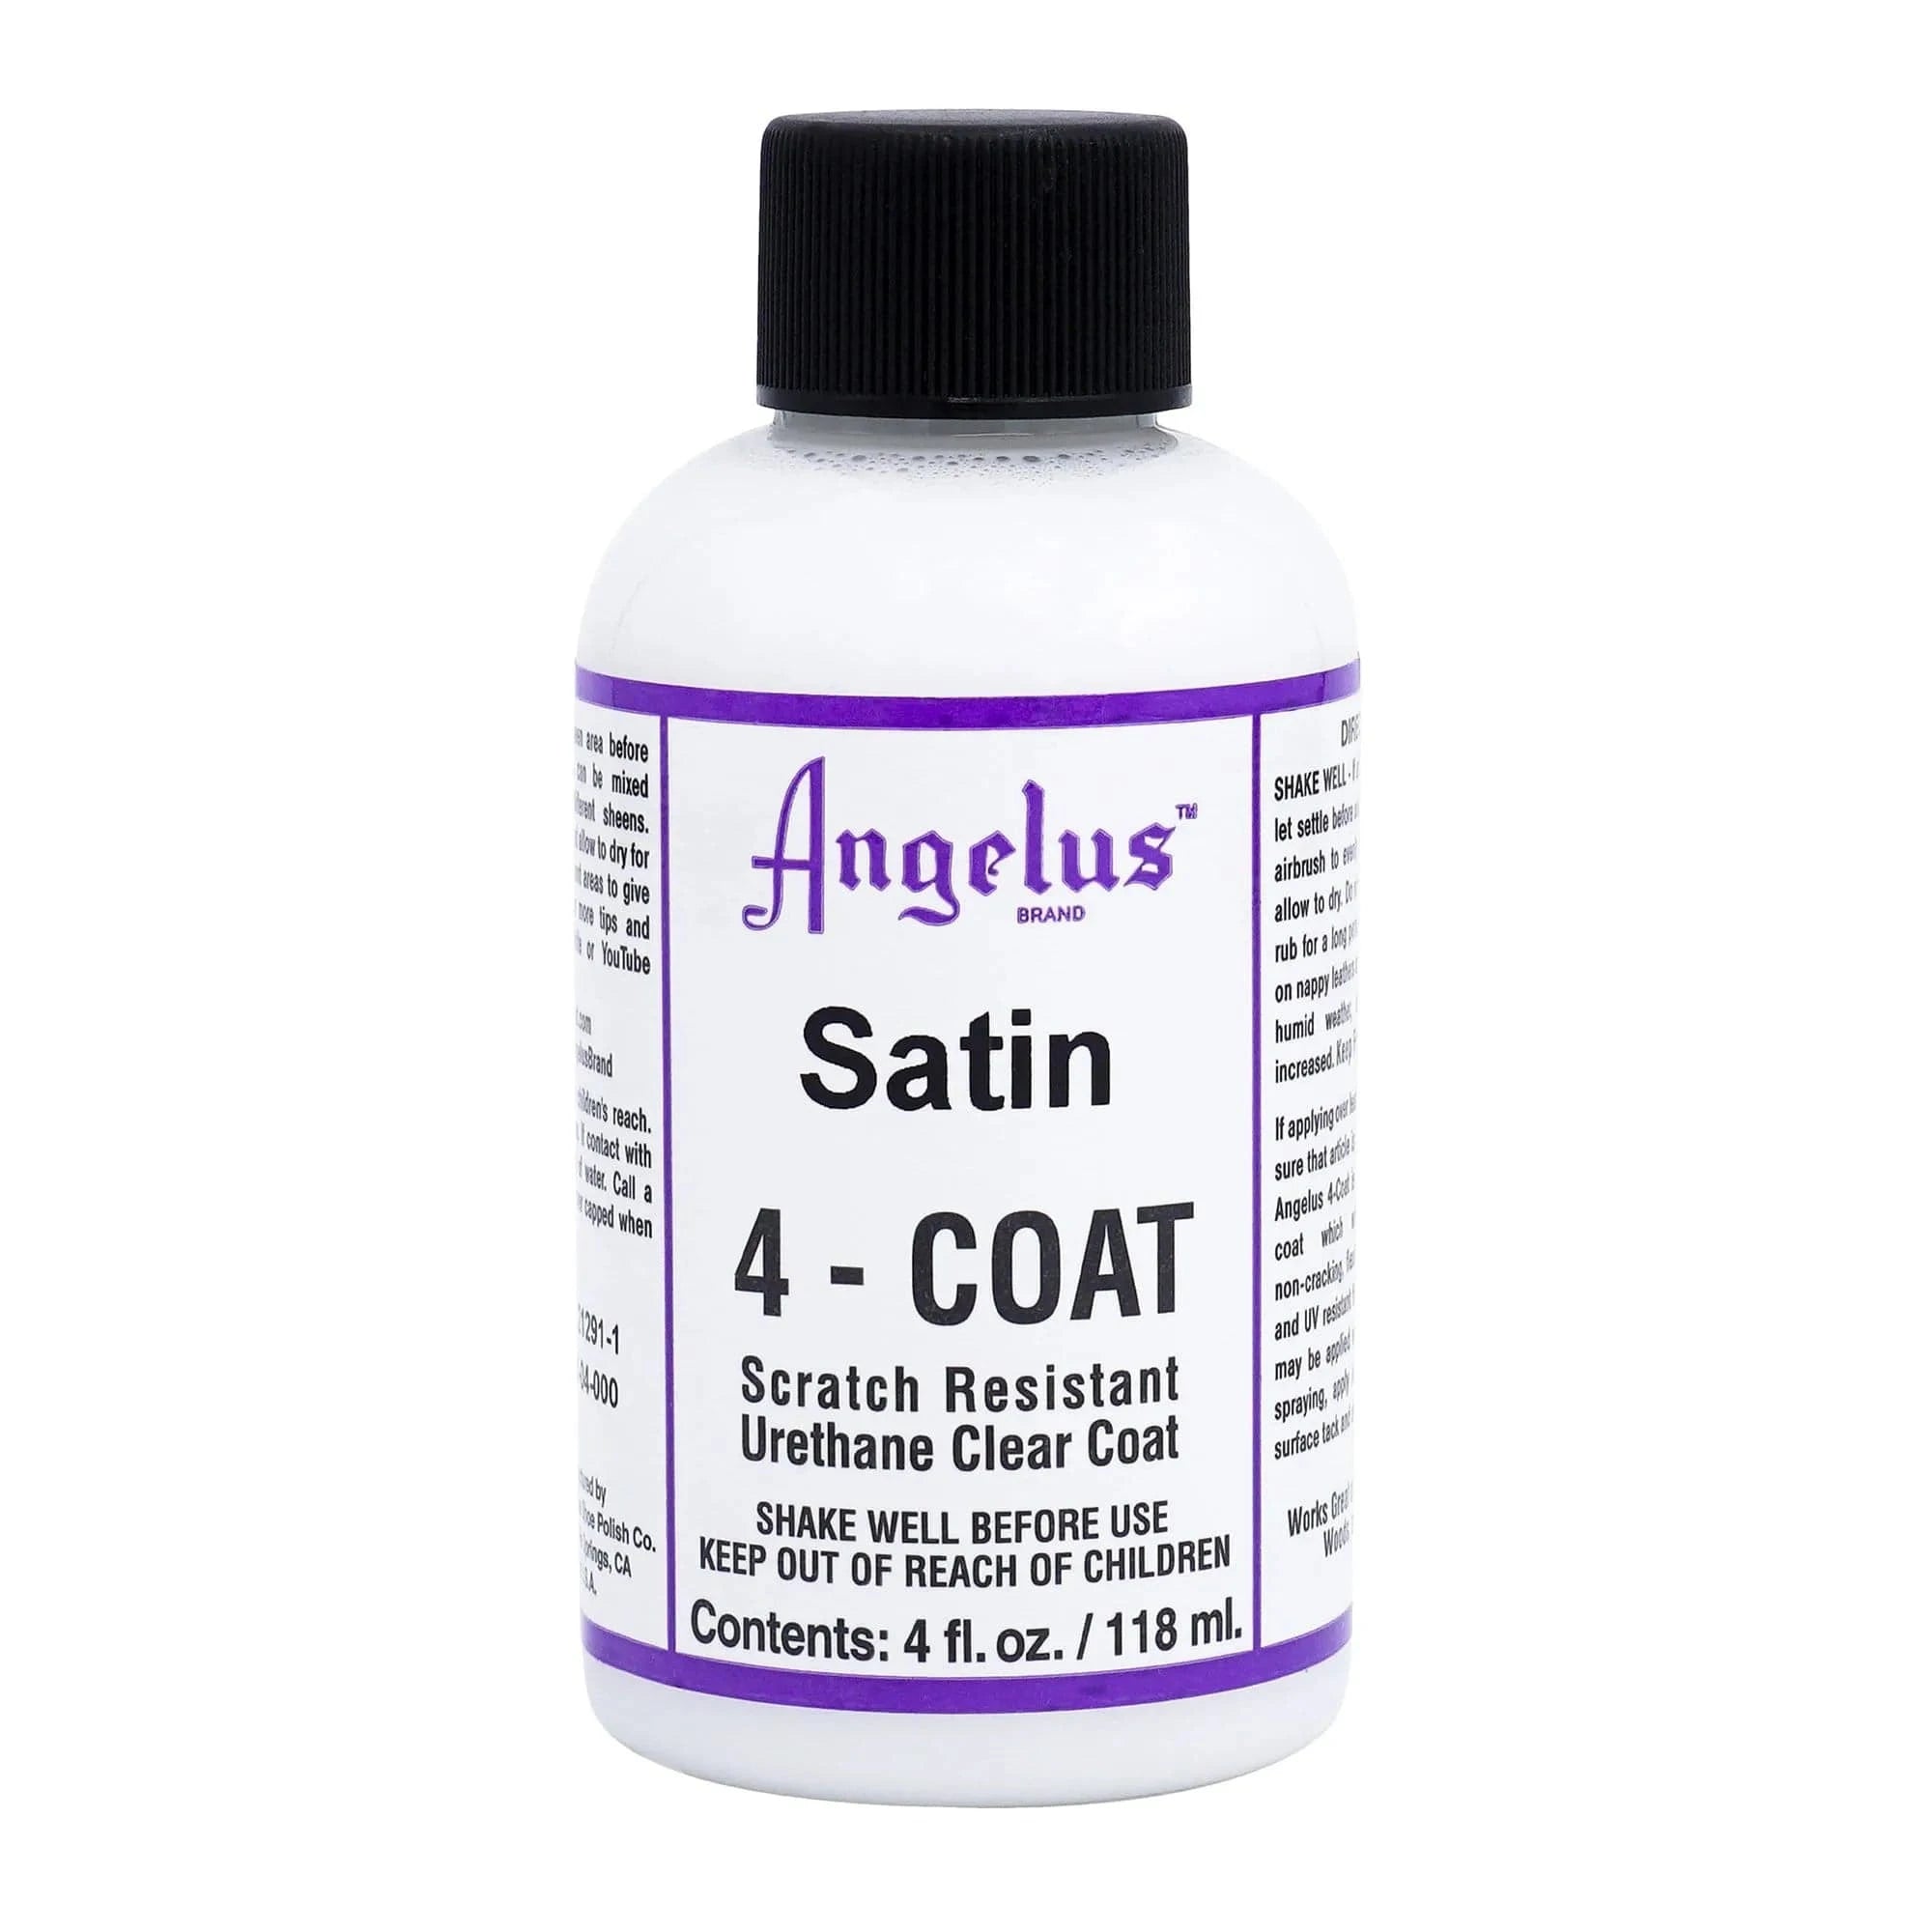
Satin 4-Coat
$6.95
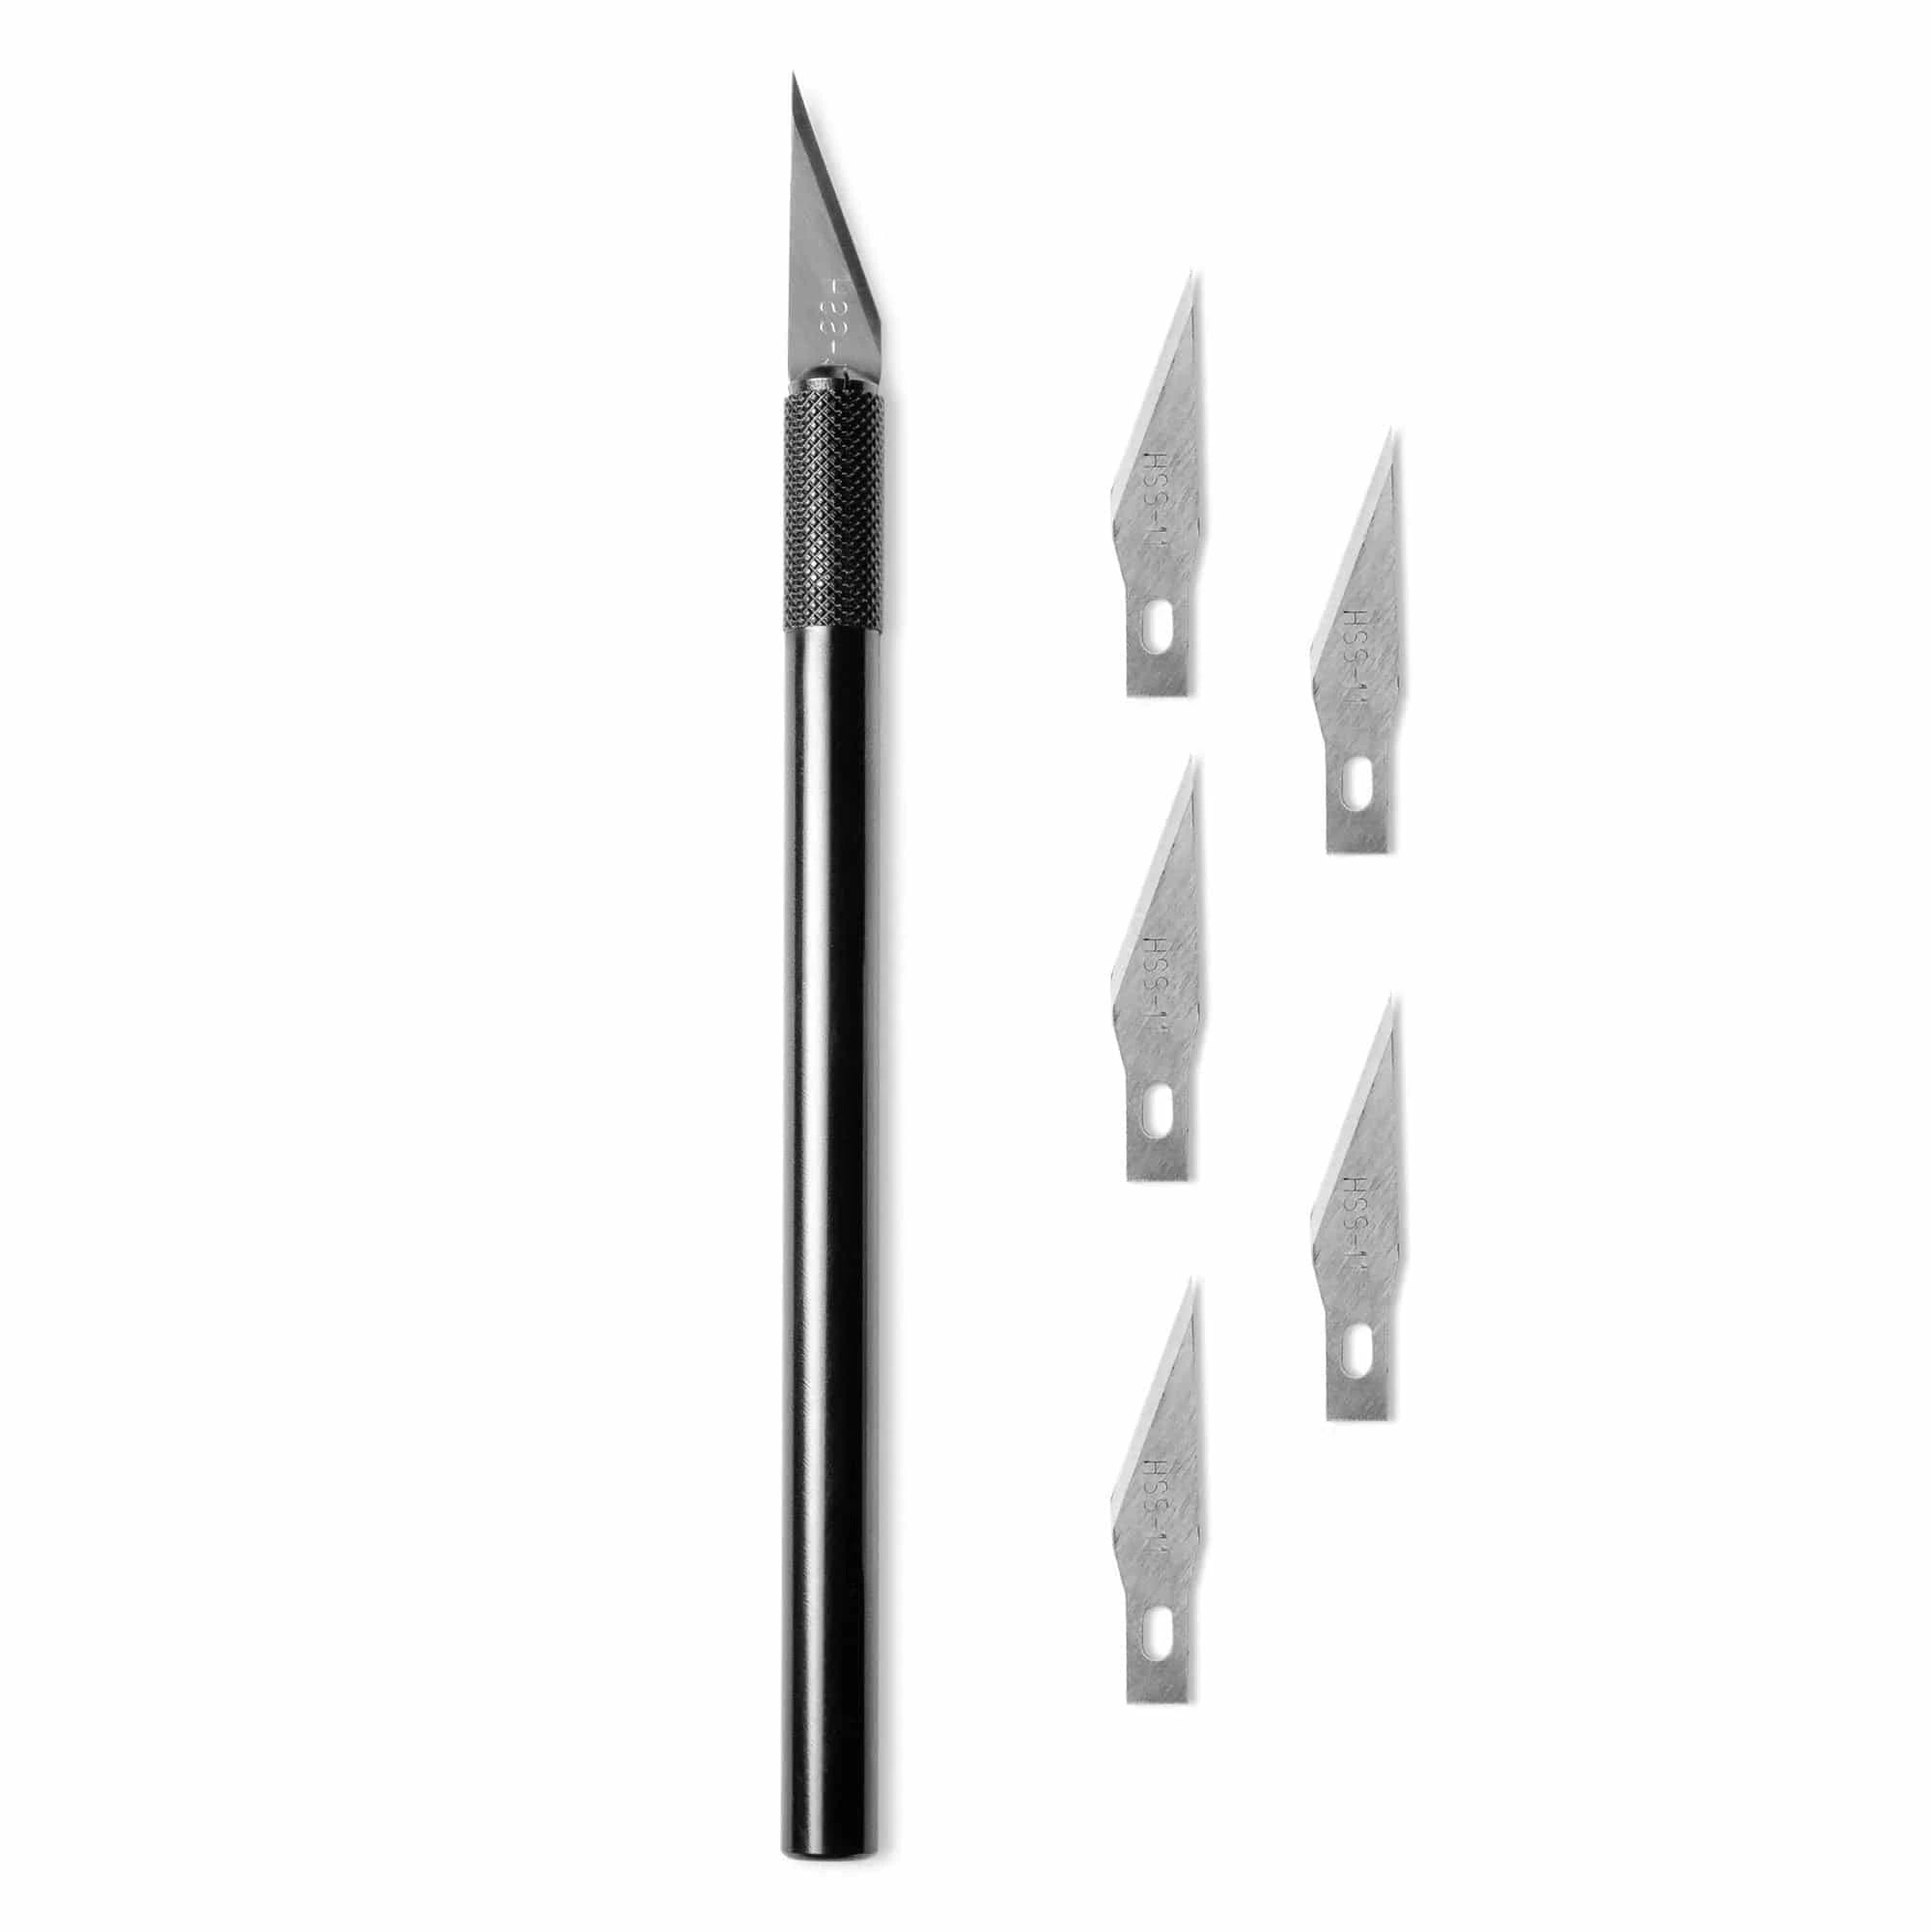
Angelus #11 Detail Knife + 5 Replacement Blades
$6.95
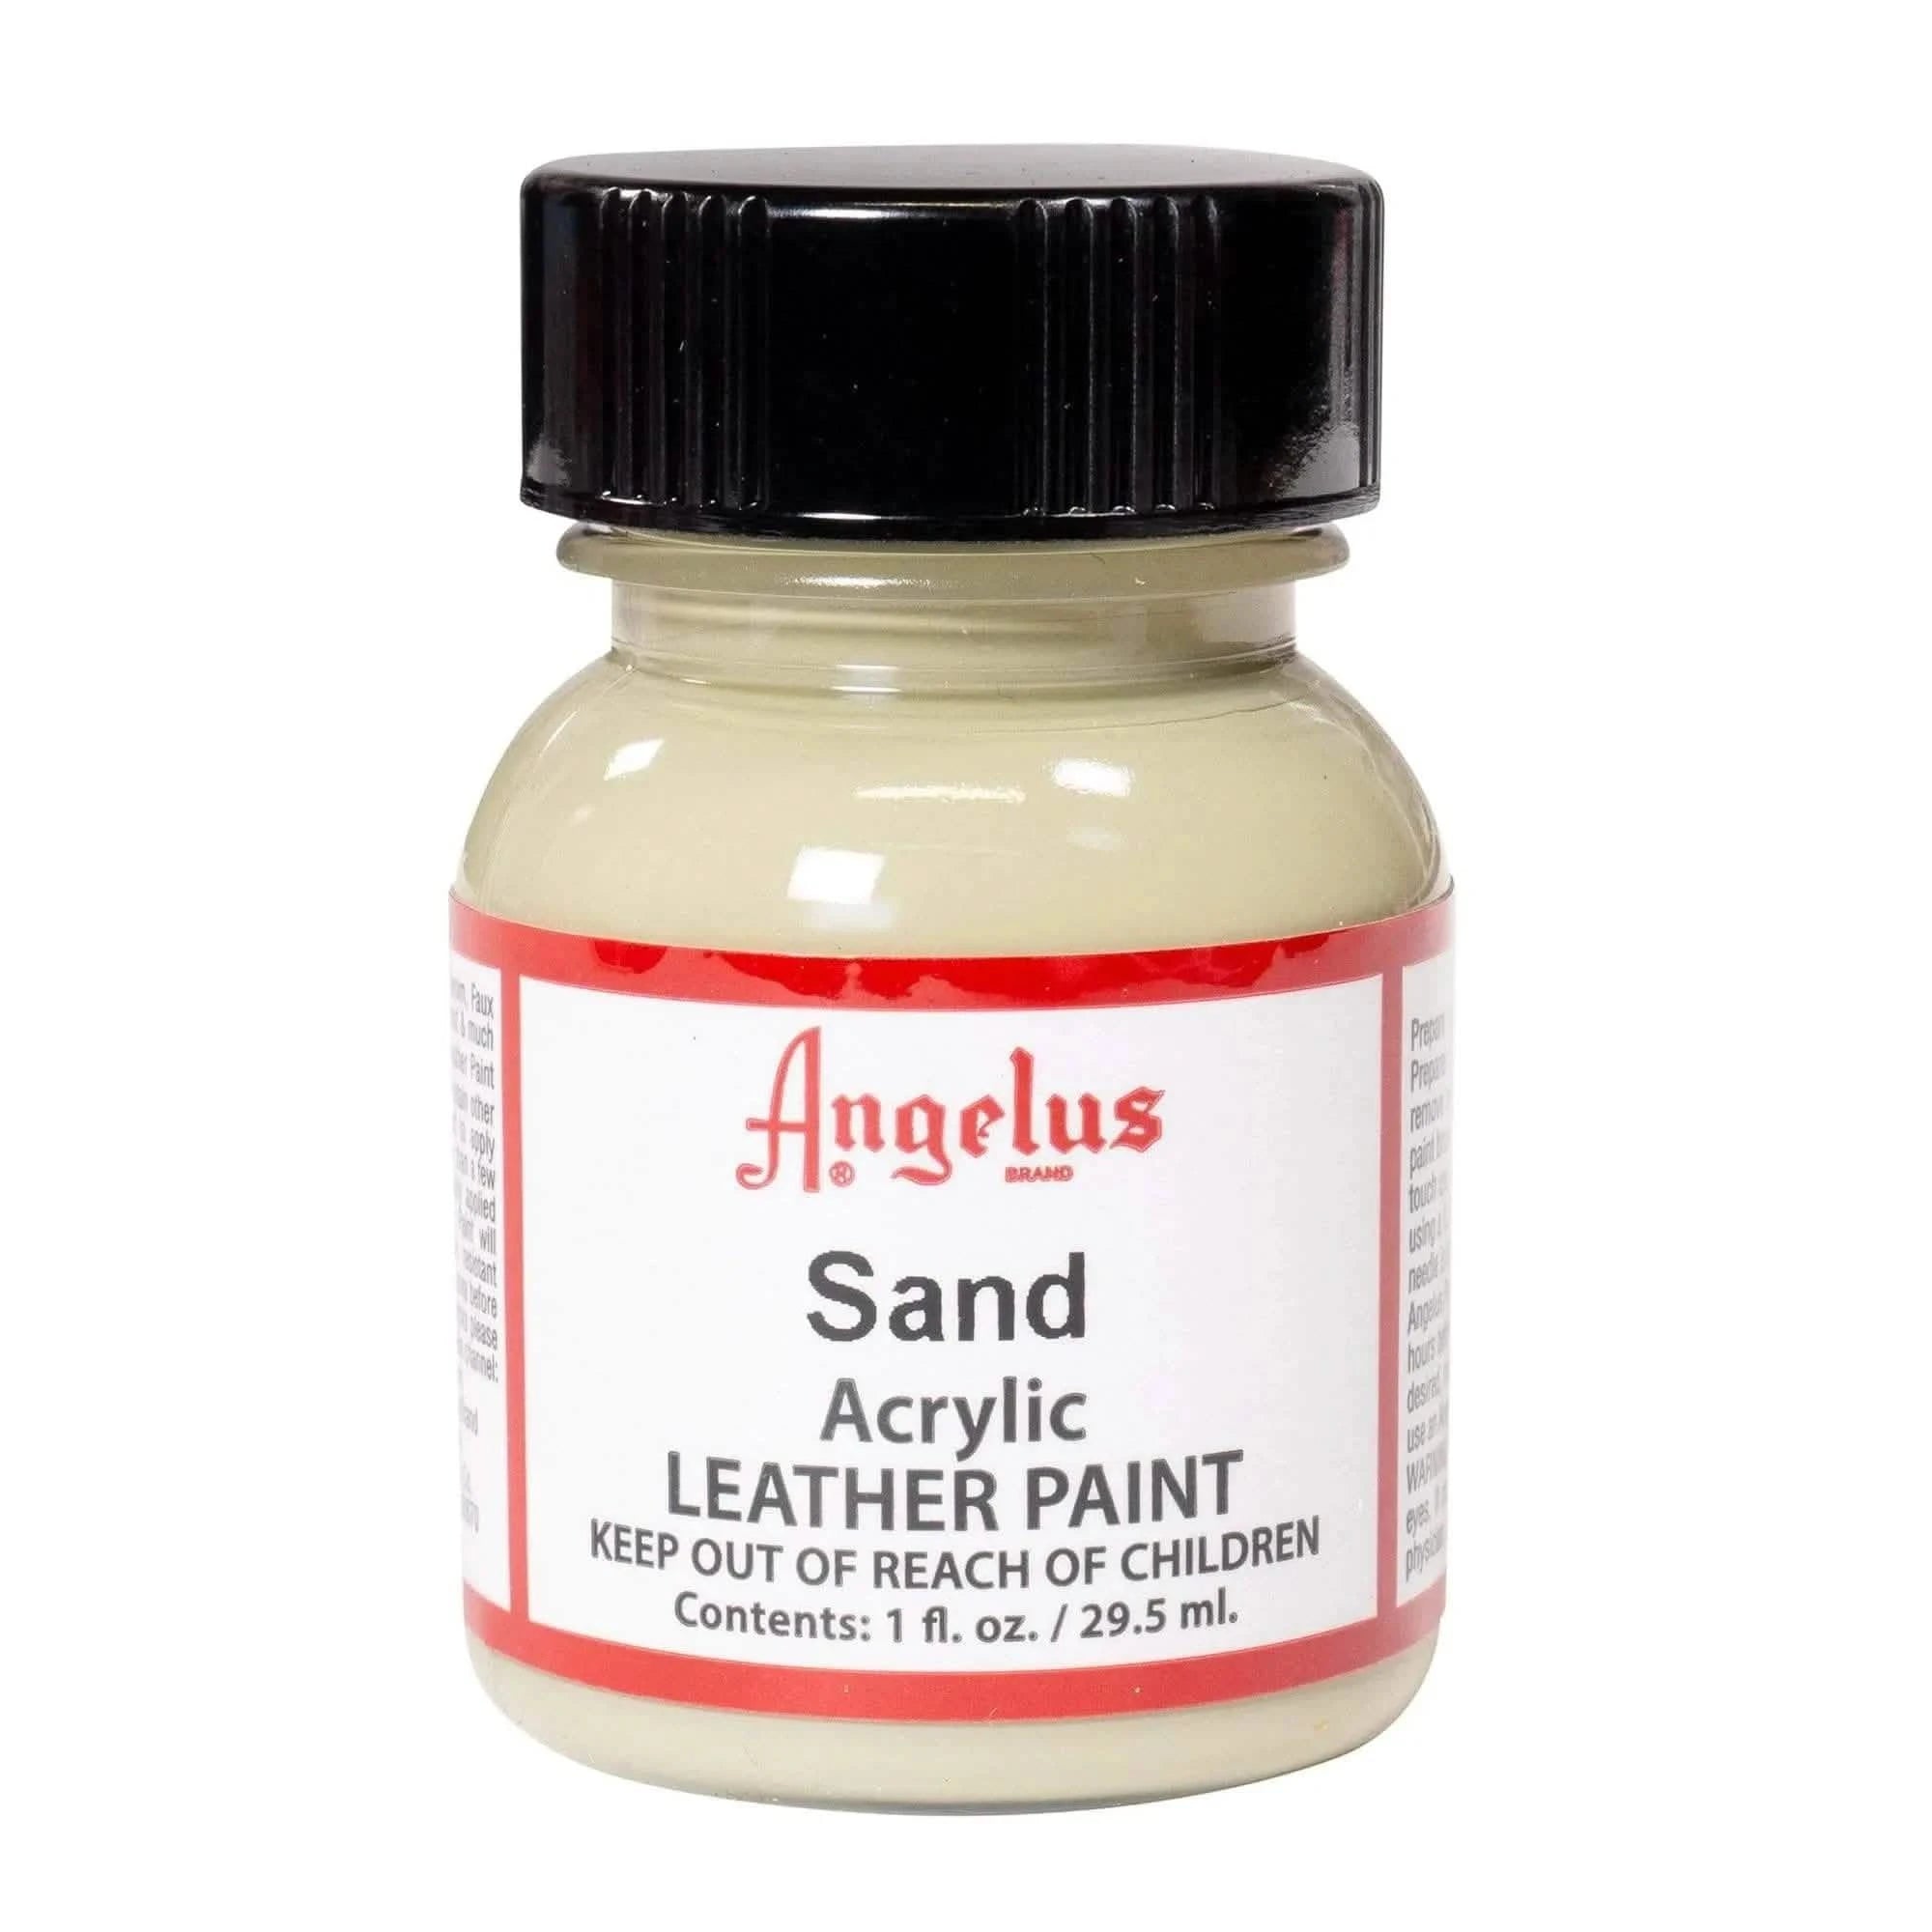
Angelus Sand Paint
$3.95
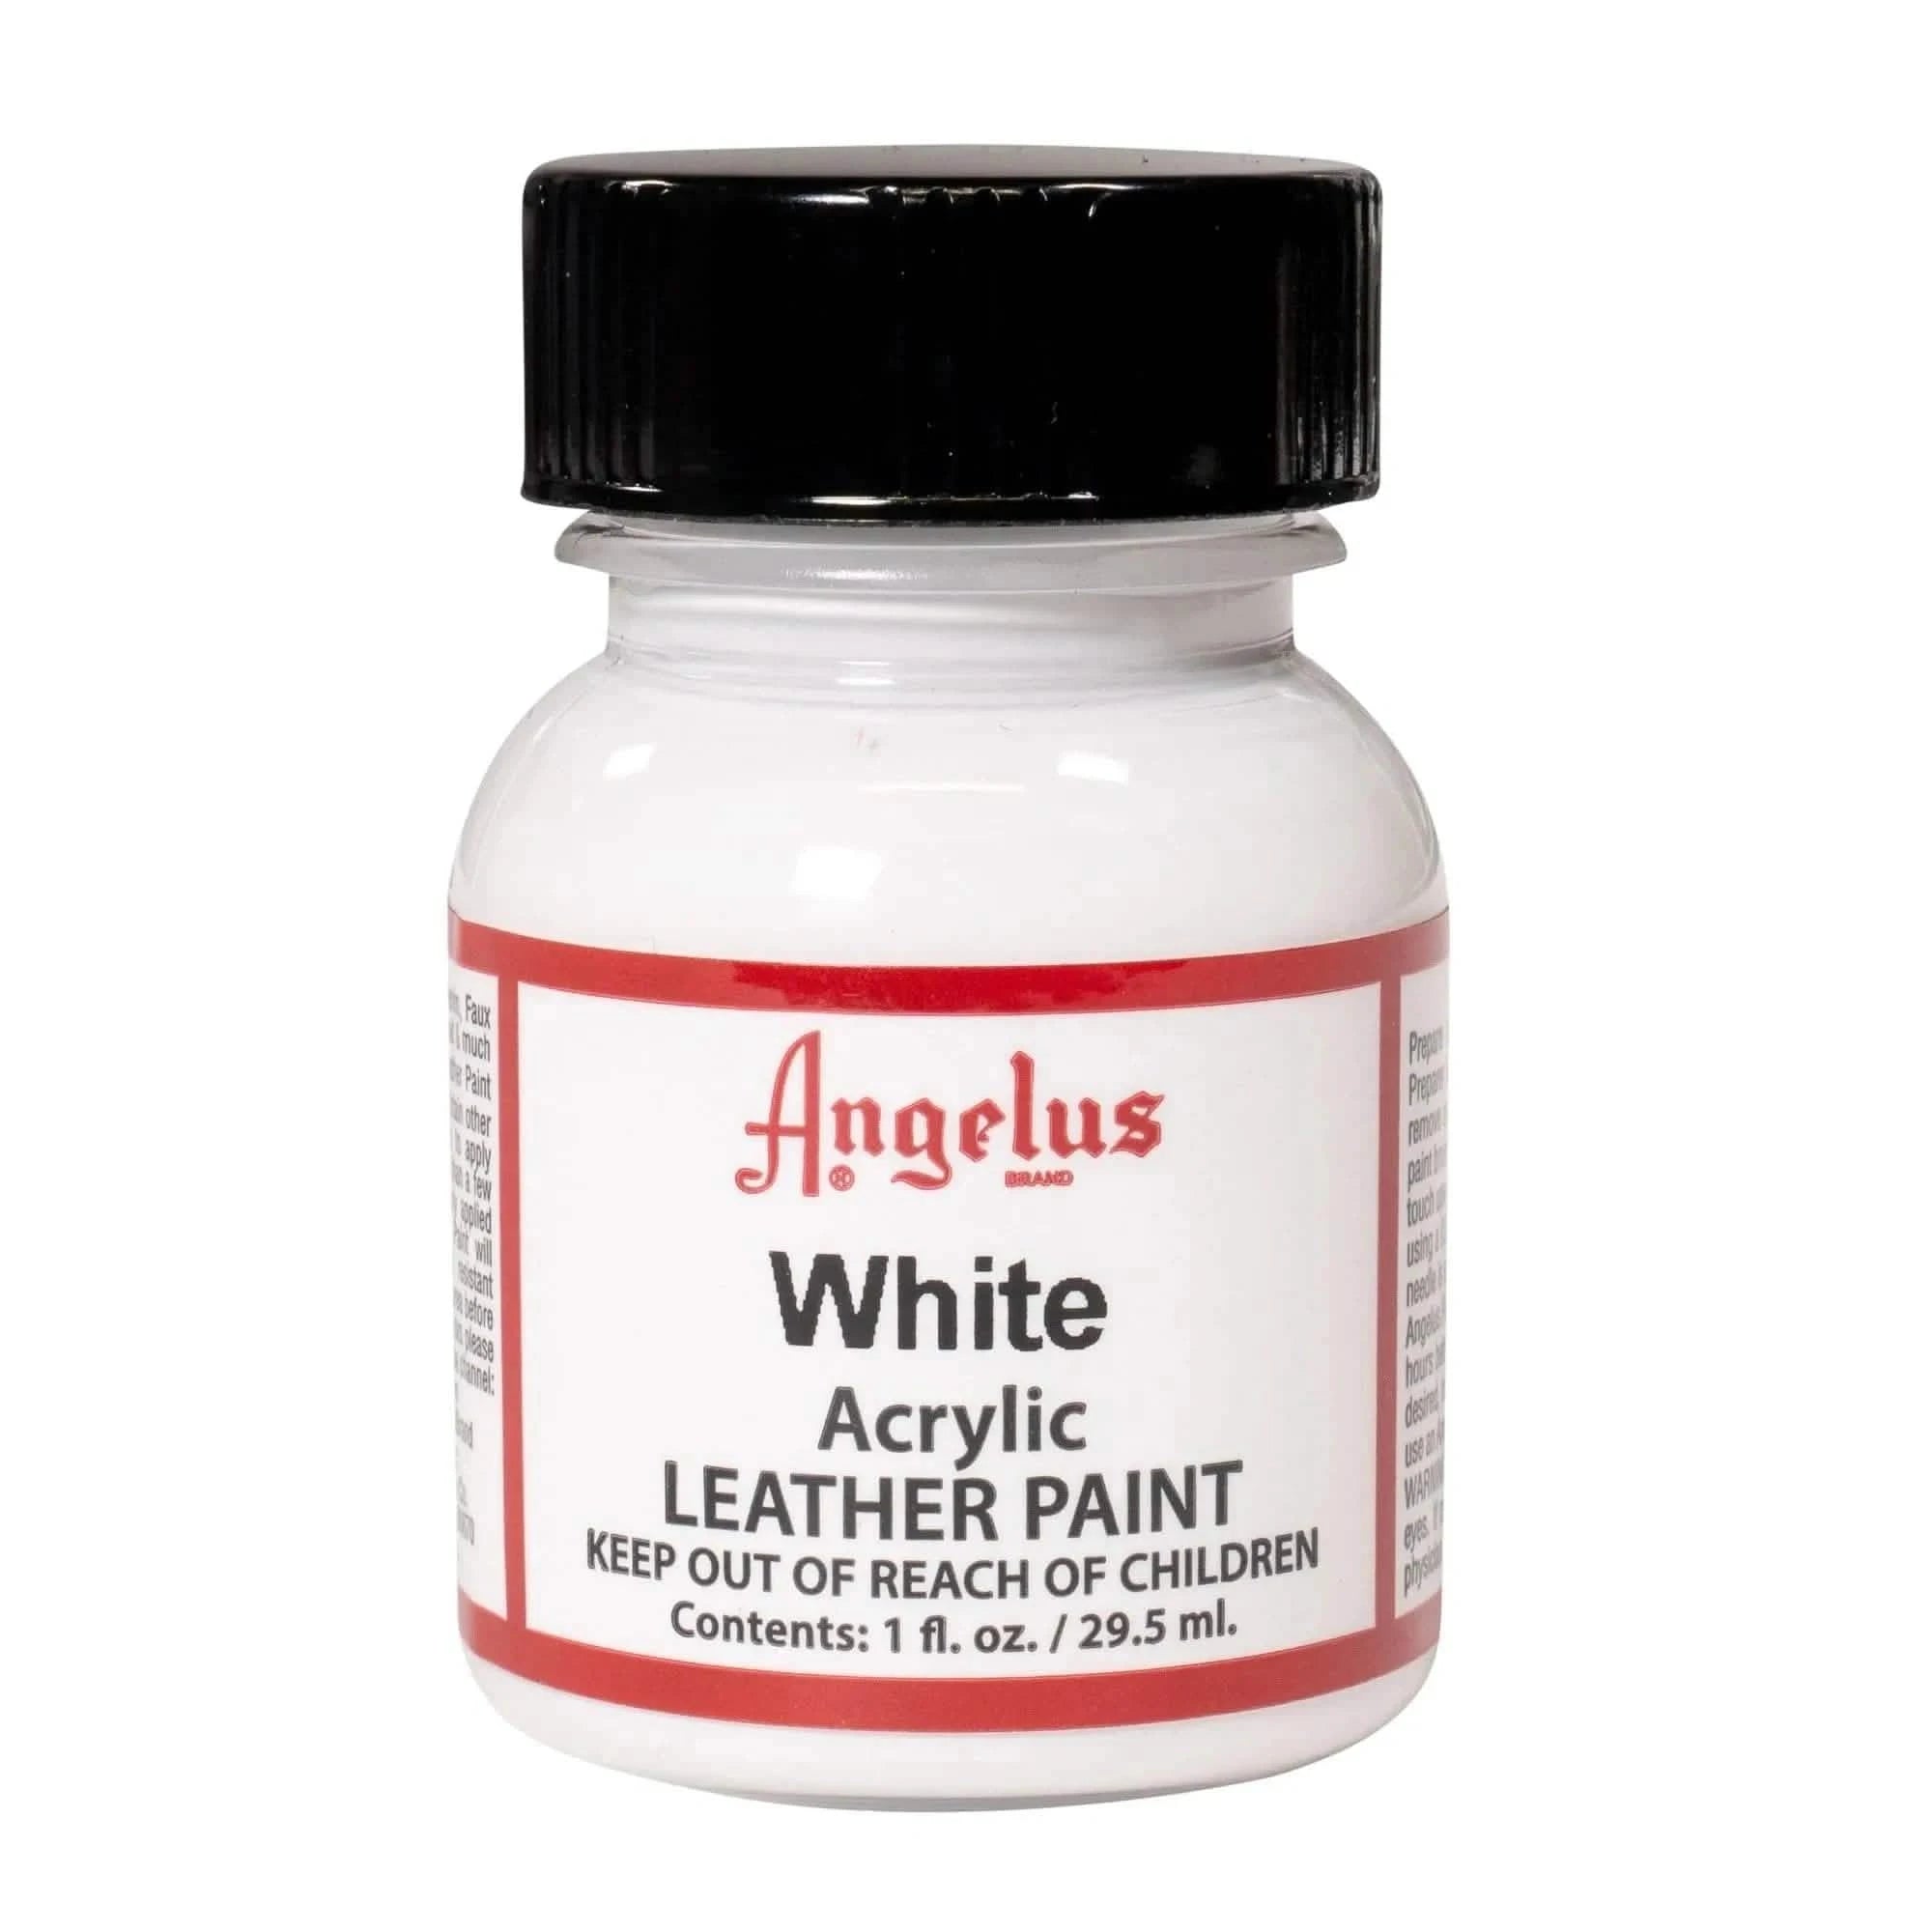
Angelus White Paint
$3.95
All-Purpose Applicator Pads
$5.95
Satin 4-Coat
$6.95
Angelus #11 Detail Knife + 5 Replacement Blades
$6.95
Angelus Sand Paint
$3.95
Angelus White Paint
$3.95
All-Purpose Applicator Pads
$5.95
Satin 4-Coat
$6.95
Angelus #11 Detail Knife + 5 Replacement Blades
$6.95
Angelus Sand Paint
$3.95
Angelus White Paint
$3.95
All-Purpose Applicator Pads
$5.95
Satin 4-Coat
$6.95
Angelus #11 Detail Knife + 5 Replacement Blades
$6.95
Angelus Sand Paint
$3.95
Angelus White Paint
$3.95
All-Purpose Applicator Pads
$5.95
Satin 4-Coat
$6.95
Angelus #11 Detail Knife + 5 Replacement Blades
$6.95
Angelus Sand Paint
$3.95
Angelus White Paint
$3.95
All-Purpose Applicator Pads
$5.95
Satin 4-Coat
$6.95
Angelus #11 Detail Knife + 5 Replacement Blades
$6.95
Angelus Sand Paint
$3.95
Angelus White Paint
$3.95
Unlock More Inspiration
Dive deeper into our Creator Spotlight series and discover new tutorials from top artists in the community. Whether you're looking to master advanced techniques or spark fresh ideas, these step-by-step guides will take your custom game to the next level.