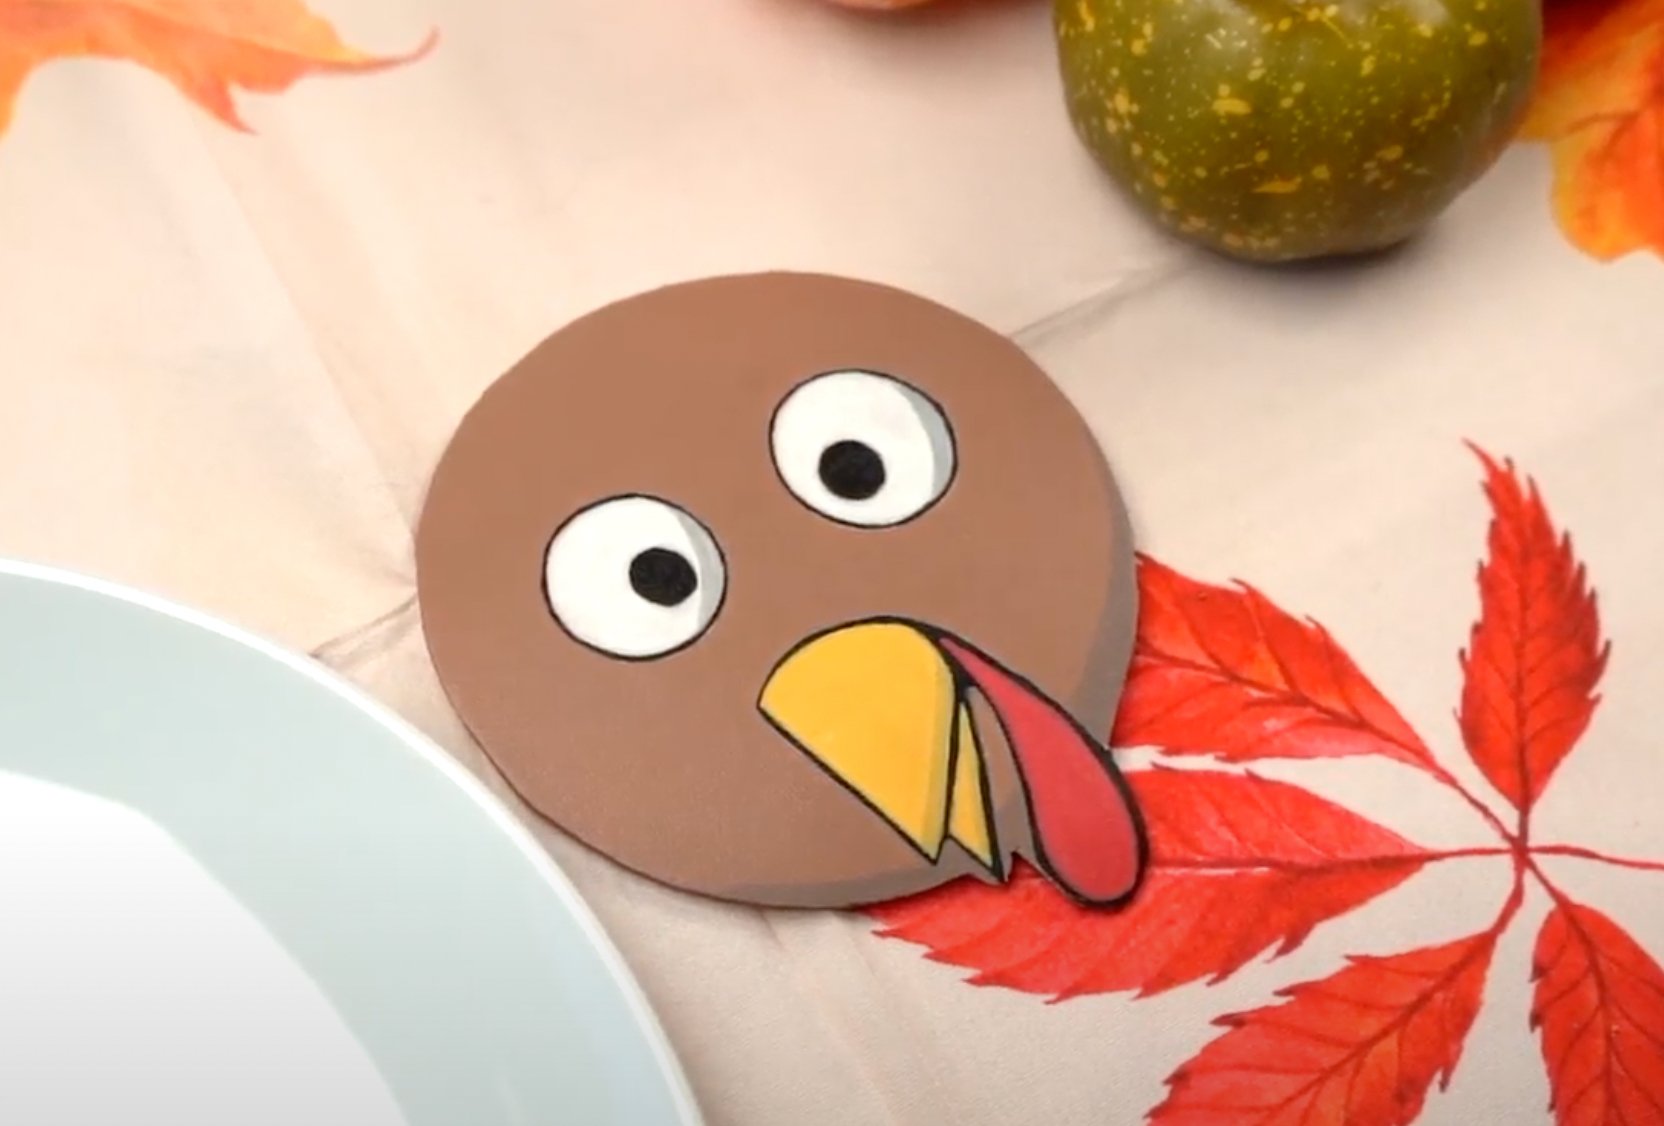
At Angelus Direct the motto is ‘create what you can’t have’ and this holiday-themed leather coaster craft is a great example. Angelus Direct teamed up with customizer Sophie Saldana of @sophiesophss to create these Thanksgiving and Christmas-themed leather coasters. If you’re looking for a relaxing craft to work on this holiday season or want to create a custom gift, this is the perfect project.
Sophie recently walked us through the steps to create these coasters and also has some advice for how to make them your own. When asked what other themes could be used Sophie says “coasters are really easy to make so getting creative with them would be a breeze! They can be cut and painted into fun foods like donuts since it’s the same shape as a regular round coaster but with a cool twist!”
Check out the steps and supplies to create your own.
Supplies:
-Light-colored, heavy-weight leather
-Angelus Self-Healing Cutting Mat
-Leather Preparer and Deglazer
-Cotton balls
-Graphite paper
-Pencil
-Scissors
Step 1: Prep, prep, prep
The first step of any successful project is doing the right prep work. With these coasters that means preparing the leather for painting. Because the leather had been rolled, she taped it down to her cutting mat so it would lay flat, then applied Angelus Deglazer with a cotton ball to remove any finish so the paint would adhere to the leather.
Step 2: Choosing your shapes
Next, it’s time to decide what shapes you would like for your coasters. Here Sophie chose Thanksgiving and Christmas-themed shapes like turkeys and ornaments, but you can do any shape that lends itself to a coaster. Create your own freehand sketch or use a stencil, just make sure that the shape is larger than the bottom of a glass. Sophie recommends sticking with basic shapes so you don’t have anything that’s too difficult to cut out.
Once you have your shapes use graphite paper to transfer the designs to the leather. Just put the graphite paper on top of your piece of leather and trace the edge of the design on top of the graphite paper to transfer the outlines. After the outlines are transferred use a pencil to add your details.
Step 3: Cut
Use a pair of scissors to cut out each coaster. Because the leather is so thick it’s important to select simple designs that are easy to cut out.
Step 4: Paint
The first step is to cover the pencil outlines with Angelus Flat Black Paint. These lines will act as a guide while adding each color.
From here the colors you use are up to you. Sophie likes to mix each color with a base of Angelus Flat White and a few drops of Angelus Grey to flatten the brightness and create a cohesive color palette. She applies three to four coats and lets each one dry in between for even coverage. Because the leather is so thick painting the edges of the coasters with the same color as the top of the coaster is a nice way to give the coasters a finished look. You could also paint them black or even gold for a festive look.
After you’ve added color go back over the black lines to clean up your designs.
Step 5: Finishing
To protect the designs on these leather coasters from water Sophie’s final step is applying two to three coats of Satin 4-Coat. Sophie chooses this product because “Angelus 4-Coat is my absolute favorite finisher at the moment since it's so protective. I've painted and sealed a few things with it and it’s lasted through some wear and tear which is great!"
Once your coasters are dry they’re ready for your holiday table. Sophie plans on using them this Thanksgiving when she hosts some of her friends and family. “The coasters are definitely going to come in handy when we bring out the sparkling cider. Nothing is worse than those liquid rings that get left on the table without them,” says Sophie.
More Custom Tutorials
Find the full tutorial here and if you want to see more custom tutorials like this one, make sure to subscribe to the Angelus YouTube channel to learn tips and techniques.
Also, make sure to follow Angelus on Instagram and check out our online store to grab the materials you need to create your own custom designs!


