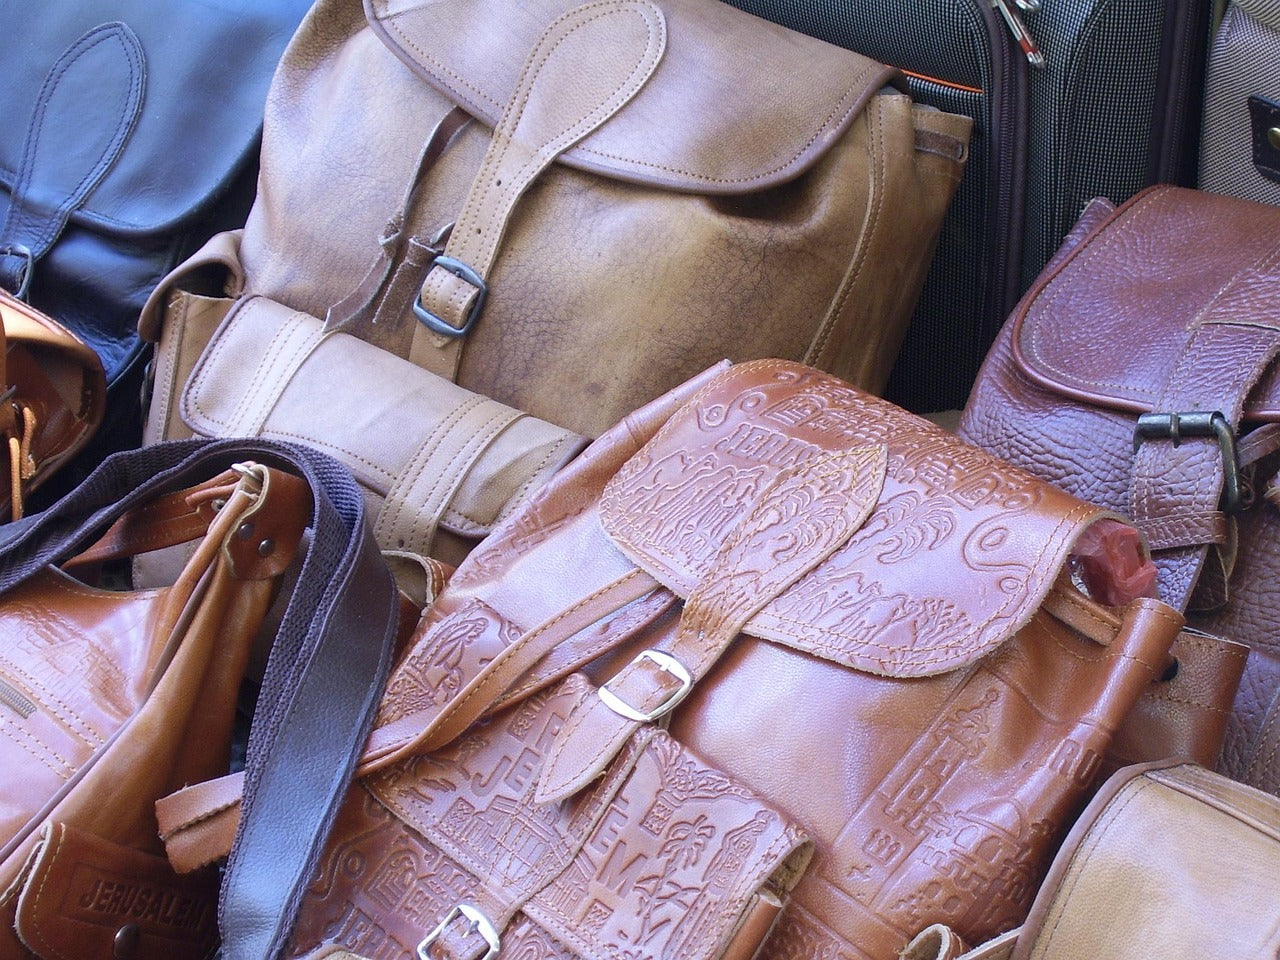
Customizing a leather backpack with vibrant prints using paint is a creative way to express personal style while giving a unique look to an everyday accessory. Unlike printing methods that involve industrial machines, painting directly onto leather provides more flexibility, allowing intricate designs, bold colors, and artistic freedom.
Leather, however, requires special techniques for painting to ensure the colors remain vivid and do not crack or peel over time. This guide explores the process of painting on leather backpacks, covering everything from surface preparation to design techniques, application methods, and finishing touches. Whether you're a beginner or an experienced artist, this guide will help you achieve professional-quality results.

Essential Materials and Tools
Painting on leather requires specific materials that ensure longevity and vibrancy. Using the right tools will make the customization process smoother and more effective. Here’s what you’ll need:
Essential Materials:
-
Leather Paint: Specialized acrylic leather paints provide flexibility and durability.
-
Leather Deglazer or Preparer: Removes factory finishes and oils to allow paint adhesion.
-
Leather Dye (Optional): Used for background color changes before painting details.
-
Leather Finisher or Sealant: Protects the painted surface from wear and tear.
-
Paint Additives: For special effects, such as pearlescent or metallic finishes.
Tools for Application:
-
Paintbrushes: Different brush sizes for various details.
-
Airbrush Kit: Ideal for smooth, professional gradients.
-
Sponges & Dabbers: Useful for creating texture and soft color blending.
-
Masking Tape or Stencils: Helps in achieving clean lines and sharp edges.
-
Heat Gun or Hair Dryer: Speeds up drying between paint layers.
Where to Source Materials?
-
Specialty art and craft stores
-
Online retailers specializing in leather customization supplies
-
Leather-specific paints provide high-quality leather paints, dyes, and finishes.
Preparation of Leather
Proper preparation ensures the paint adheres well and lasts long without cracking. Follow these steps before painting:
-
Cleaning:
-
Wipe down the surface with a soft cloth to remove dust and dirt.
-
Apply a leather deglazer or preparer to remove the factory finish and any residual oils.
-
Let the leather dry completely before proceeding.
-
Testing the Paint:
-
Before applying paint on the main surface, conduct a test patch to ensure adhesion and color accuracy.
-
Sketching the Design:
-
Lightly outline your design using a pencil or chalk before painting.
-
Use masking tape or stencils if you want crisp edges.

Design Considerations
Planning the design carefully ensures a professional-looking final result. Consider the following aspects:
-
Choosing the Right Colors: Opt for high-contrast or complementary shades to make the artwork stand out.
-
Simplification of Complex Designs: Avoid extremely intricate patterns unless using fine detailing brushes or airbrush techniques.
-
Layering Approach: Work from background to foreground, building up layers gradually.
-
Incorporating Textures and Patterns: Use sponges, fabric, or brushes for unique textural effects.
-
Digital Previews: Design on software like Adobe Illustrator before applying the paint physically.
Step-by-Step Painting Techniques
Painting on leather requires patience and precision. Here’s a step-by-step breakdown of different methods to achieve vibrant prints:
1. Base Coating
-
Apply a thin layer of diluted leather paint to create an even base.
-
Allow it to dry fully before applying additional layers.
-
If dyeing the leather first, ensure the dye is completely dry before painting.
2. Layering Colors
-
Apply multiple thin layers instead of one thick layer to prevent cracking.
-
Let each layer dry before adding the next to maintain color vibrancy.
3. Blending and Shading
-
For smooth transitions, use an airbrush or sponge to blend colors.
-
Wet blending works best when done quickly before the paint dries.
4. Adding Details
-
Use fine-tipped brushes for detailed work, such as patterns or lettering.
-
Stencils or masking tape can help with geometric designs.
5. Sealing the Paint
-
Once the design is complete and fully dry, apply a leather finisher to seal the paint.
-
Use a matte or glossy finish depending on your preference.
-
Apply multiple thin coats of sealant for added durability.

Finishing Touches
To ensure your painted design remains vibrant and intact for years to come, follow these essential finishing steps:
1. Heat-Set the Paint
Once the paint has fully dried, use a heat gun or hair dryer to speed up the curing process. This helps the paint bond securely to the surface, reducing the risk of cracking or peeling over time. Hold the heat source a few inches away and move it evenly across the design to prevent overheating or damage.
2. Buff the Surface
For a smooth and polished finish, gently buff the painted area with a soft microfiber cloth. This enhances the overall look of the design, removes any dust or loose pigment, and gives the surface a refined, professional touch.
3. Reinforce with Extra Sealant
If the backpack will be used frequently or exposed to various weather conditions, consider adding an extra layer of protection. Apply a high-quality waterproofing spray or sealant to safeguard the design against moisture, friction, and everyday wear and tear. Let it dry completely before using the backpack.
Care and Maintenance
Proper care and maintenance will help keep the painted design looking fresh and vibrant for a long time. Here are some key tips to protect your artwork:
1. Avoid Scratching the Surface
Sharp objects, rough handling, or excessive friction can lead to paint chipping. Be mindful of how you use and store the backpack to prevent accidental scratches.
2. Store Properly
When not in use, keep the backpack in a cool, dry place away from direct sunlight and humidity. Exposure to heat and moisture can weaken both the leather and the paint, leading to fading or cracking over time.
3. Use a Leather Conditioner
If the backpack is made of leather, applying a leather conditioner periodically will help maintain its softness and durability. This prevents the material from drying out and keeps it looking new.
4. Clean Gently
To remove dirt or stains, wipe the painted surface with a damp, soft cloth. Avoid using harsh cleaning agents or excessive water, as they can degrade the paint and the backpack’s material. For stubborn stains, use a mild soap solution and blot gently rather than scrubbing.
By following these finishing and maintenance steps, you can ensure that your painted design stays beautiful, durable, and resistant to everyday wear. Investing a little extra care will keep your customized backpack looking its best for years to come.

(Source: @dejkoaf)
Painting on leather backpacks allows for limitless creativity, transforming an ordinary bag into a personalized work of art. By using the right materials, preparing the surface correctly, and applying paint with the proper techniques, you can achieve vibrant, long-lasting designs.
For premium-quality leather paints, dyes, and finishers, Angelus Direct provides industry-leading products to ensure professional results in every customization project.
FAQs
1. Can I use regular acrylic paint on leather?
No. Regular acrylic paint does not adhere well to leather and may crack over time. Use leather-specific acrylic paints for best results.
2. How do I prevent the paint from cracking?
Ensure you apply thin layers, let each layer dry properly, and finish with a sealant to maintain flexibility.
3. What is the best way to blend colors on leather?
Using an airbrush or sponge can help create smooth color transitions without visible brush strokes.
4. How long does the paint take to dry?
It varies depending on the thickness of the application, but typically 24 hours is recommended before heavy use.
5. Where can I find high-quality leather paints?
Angelus Direct offers professional-grade leather paints that provide vibrant and long-lasting results.