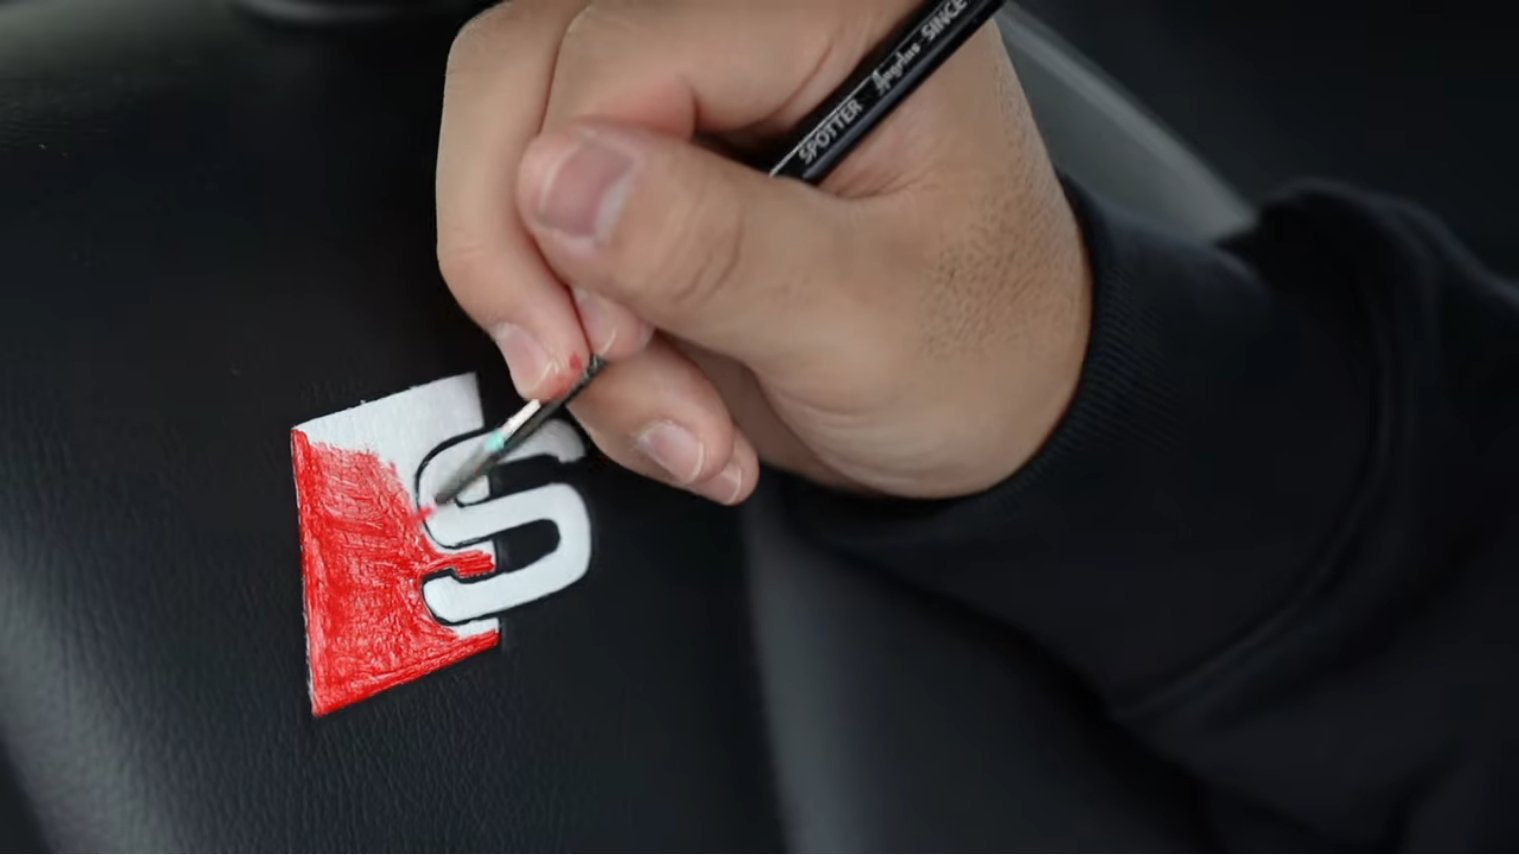
Angelus paints are for more than just shoes. If your car interior is plain, worn out, or lacking color, a custom paint job might be the perfect way to bring it back to life.
In our newest tutorial, Enzo from @ehkcustoms shows just how simple it can be to paint leather car seats with a few basic tools and the right approach.
Follow along to see how you can prep, customize, and finish your car's interior in five simple steps.
Step 1: Prep
Just like customizing a pair of leather shoes, painting a leather car seat starts with prepping the leather.
Car seats tend to have a very strong factory finish, and it's important to break it down to make sure your paint adheres to the seat.

To prep the interior of your car seats, use a cotton swab and Angelus Leather Preparer and Deglazer scrub off the factory finish and leave a clean surface for your custom paint job.
If you're only planning to paint fabric car seats or specific leather sections, you can use masking tape to cover the areas that you don’t want to get any paint on.
Step 2: Apply a Base Coat
Once you're done prepping the seat, it's time to lay down the base coat.
For this project, Enzo is starting with two coats of light grey paint before moving on applying a couple of coats of white paint. The light grey coats will help prevent the black leather from showing through the paint without needing several coats of white.

Make sure to apply the paint in thin, even layers to improve durability and prevent the paint from cracking.
After applying the base coat, make sure to let the paint completely dry before moving on.
Step 3: Custom Paint Job
Once the base coat is dry, you can start working on your custom painting car leather seats project.

In this tutorial, Enzo decided to go with a simple solid-color design, but of course, you should feel free to get creative with your custom design.
Like the base coat, make sure to apply multiple thin layers to make sure the paint remains durable and doesn't crack or chip.
Step 4: Adding Finisher
To help protect the paint and leave it with a nice finish, we recommend applying some Matte Acrylic Finisher. This is our lowest shine finisher and will help protect the paint from minor scuffs and scrapes.

Use a q-tip or cotton swab to apply the finisher over the paint in an even layer, and make sure to let the finisher dry completely before moving on to the next step.
Tip: If less gloss is still desired, we recommend adding about 0.5 oz of Duller into the 4 oz. bottle of finisher.
Step 5: Conditioning the Leather
After letting the finisher dry, the last step is to use Leather Balm to condition the interior.
Angelus Leather Balm re-introduces natural oils to help keep leather soft and supple. It will not cause the leather to become excessively slick, making it a great option for use on leather car upholstery.

To apply, pour a generous amount of the balm onto a microfiber cloth and rub it over the leather interior. Then, let the balm sit for a few minutes before buffing it out with your cloth.
After following these five steps, your newly painted car seats leather will be ready to go!
If you found this tutorial helpful, make sure to check out our other great tutorial on our YouTube channel, and stop by our online store to grab the tools you need to make your next custom project.
