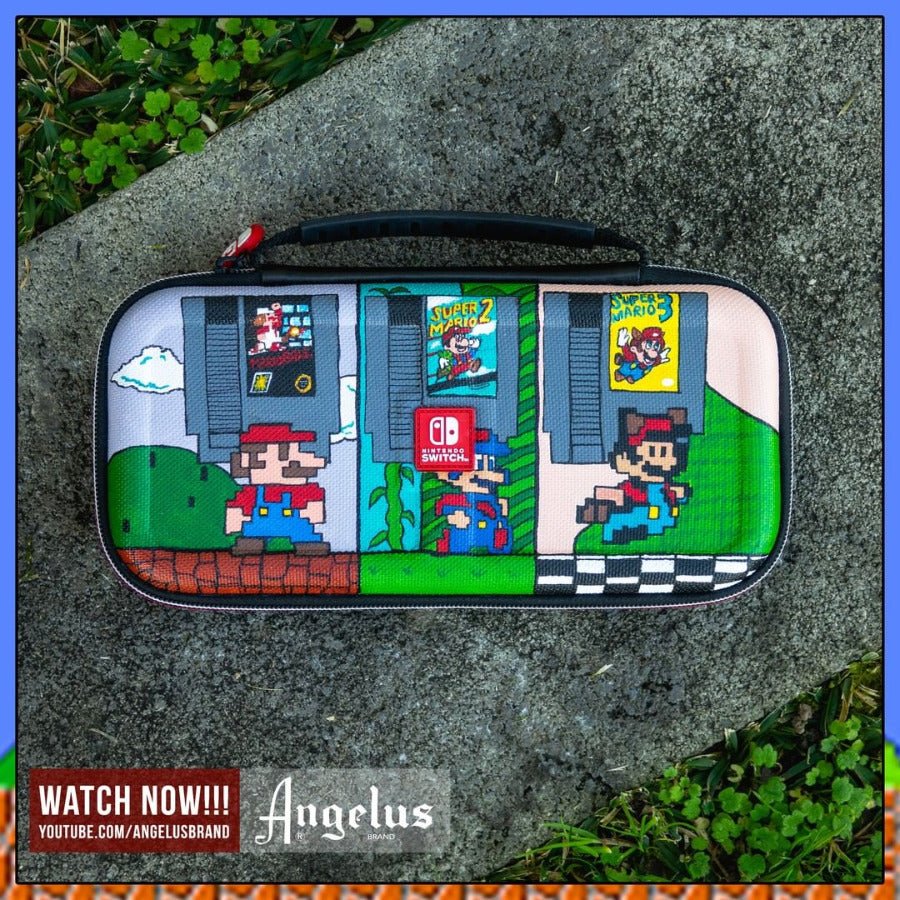
Angelus paints can be used for a lot more than customizing a pair of sneakers. From clothes to furniture to accessories, you can customize nearly anything with the right tools.
To show you how flexible our paints and other products can be, Andrea (@10andrea26) stopped by the Angelus studio to show you how to create a custom Super Mario Nintendo Switch case.
Keep reading for a quick walkthrough, and make sure to check out the full tutorial on our YouTube channel for more detailed instructions.

Since Nintendo Switch cases are made of a soft, mesh-like material, you're going to need to mix your paint of choice with Angelus 2-Soft before applying your base coat. Mix 2-Soft with your paint at a 1:1 ratio for best results. For this project, Andrea used Cream for the base coat.
Apply several coats to make sure the case is evenly covered, then use a heat gun at 300º F for 3-5 minutes to set the base coat.

After the 2-Soft mixture is set, go ahead and apply a new layer of Flat White paint. For this coat, you don't need any 2-Soft as the base coat will serve as a good foundation for the rest of your paint.

Next, before you start painting, it's always a good idea to sketch out your design on the case using a pen or sketching pencils.
Free-hand painting is, of course, always an option, but it's more difficult to correct mistakes once the paint is already on the case.

Next, it's time to start painting your design. For this project, Andrea decided to do a Super Mario-themed custom, but you can paint any design you want.
If you want to try to replicate this design, you'll need to pick up some Green, Light Green, Turquoise, Grey, Red, Yellow, and Blue paint (you can grab a 12 color assortment kit to get all the colors you need for this project).

To add the outline to your design, combine Flat Black paint with Angelus 2-Thin in a 1:1 ratio and pour the mixture into a paint marker. 2-Thin will help the paint flow seamlessly through the marker so that there aren't any breaks in your outline.
Once your mixture is ready to go, you can use the paint marker to add all of the finer details to your design.

Lastly, apply a layer of our High Gloss Acrylic Finisher to give the case a nice, clean, glossy finish. After the finisher sets, your custom case is finished and ready to take on the road.

Once again, make sure to check out the full tutorial on our YouTube channel for a more detailed walkthrough and check out Andrea's Instagram to see more of her great custom projects.
And don't forget to follow Angelus on Instagram and check out our online store to grab the materials you need to create your next project.

