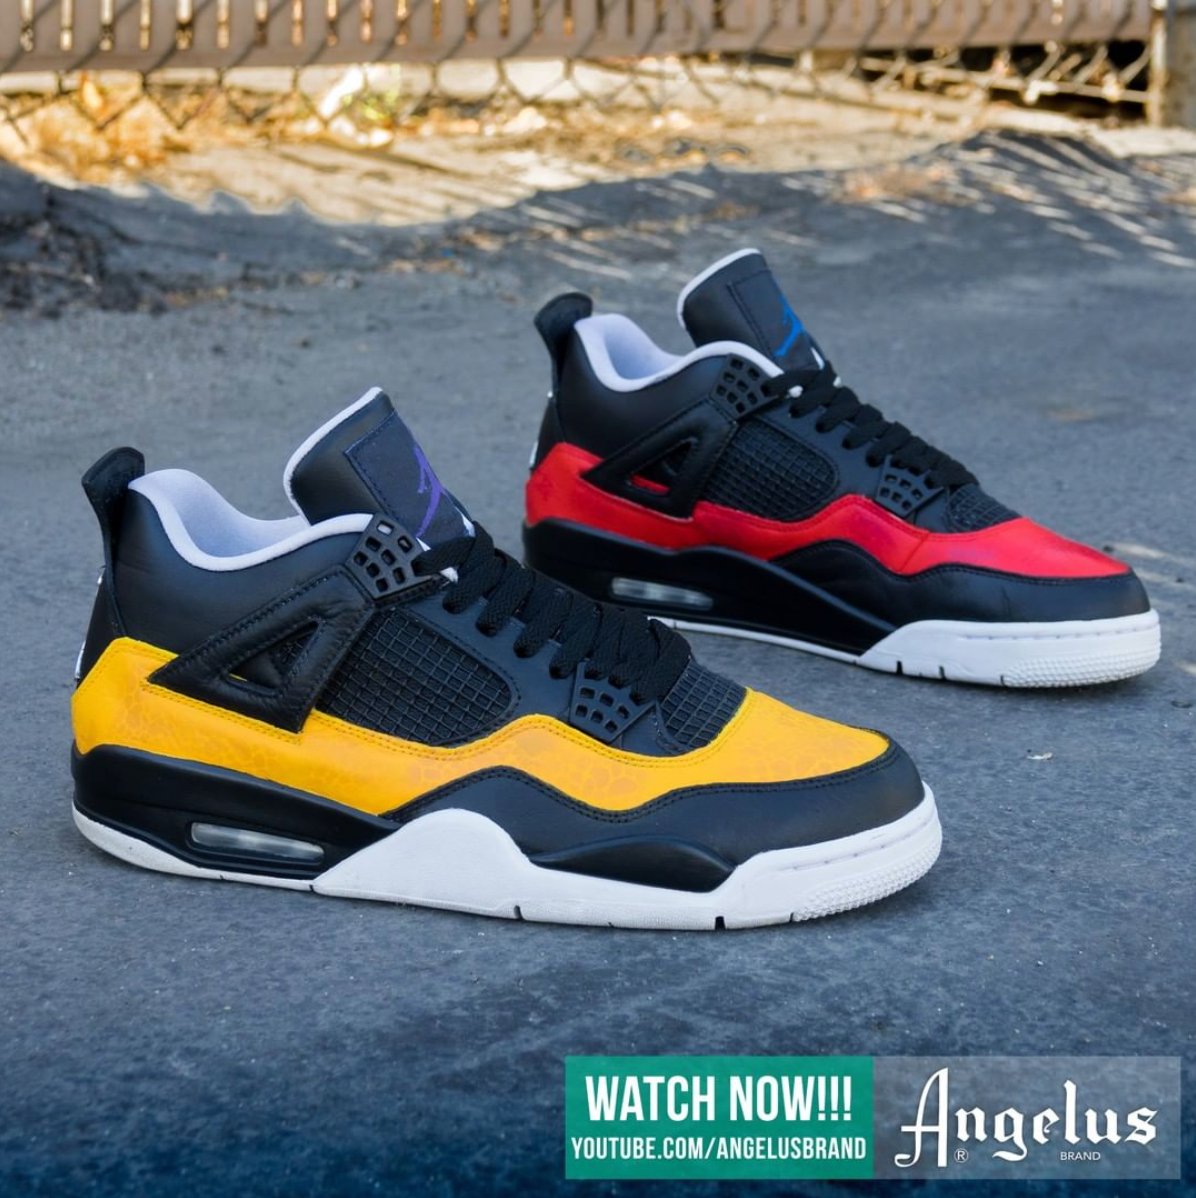
Having trouble keeping your customs in good condition? Your customs can easily crack and crease if you're not careful.
To help you learn how to keep your kicks in like-new condition, Ronald Pritchett, AKA @ron_got_sole, stopped by the Angelus studio to show you how to customize and protect a pair of Jordan 4s. Ron has been in the customs game for a while, so he understands the importance of durability.
Keep reading to learn his tips and tricks for protecting your next pair of customs, and make sure to check out the full tutorial on our YouTube channel.

Before painting, start by preparing the shoe with Angelus Leather Preparer and Deglazer. This will get rid of the factory seal on your shoes and help paint adhere to the surface.
Start by using shoe trees to maintain the shape of your shoes and get rid of creases on the toe box.
Then, use the Leather Preparer and Deglazer to gently wipe over every area that you plan to paint. Pay special attention to high-wear areas like the toe box and ankle collar.
Once the texture changes from smooth to rubbery is when you know you've gotten rid of the factory finish.

After you get rid of the factory finish, you can use sandpaper to remove smaller imperfections.
This will help create a smooth finish and develop small rough ridges for your paint to stick to.
Once you finish sanding, go over the shoe one more time with the Leather Preparer and Deglazer to ensure a smooth finish.

The last step you need to take before painting your customs is taping up the edges.
Make sure to get as close to the edge as possible without overlapping with the leather. If the tape does overlap with the leather, though, you can always touch it up later.

Now it's time to start painting your customs. Of course, you can use whatever colors you want, but, for this tutorial, Ron is using Angelus Flat Black, Do The Right Thing Yellow, Hot Pink (as the base for the red coat), and Chili Red paint.
When painting, make sure to use even, light coats, and let the paint dry before adding another coat.
The first coats will look streaky, but as you continue to build up your layers, the colors will become more saturated.
Quick Tip: For glossy colors, like Do The Right Thing Yellow, use Duller to get rid of some of the shine and make it look like the factory finish.

Not all surfaces are the same. For non-porous surfaces, like plastic or glass, 2-Hard will help paint adhere to the surface.
Ron used a 50-50 mix of 2-Hard and Flat Black paint to paint the netting on these custom 4s and make sure that the paint doesn't crack or chip.

You can also use 2-Soft for softer materials, like the fabric tongue patch on these Jordan 4s. Use a 1:1 ratio when mixing 2-Soft and Angelus paints to be used on fabric surfaces.
When you use 2-Soft on fabric surfaces, it's important to heat-set the paint with a heat gun to ensure its durability.

All that's left is to take care of the details.
Make sure to use a detail brush to touch up any white spaces left after painting your customs. This will make sure your customs look like they could have come straight from the store.
Lastly, just remove the tape and your customs are finished.
By following these steps, you can create a clean pair of customs that stay in great shape for the foreseeable future.
Don't forget to follow Angelus on Instagram and check out more tutorials from artists like Ron on our YouTube channel.

