
If you're looking for a straight-to-the-point guide on how to paint leather and achieve the best results possible, you've come to the right place! No fluff here, so let's get right into it.
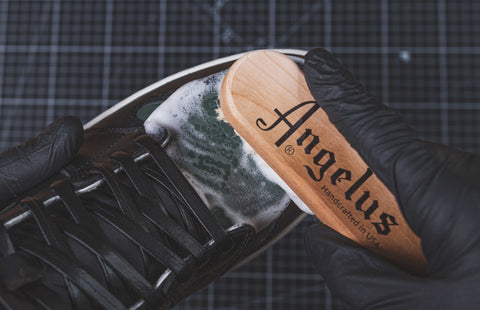
1. Cleaning the Leather
Before you begin your transformation, it’s crucial to start with a clean surface. If your leather item has been previously used or has gathered dust, clean it thoroughly with a high-quality leather cleaner such as Foam Tex or Easy Cleaner. This step removes any dirt, and grime, ensuring a clean canvas for your artwork. If your leather item is brand new and clean, you’re ready to move on to the next step to paint leather shoes.
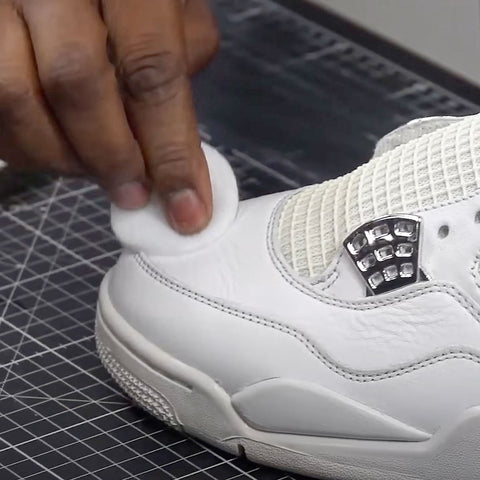
2. Preparing the Leather
Preparation is key to ensuring the paint adheres properly and lasts, or when repainting leather shoes. Use Angelus Leather Preparer and Deglazer to prepare the surface. This essential product will remove the factory finish and/or any oils that are on the leather, creating an ideal surface for painting. Do 3-5 passes over your entire leather surface. Be sure to spot-check with the Leather Preparer before using it across your whole item.
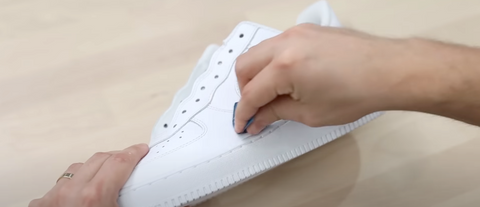
3. Sanding (Optional)
If you are painting leather on areas that are going to crease a lot and are worried about your paint cracking, such as the toe-box on shoes, sanding is your next step. Using high-grit sandpaper, gently sand the surface of the leather. This process further primes the leather, creating a slightly rough surface that enhances paint adhesion. After sanding, do one more pass with Angelus Leather Preparer and Deglazer to remove any dust and debris.
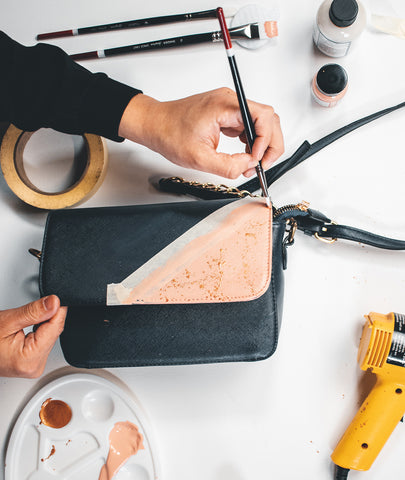
4. Painting
Now, the real fun begins – painting. Angelus Direct’s Leather Paints are specially formulated for leather, offering vibrant colors that flex with your item, preventing cracks or peels when you paint leather shoes.
Apply Thin Layers: For the best results, apply the paint in thin, even layers. This reduces the chances of the paint cracking over time.
Dry Thoroughly Between Coats: Patience is crucial when painting leather. Ensure each layer of paint is completely dry before applying the next. This patience pays off with a smooth, even finish, resulting in beautifully repainted leather shoes.
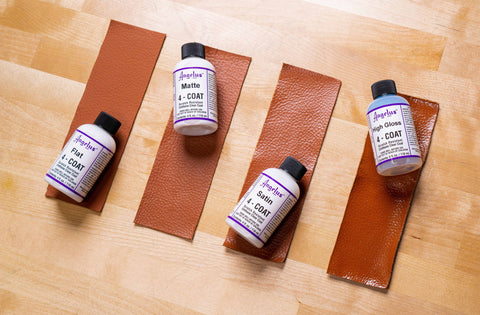
5. Adding a Finisher (Optional)
After your final layer of paint has dried, you have the option to add a finisher to your work for the most protection possible. Angelus 4-Coat Finishers are an excellent choice for protecting your painted leather. These finisher adds a protective layer, shielding your design from the elements and wear, and are available in different finishes to suit your desired look. Apply them as directed for a long-lasting, durable finish.
Final Thoughts
By following these steps and using Angelus Direct’s specialized products, you’ll ensure your painted leather projects are not only beautiful but durable too. No matter your experience level, these tips will help you achieve professional-quality results on your leather painting projects. Explore the wide range of products and colors available at Angelus Direct and start your leather painting journey today!
FAQ
How to Paint Leather Sneakers?
To paint leather sneakers, start by cleaning and preparing the surface with a leather preparer. Apply thin coats of paint using a brush or sponge, allowing each layer to dry completely before adding the next. Finish with a protective finisher to ensure your design lasts.
How to Paint on Leather Boots?
When painting leather boots, clean the surface and use a leather deglazer to remove the factory finish. Apply leather paint in thin, even layers, drying each one before the next. For extra protection, use a leather finisher to preserve your work and keep your boots looking fresh.
Can You Paint Leather Shoes?
Yes, you can paint leather shoes! With the right preparation and materials, leather shoes can be painted successfully. Clean the surface, apply leather paint in thin layers, and finish with a protective coat to ensure the paint adheres well and lasts.
How to Paint Leather Shoes?
To paint leather shoes, start by prepping the surface with a leather preparer to remove any coatings or oils. Apply thin layers of high-quality leather paint, allowing each coat to dry completely. Seal the paint with a finisher to ensure durability and long-lasting results.
