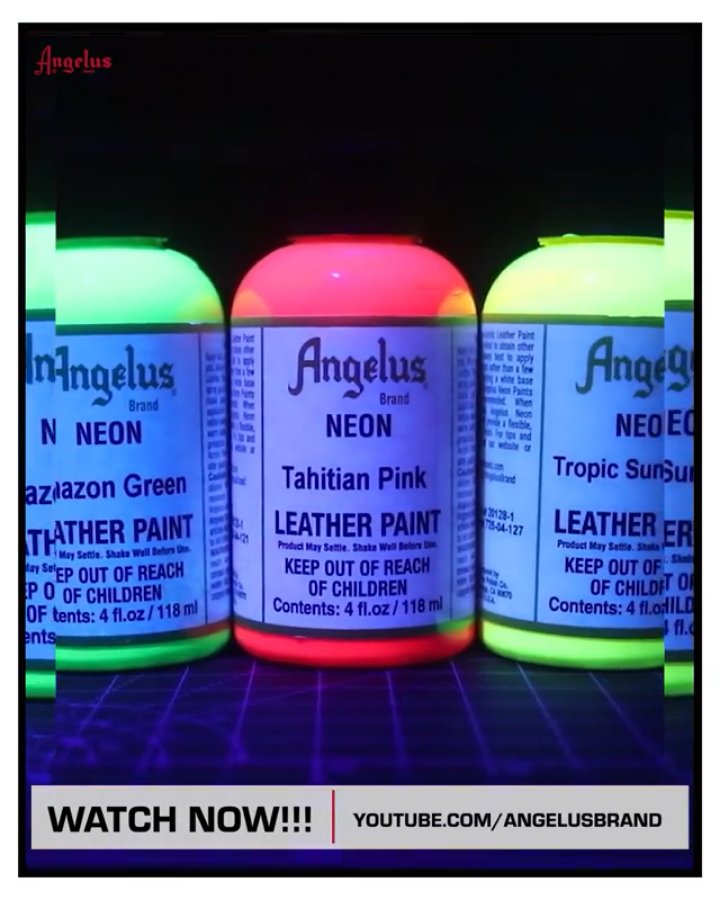
Angelus neon paints are perfect for creating eye-catching designs and colorways, but only if you know how to use them.
To help you learn how to give your customs a neon pop, @kingdom_made stopped by to create a quick tutorial, breaking down some of the simple tips and tricks of getting solid and vibrant coverage with Angelus neon acrylic paints.
Materials Needed

To get started using neon paints, you'll need these materials:
- Angelus Neon Paint
- Angelus Standard Paint
- Leather Preparer & Deglazer
- Cotton Swabs
- Tape
- Black Light (to see neon effects)
- Detail Knife
- Paintbrushes
Once you have all of your materials together, you can get started on your customs.
How to Use Neon Paints
Using Angelus neon paints is a lot like using our standard paints, but there are a few extra steps you'll need to take to make sure you get that bright, vibrant neon colorway.
Prepping the Shoes
Before you get started, you're going to want to use Leather Preparer & Deglazer to prep your shoes. Simply use some cotton swabs to apply the solution, and use a cloth to wipe away any leftover dirt or dust. This will help make sure your custom paint job adheres strongly to the shoe.

Once your shoes are prepped, use your masking tape to tape off any areas that you don't want to get any paint on.
Base Coat
Since Angelus neon paints are semi-translucent, it's important to apply an even base coat using a standard acrylic paint that matches your neon paint (for example, if you're using neon yellow paint, use a standard yellow paint as the base coat).
Without a base coat, you'll have to apply several layers of your neon paint to get full coverage, and it still likely won't be as vibrant as you were hoping for.

In the picture above, the top Swoosh doesn't have a base coat and you can still see the factory finish beneath the neon paint. The bottom Swoosh, though, uses a matching base coat and has much better coverage.
Using Neon Paint
After your base coat has dried and you've taped off your shoes, you can get started with your neon paint job.

Use a paintbrush or airbrush to apply light, even coats to your shoes. Wait for each coat to dry completely before moving on to the next one.

Since neon paints are very bright and semi-translucent, it can be difficult to tell when an area is completely covered. If you have one at your disposal, turn off the lights and use a black light to check if there are any spots that need an extra coat or two.

Repeat this process for each section of the shoe that you want to paint. Again, make sure to let each coat completely dry before continuing. Otherwise, you risk clumping and dripping which can ruin your custom design.

Lastly, switch over to your detail brushes to make any necessary touch-ups to your finished customs. You can also use a detail brush to outline your customs, giving them a little bit of an extra neon pop.

Make sure to follow us on Instagram to keep up with our newest tutorials, products, and promotions, and don't forget to stop by our online store to grab the tools you need to create your own customs.

