Airbrushing offers an amazing way to achieve unique effects and designs that can be difficult to replicate with a standard paintbrush. However, knowing the right techniques is essential to get it right, particularly when you're airbrushing shoes.

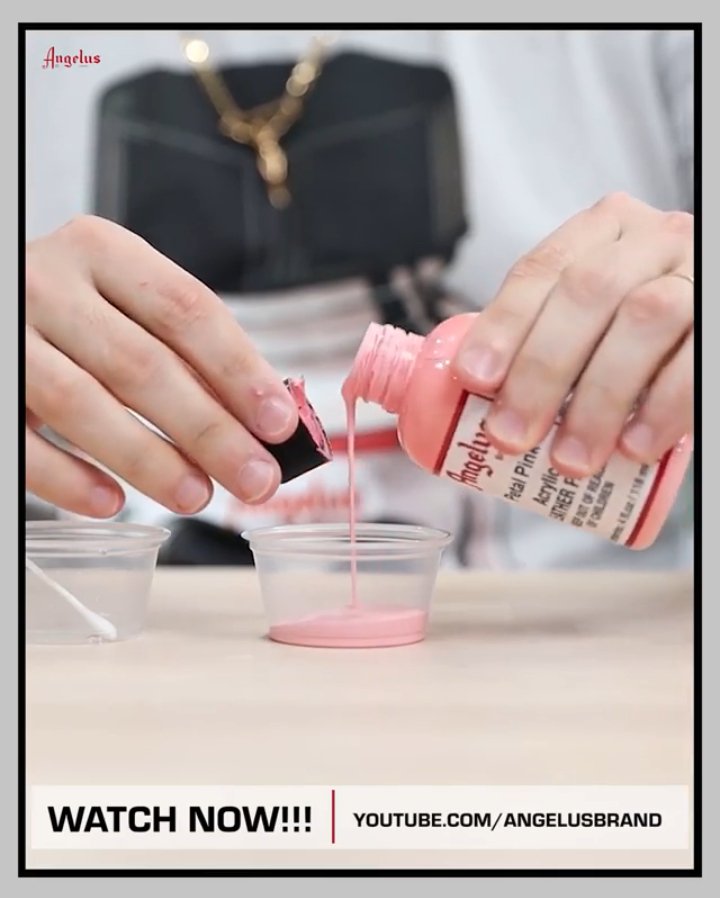
Angelus Paints are formulated to be ready for airbrush use straight from the bottle. However, if you're using an airbrush with a needle smaller than 0.5mm, or if your paints are a bit older and thicker, you might find they need thinning. This tutorial, brought to you by @dejesuscustomfootwear, will demonstrate the best way to thin your paints to ensure a smooth application when you're working on projects like airbrushing shoes.
Materials Needed:

First, you'll need to get your materials ready. For this tutorial, the tools used include:
- Angelus Acrylic Leather Paint
- Angelus 2-Thin
- Leather Preparer and Deglazer
- Sand Paper - Paint Strainer
- Tape
- Angelus Detail Knife
- Angelus Matte Acrylic Finisher
- Angelus Brush Cleaner
- Grex Genesis Airbrush Combo
If you need to pick up any of these materials, you can find them on the Angelus online store.
Prep Work
Like any custom project, start by prepping your shoe before you begin airbrushing.
Start by lightly sanding your shoes with 400-grit sandpaper before moving on 800-grit and finishing with 1,500-grit.

Next, use a cotton pad to apply Angelus Leather Preparer & Deglazer to the shoe. This helps remove the factory finish to ensure the paint adheres to the shoe when airbrushing shoes or when you want to airbrush leather items
After this, tape off the parts of the shoe that you don't want to paint. When airbrushing shoes, it's difficult to control where the paint goes, so it's important to make sure to cover everywhere that you want to avoid painting when airbrushing shoes or if you plan to airbrush leather broadly.

Prepare the Paint
In addition to preparing the shoe, you need to prepare the paint for airbrushing.
While Angelus paints are airbrush-ready, smaller needles and clumpy paints can make things difficult.

So, if you're using a needle smaller than .5mm or need to thin out your paint, mix one part of Angelus 2-Thin with four parts of paint. This will prevent the paint from clumping up inside of the airbrush.
If you want a clean matte factory finish, you can also use Angelus Duller to reduce gloss.

Lastly, run the paint mixture through a strainer to catch any leftover clumps or particles.
Start Painting
Once your paint is prepared, fill up your airbrush to get started.

For the first coat, mix white paint with your base color. This will help create a more evenly-colored surface to build off of.
Make sure not to spray to close to the shoe to avoid clumping. Instead, spray back away from the shoe to create an even coat.

Keep applying coats until the entire surface is evenly covered, then let the paint completely dry before moving on.
Final Touches
Once your paint dries completely, peel off the tape and do any final touch-ups that you deem necessary.

For example, if any paint managed to find its way onto your midsole, use a toothpick to clean it up.
Once everything is to your liking, finish off the shoe with Angelus Acrylic Finisher. This adds an extra layer of protection to the shoe and helps improve the final look.
Apply the finisher with your airbrush and use a heat gun to set the finisher. Once the finisher is set, your customs are ready to go after airbrushing shoes or any project where you airbrush leather.

If you found this tutorial helpful for airbrushing shoes, make sure to subscribe to our YouTube channel for more videos like this, and make sure to follow us on Instagram to check out some more great customs and learn more about airbrush leather techniques.

